 TEXTILES.ORG
 Techniques for installing marine carpet

This aluminum bass boat’s new sharp blue carpet replaced the original dark gray color, which was too hot and looked dirty all the time.
It’s that time of year when the trailered boats get hauled out and the projects begin. At Racine Design, we are always busy with regular upholstery and canvas jobs but tend to overlook the obvious other jobs that we can make the same money on, or more.
Almost every boat has carpet. Most carpet jobs are lucrative because we often find rotten foundations after removing the interior upholstery. Before we know it, the carpet job has turned into a full restoration, including upholstery and canvas.
Carpet is thought of as a simple project by boat owners, who start by shopping at a home carpet store and then come to us to install it. Home-type carpet is not easy to install in a boat. Most carpet installers do not like working on boats because getting paid by the yard does not match the complexity of the job. Upholsterers and canvas shops are familiar with how fabric reacts when it’s bent and curved, and they have learned the patience to deal with it. By offering carpet installation along with the upholstery job, we can control the removal and installation process, which also gives us the opportunity to change the color scheme.
Our shop installs only what we sell.
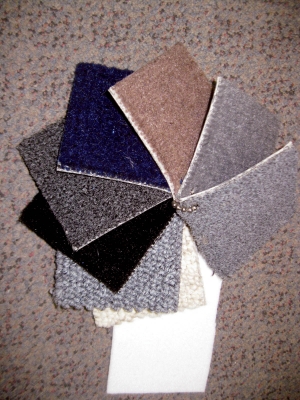
The carpet type best suited for most boats is open weave cut pile. Backing options include woven polypropylene with a gray-tufted backing. Weight will be 12 ounce to 18 ounce. Most carpet is available in widths of 6 feet and 8 feet. Some suppliers offer 12-foot width. When looking for carpet, don’t choose the cheapest. A 12-ounce product is very thin, and when you wrap it over hatches it will open up and reveal the backing. I prefer to use 16-ounce or 18-ounce marine-grade carpet. Marine-grade carpet is designed for the marine environment and has UV stabilizers. It lasts for years.
Let’s look at a standard bass boat, 18 feet long by 7 feet wide. Bass boats can take up to three days to complete, so plan for it. Whatever time you think you can do it in, double it. 
The amount of carpet needed will usually be twice the length of the boat. So we need 36 feet for this boat. The total amount is calculated different ways by stores and suppliers, some using square feet, some square yards and even running yards. Most of our suppliers go by running yard. Because we need 8-foot wide material, the total will be 288 square feet or 32 square yards or 10 yards by the running yard.
We usually make a good profit on the material and charge for the contact cement, which is heat resistant and waterproof.
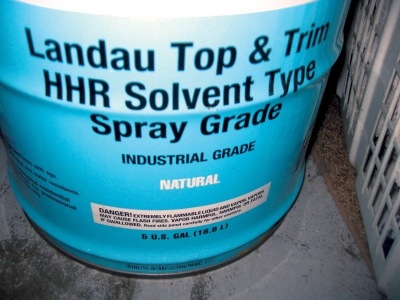
Do not use latex-based glue as it is water soluble.
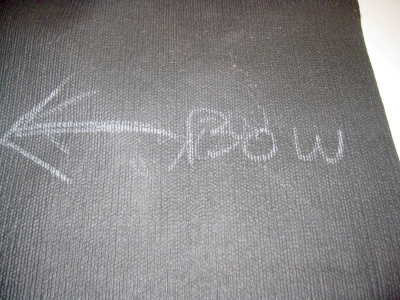
Roll the carpet out completely and with a wax pencil or soap bar make arrows toward one end to ensure you keep the carpet going in the same direction. I always use the bow as my arrow direction. If possible, use the old carpet as a pattern. Be sure to mark the old carpet with arrows. Magic markers work great for this.
Remember that the cutouts for the hatches will be larger than the actual hatch because they are wrapped inside the lip.
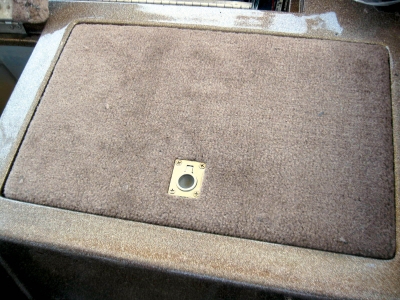
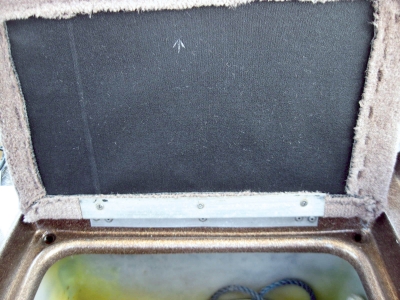
We start by removing all the hatches—some are screwed in and some are riveted in place, usually with 3/16-inch aluminum rivets. I drill out the rivet slowly, making sure not to break it off. Make sure you label the bow direction on all removable pieces, and remove and label the locks and hardware. I place all hardware in plastic bags and mark them.
Next we remove the old carpet. I have found the best way is to use a sonic cutter with an old blade as a scraper. Sometimes elbow grease works best. I have seen some people use a high-pressure washer with a rotary nozzle. This will work, but you lose any pattern you might need because the old carpet is destroyed. Time is the most important factor because you can spend a lot of it removing carpet just to get to the point of starting to put things back together.
Do not use chemicals to dissolve the old glue because they are hard to wash off, and you want a clean surface to make the new contact cement stick.
The idea is to keep the carpet all running the same direction, which ensures that the nap is always going the same way. If you take a piece and lay it sideways it will appear a different color or shade. 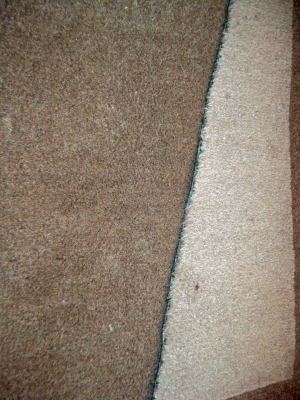
I cut out and label each piece before I start. This way I know I have enough carpet. Begin with laying the largest pieces of carpet first, then work all the deck areas. When spraying the glue with a simple spray gun, spray the glue past the inside corners where you have to install another piece next to it. This will save you from having to mask off the new carpet. I use a straight piece of cardboard to keep the glue off all areas that won’t be carpeted. Glue can be brushed with disposable brushes into hard-to-get-to areas. Mineral spirits will remove overspray on carpet.
Contact glue will dry but will be reactivated when more glue is applied to it or when it comes in contact with other dry glue. Test a sample and see what it does.
Tools needed for a carpet job are pretty much the same ones you use for upholstery and canvas jobs. A good carpet knife and a box of thin blades is a necessity, as well as a sharp set of scissors and a putty knife to get into corners.

A set of knee pads helps, too.
We experimented during the last year with making our own snap-down carpet by gluing backing to existing carpet, trimming the edges and then binding it with 2-inch acrylic binding. Ask your sales rep about this product. When binding the carpet with the non-skid backing, we found that spray silicone helps it from sticking to the sewing table.
Good luck, and don’t be afraid to try it.
Don Racine is co-owner of Racine Design in Jacksonville, Fla.