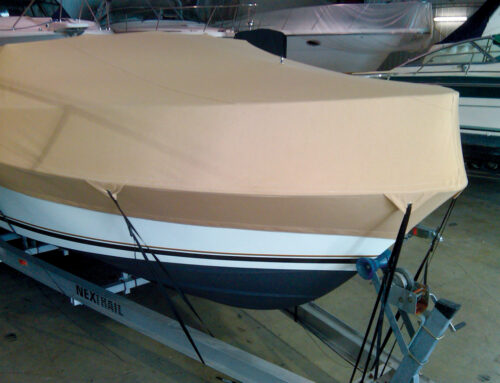
TEXTILES.ORG
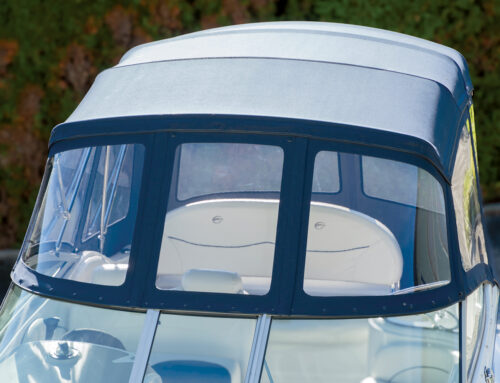
 Fabricating small side curtains
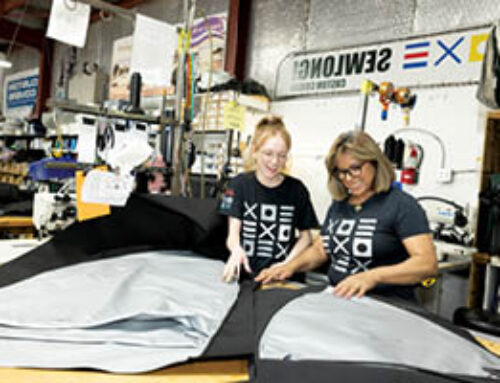
Our customer’s Pursuit with the side curtain we just fabricated installed.
At Hood Canvas we fabricate our small side curtains with overlays of fabric along the bottom edges. The reason we do this is twofold. First, to minimize stretch and to facilitate folding, we cut our bottom attachments along the width of the fabric, selvage edge to selvage edge. Second, since most fabrics are only 60 inches wide and most smaller side curtains are wider than 60 inches, our method allows us to keep our fabric orientation while providing a greater width. We feel this adds detail and a finished inside to our smaller side curtains. Our method is especially helpful when we need to run fabric up the side of a radar arch.
Fabricating small side curtains
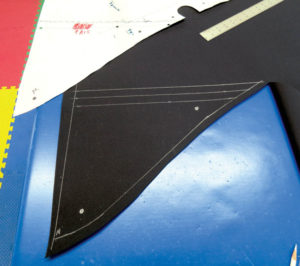
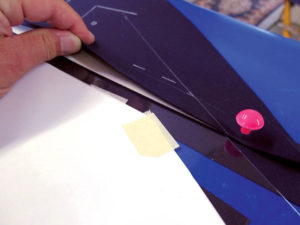
In this photo, we have drawn lines and punched holes in our pattern where the clear vinyl and the fabric are to be joined. Notice in the bottom left-hand corner that our joining line extends to the edge of the pattern on the right-hand side. Below this line is the second piece of fabric we will cut to overlap onto the top assembly. Our clear vinyl has been cut to these innermost lines and is laying on top of the pattern in the photo for clarification purposes.

We have used our pattern to lay out the forward section of fabric that will be attached to the bottom of the clear vinyl. We have carefully marked snap locations and cutouts for the side handles on the windshield. On the topside of the marked line we added two ¾-inch lines for a total of 1½-inches of added fabric.
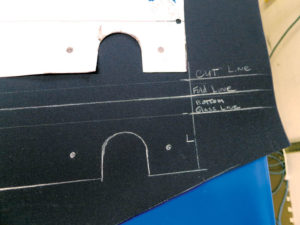
Here we labeled the lines for clarification purposes. The bottom line is the line we drew on our pattern that is also the clear vinyl cut line. The second line is the fold line and the top line is where we cut our fabric. We cut right along the top cut line, but leave a trim edge on the other three sides. Now we take the cut fabric and lay it on top of another piece of fabric to make it two-ply. Be sure to keep the fabric in the same selvage-edge-to-selvage-edge orientation. Staple the two plies together along the top just below the first glass line and trim the second layer even with the top cut line so the edges match.
Using the same procedure, we have cut out the bottom section of fabric that will be attached to the clear vinyl. Once again be sure to keep the fabric in the same selvage-edge-to-selvage-edge orientation. With the bottom attachment piece we need to follow the line on the pattern to the far right past the clear vinyl to the bottom edge of the side curtain.
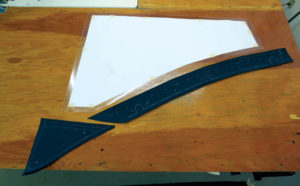
This photo shows the cut pieces ready to be applied to the clear vinyl in roughly the correct orientation. We apply the top fabric piece first. To do this we place ¾-inch double-sided tape to the bottom edge of each side of the clear vinyl. Along the top edge we make relief cuts through two plies in ¾ inch, wherever there is a jog to make the fabric curve. Fold in the top fabric layer at the ¾-inch fold line, slide up and onto the clear vinyl ¾ of an inch to the top of the tape, align and press in place. The clear vinyl must be between the two plies. Now flip the panel over, fold the inside fabric to match the folded edge of the outside fabric and press in place. The fabric should crease and fold easily—if not, the fabric is running the wrong way.
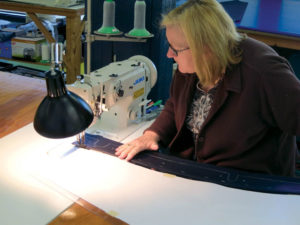
In this photo, Deb is stitching our stuck-in-place fabric bottom along the top edge to make it a permanent part of the side curtain. Next, Deb removes the top staples to equalize the plies and staples outside the cut line inserting scraps of fabric between the plies at all fastener locations for reinforcement. Deb now stay stitches three sides just inside the drawn lines and cuts on the lines. The staples are cut away with the fabric. The fabric must be cut even with the bottom edge of the glass where the next piece will be applied.

Deb is applying the bottom fabric piece using the same procedure. These photos show a little more detail of the seam tape applied to both sides and the folding of the outside fabric. Notice that the seam tape extends onto the fabric of the previous step. There is a finished overlap of ¾ of an inch extending off the clear vinyl onto the fabric of the previous step to the bottom edge of the side curtain.
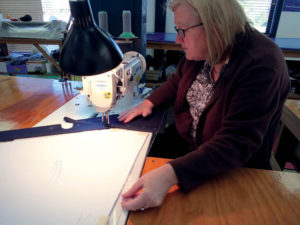
Deb is stitching the overlapping bottom fabric piece on after being stuck in place. She will follow the same procedures to finish as the top fabric piece.
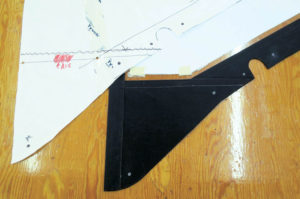
This photo shows detail on how the two fabric pieces overlap. At this point the pattern should match the fabricated side curtain exactly. If any of the fastener locations are askew, we will correct them using the pattern.

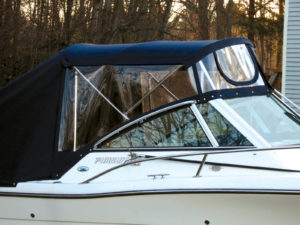
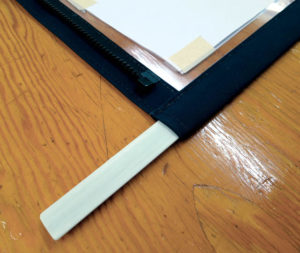
The completed side curtain using our large binder and ¾-inch binding on the bottom edge.
Our customers love this addition to their small side curtains. We add a slide in 1-inch flat batten to stiffen the aft edge so it does not flap while the boat is underway.
Mark Hood, MFC, and his wife, Deb, own and operate Hood Marine Canvas and Hood Marine Canvas Training Workshops in Merrimac, Mass. For more information and to purchase the large binder seen in these articles, visit www.hoodcanvas.com or email mark@hoodcanvas.com. For more information on CW Hood Yachts visit www.cwhoodyachts.com.