TEXTILES.ORG
 Tips for better fitting tops
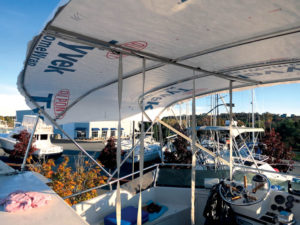
At Hood Canvas, as with any marine canvas shop, we like our tops to be tight and wrinkle-free. To accomplish this, certain rules must be followed in order to get consistent results, regardless of fabrication style.
Fabric terminology
Getting tops to fit correctly with the proper tension requires an even pull of the fabric fore and aft. Our drawing illustrates the fabric terminology associated with a roll of fabric.
Notice that the selvage edge is the same as the warp of the fabric. The least amount of stretch occurs when the selvage edge runs fore and aft. For this reason we always seam our tops along the warp or selvage edges down the center line of the boat. All of our associated pockets and visors are seamed in the same manner maintaining the same fabric orientation as our top. We stagger our seams so they are not stacked on top of each other.
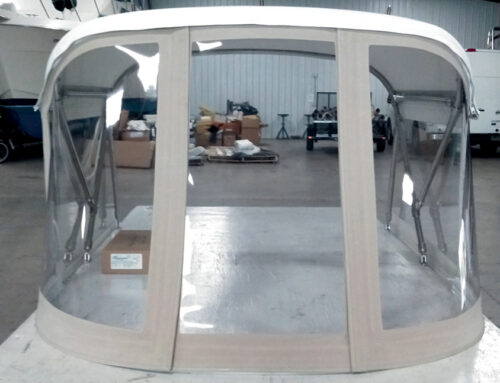
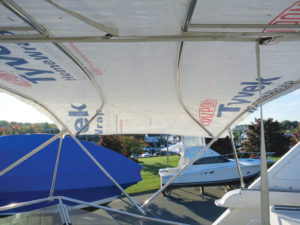
We almost always preload our stainless frames with a strap down the center line of our frame. Pull tight on this strap against the straps or bars at each end of the frame. This action will flex the bows of the frame inward. After we pattern, fabricate and install our top, the frame preload will push the top outwards at each end creating a tight fitting top. Do not preload an aluminum frame, but rather immobilize with strapping tape instead.
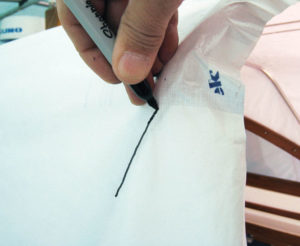
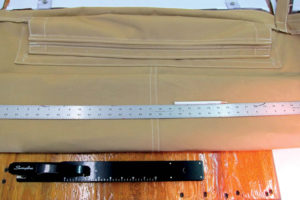
Fabric stretches more in the center as the distance is greater, and less as you get to the sides as the distance is less. This is why marking the seam line correctly at each end of our top is essential for an even pull and a tight top. We start marking our seam line on the side of our frame below the corner radius. Holding our marker halfway between the side and the back of the frame, we start drawing our line. We transition over the corner radius to almost the top of the frame still drawing our line. It should be a nice smooth line over the corner radius. Continuing across the crown with our line just below the top of the frame, we repeat our transition on the opposite corner radius to finish. We find a 10-inch radius bender is just about perfect for all frames and will yield a smoother fitting and better looking top.
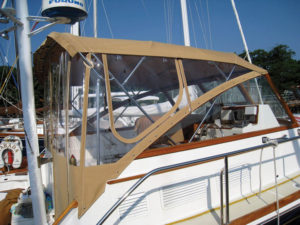
When designing a frame, it is important that there are 90 degrees between frame pieces for optimum tensioning. Frames that try to reach too far with greater than a 90-degree angle between bows will not tension correctly and will not look good. We mount our frames with an approximate 45-degree angle to the deck. Tom Hunter, MFC, the creator of the EZ–Frame program for bending frames, has an excellent book on frame design titled Frame Design for Boat Tops that we highly recommend.
We pull out all seams throughout the fabrication process. We call this the “Natural State” because all the seams and sides will be pulled out under tension when the top is installed on the boat. Therefore it is important to maintain this state throughout the fabrication process.
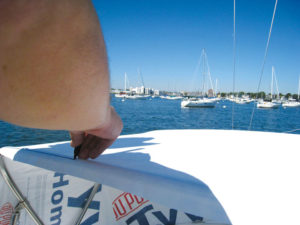
We mark the forward edge of the mid bow by holding a marker against the bow at an inward angle from the underside of our top. This results in an angle on the mid bow which is the same as the angle on the forward and aft bows, contributing to an even pull.

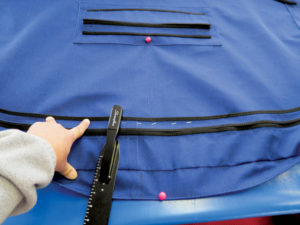
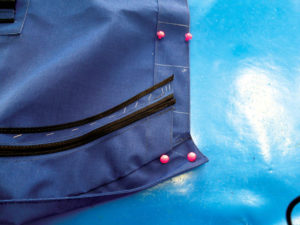
Ease off all mid pocket ends by ½–inch. Only the center of the pocket needs to be tight. Failure to do so will result in a diagonal ripple in our top. We have mentioned this in previous articles, but is worth repeating.
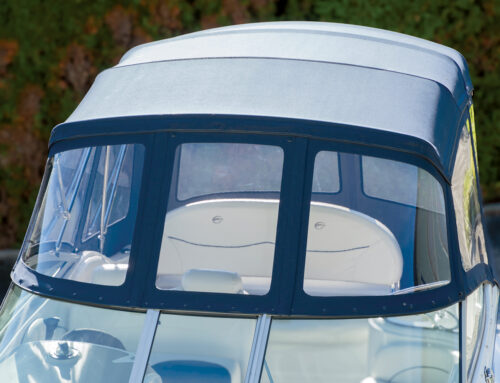
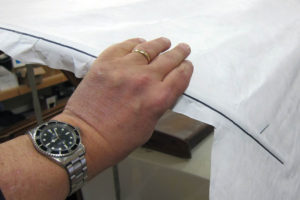
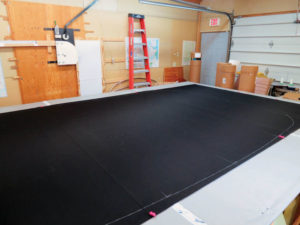
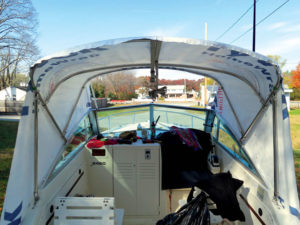
We make most of our tops flat without being raised in the center as many shops do. There is nothing wrong with having the mid bow slightly higher than the forward and aft bows. Most shops have been taught to do it this way, and from time to time we do it ourselves. However, we like our tops flat for the most part due to simplicity of fabrication and patterning. It enables our one-step patterning system so we can pattern our top and sides at the same time as in the photo. Additionally, we leave our mid bow lower than the forward and aft bows, as in the photo. This way, when we pattern, the mid bow does not enter into the equation and we are fitting only between the forward and aft bows. In the final step, we raise our mid bow up until it just deflects the pattern and mark the forward edge before we remove the pattern. There might be some distortion on the sides of our pattern now with the mid bow raised level with the other bows. No need to worry, any distortion will disappear and equalize to center when the top is fabricated and installed under tension.
Mark Hood, MFC, and his wife, Deb, own and operate Hood Marine Canvas and Hood Marine Canvas Training Workshops in Merrimac, Mass. For more information and to purchase the large binder seen in these articles, visit www.hoodcanvas.com, email mark@hoodcanvas.com or visit the Facebook page.