TEXTILES.ORG
 Meticulous prototyping leads to attractive cylinder cushions
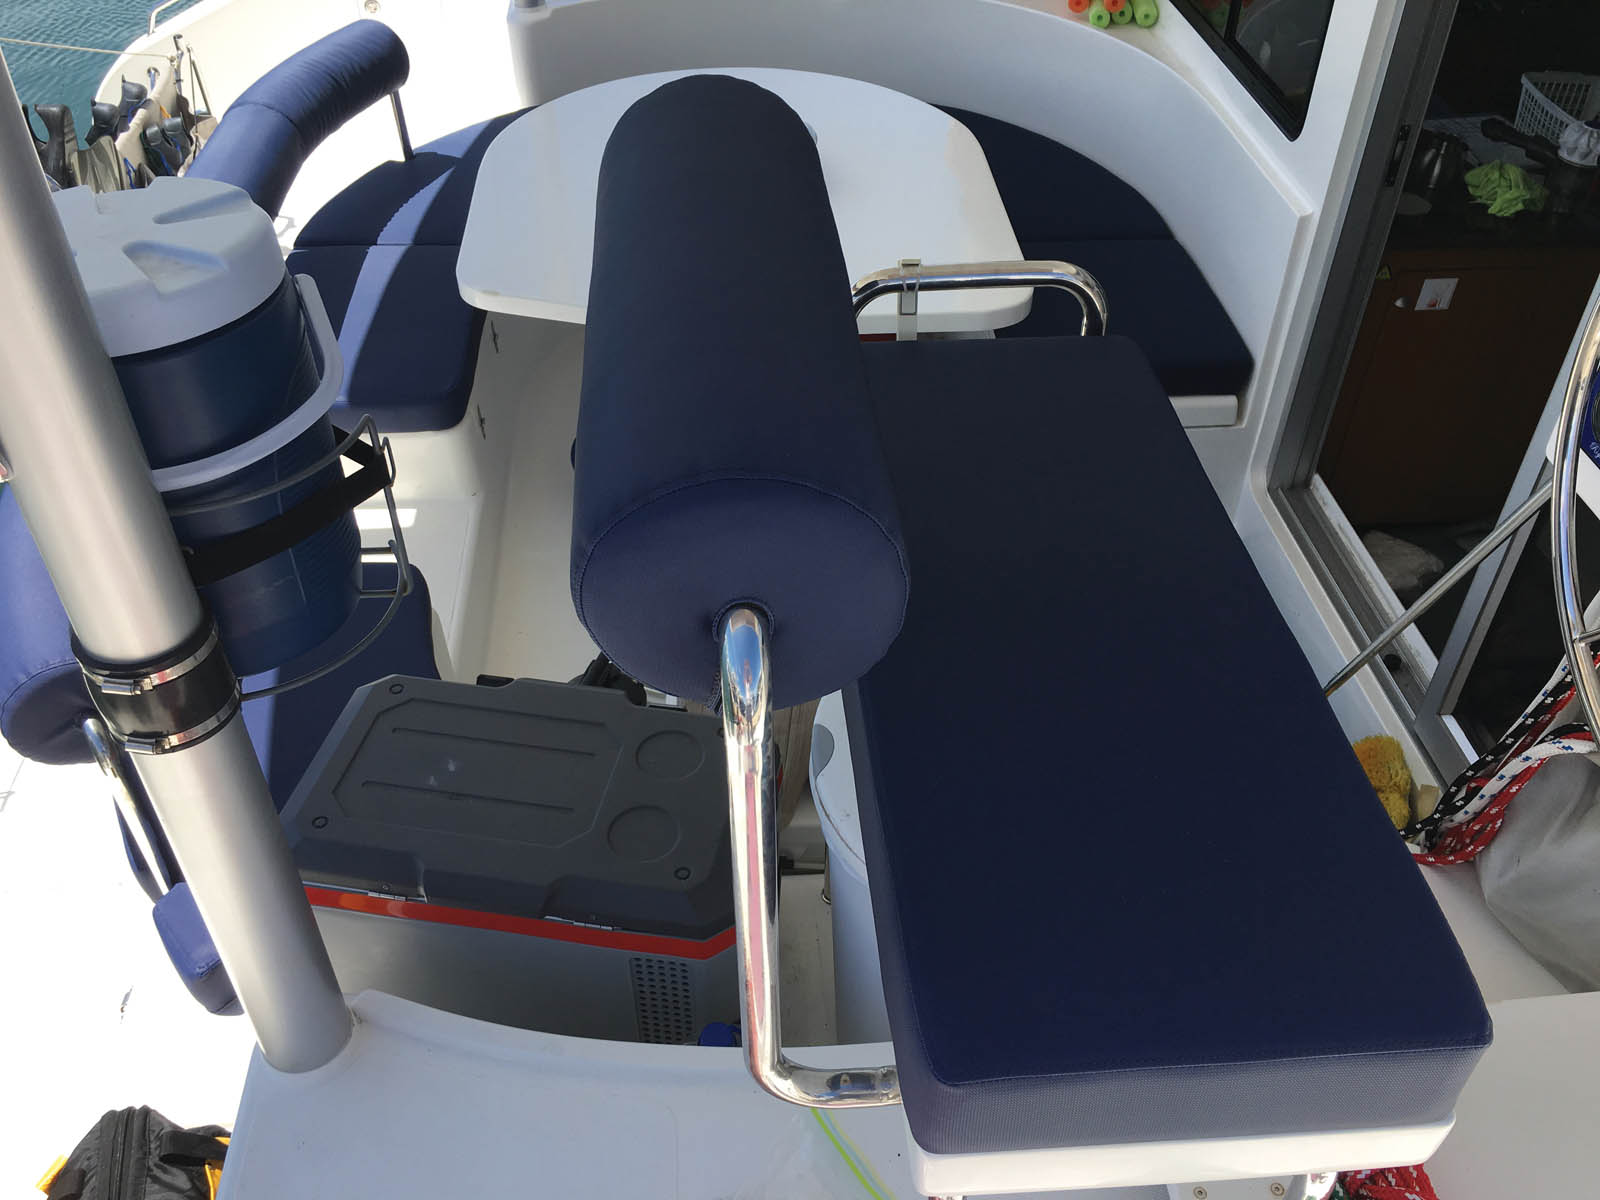
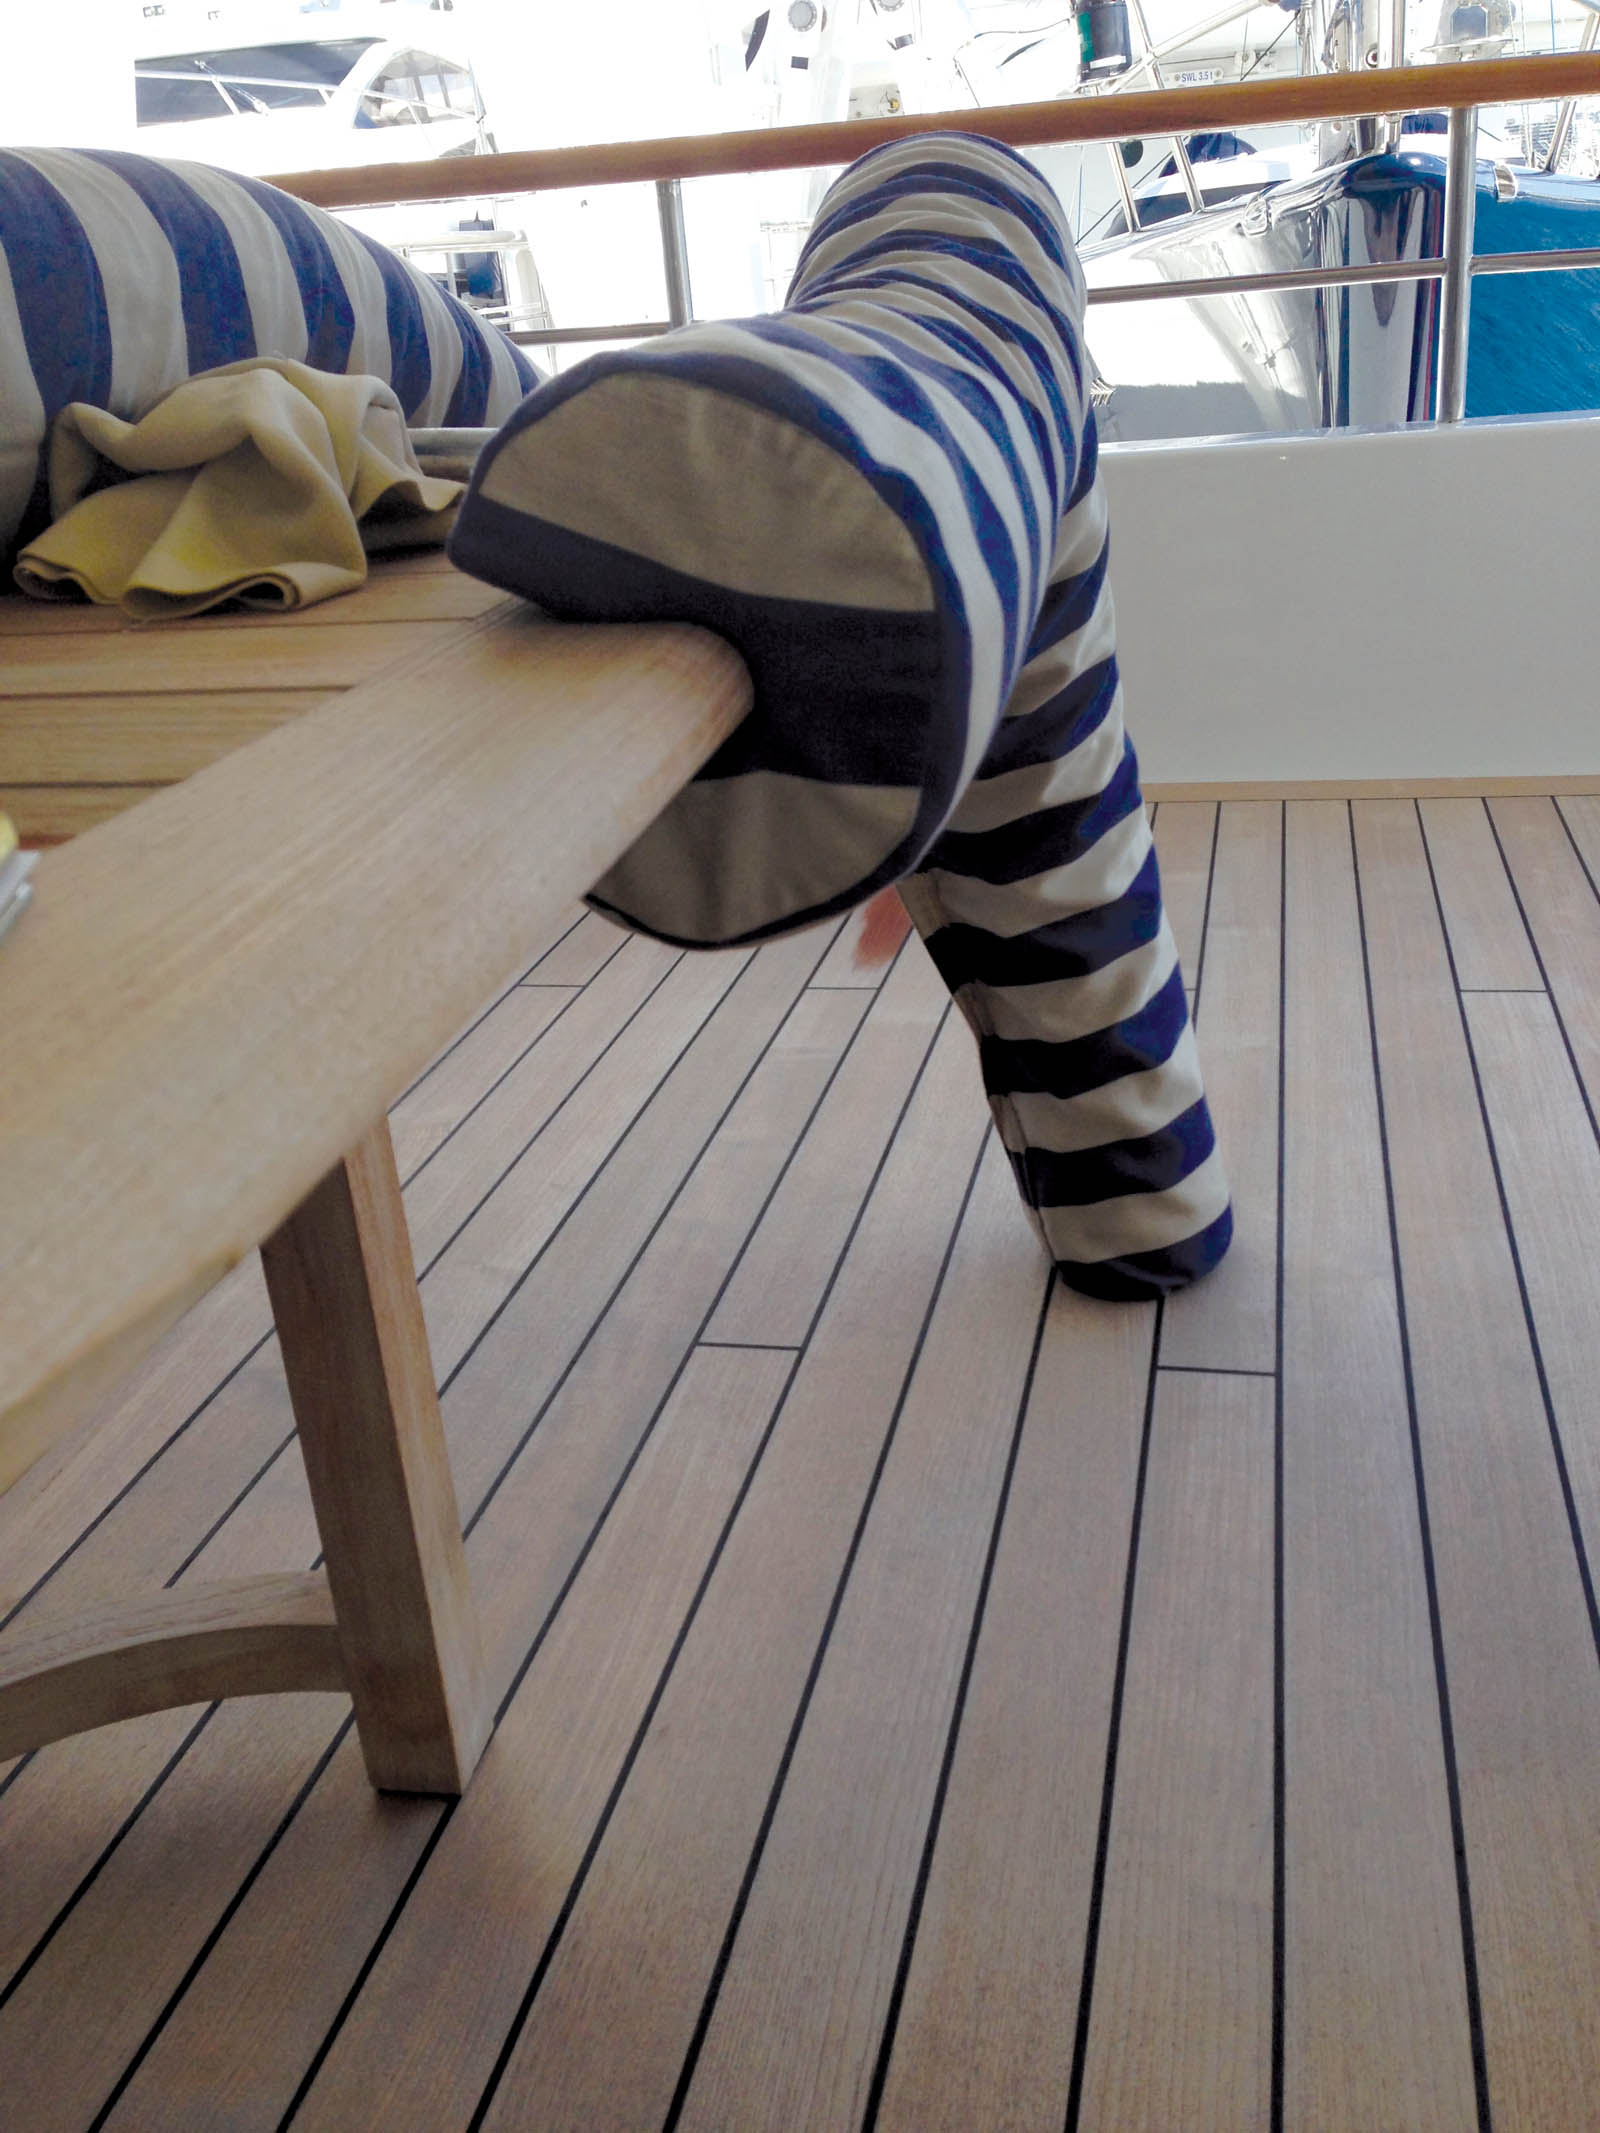
Photo 1. The side view of the finished cylinder cushion and matching seating. Creating prototypes for cylinder-style cushions can help solve design challenges.
Over the years I have been asked to fabricate several unusual items. I never know if that item will be a one-hit wonder or will become a customer favorite. In most cases, I create prototypes that help me creatively solve design challenges. I charge a prototype fee of a few hundred dollars to develop and fabricate a concept for a customer. I can later use that prototype for pricing on future projects, adjusting for quantities as requested by the customer.
Interior fabricators typically know how to construct rectangular cushions and covers with standard sidebands and upper and lower faces of equal dimensions. On the other hand, constructing cylinder cushions that need to attach to tubing presents some definite challenges. Even though cylinder projects can be daunting, you are being compensated for your talent and skills—if you price the project accordingly. If there are multiple pieces, that’s a plus, because fabricating more than one item will add to your profit margin. Furthermore, your inspired solutions can result in award-worthy projects.
Preparation

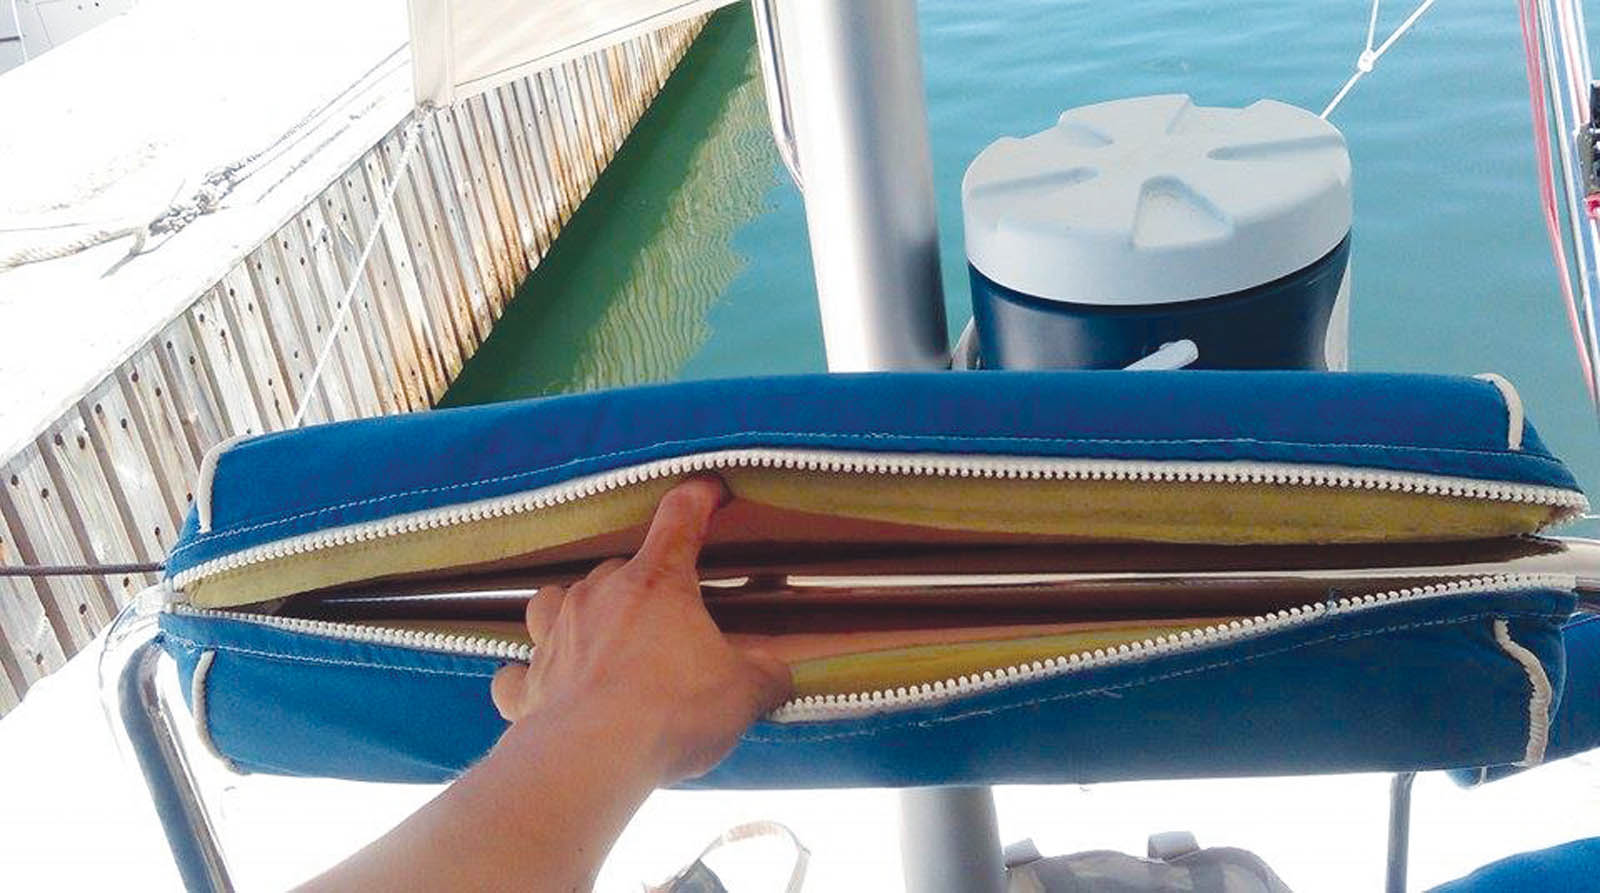
This view shows the original cushions with the old foam and zipper details. The original cushions were fabricated by another company.
I approach the cylinder cushions as a learning opportunity. When fabricating a cylinder, break down the process into manageable steps and set aside several hours of uninterrupted time to develop the concept and fabricate prototypes. The prototypes will help you derive the best solution when you do not have a pattern or an existing cover that can be taken apart for patterning.
If the customer wants to use existing cylinder foam, evaluate how the foam shape has conformed to the original covers. If possible, move forward with new foam. This is important, because the old foam may need a topper in order to properly fill out a new cover.
This view shows the original cushions with the old foam and zipper details. The original cushions were fabricated by another company.
You can order dry-fast foam cylinders that are cut to size. These are available in three densities of firmness, including the cutout for the tube in the cylinder center. On the illustrated sketch (on page 46), you can see the diagram we submitted when we ordered new foam from Florida-based Reliatex Inc. (at www.reliatex.com). Be sure to allow sufficient lead-time for any supplier to cut and ship your product.
Starting the project
Once you have determined the style and quantity of cylinder cushions and agreed upon the pricing with your customer, it is time to begin construction.
This view shows the original cushions with the old foam and zipper details. The original cushions were fabricated by another company.
For this project, we measured the original cylinders and realized that they were each slightly different lengths. However, we determined that a standard size would work well within the tubing frame spaces. In addition, standard-size cylinders would require less production time than custom sizes and create a more visually-appealing result.
We included an extra half inch for our finished foam size (based on the foam density) when ordering new foam, so that the foam “fills out” the cushion cover. As the actual time for fabrication approaches, having the foam cylinders on hand is essential for proper pattern placement and achieving the best fit.
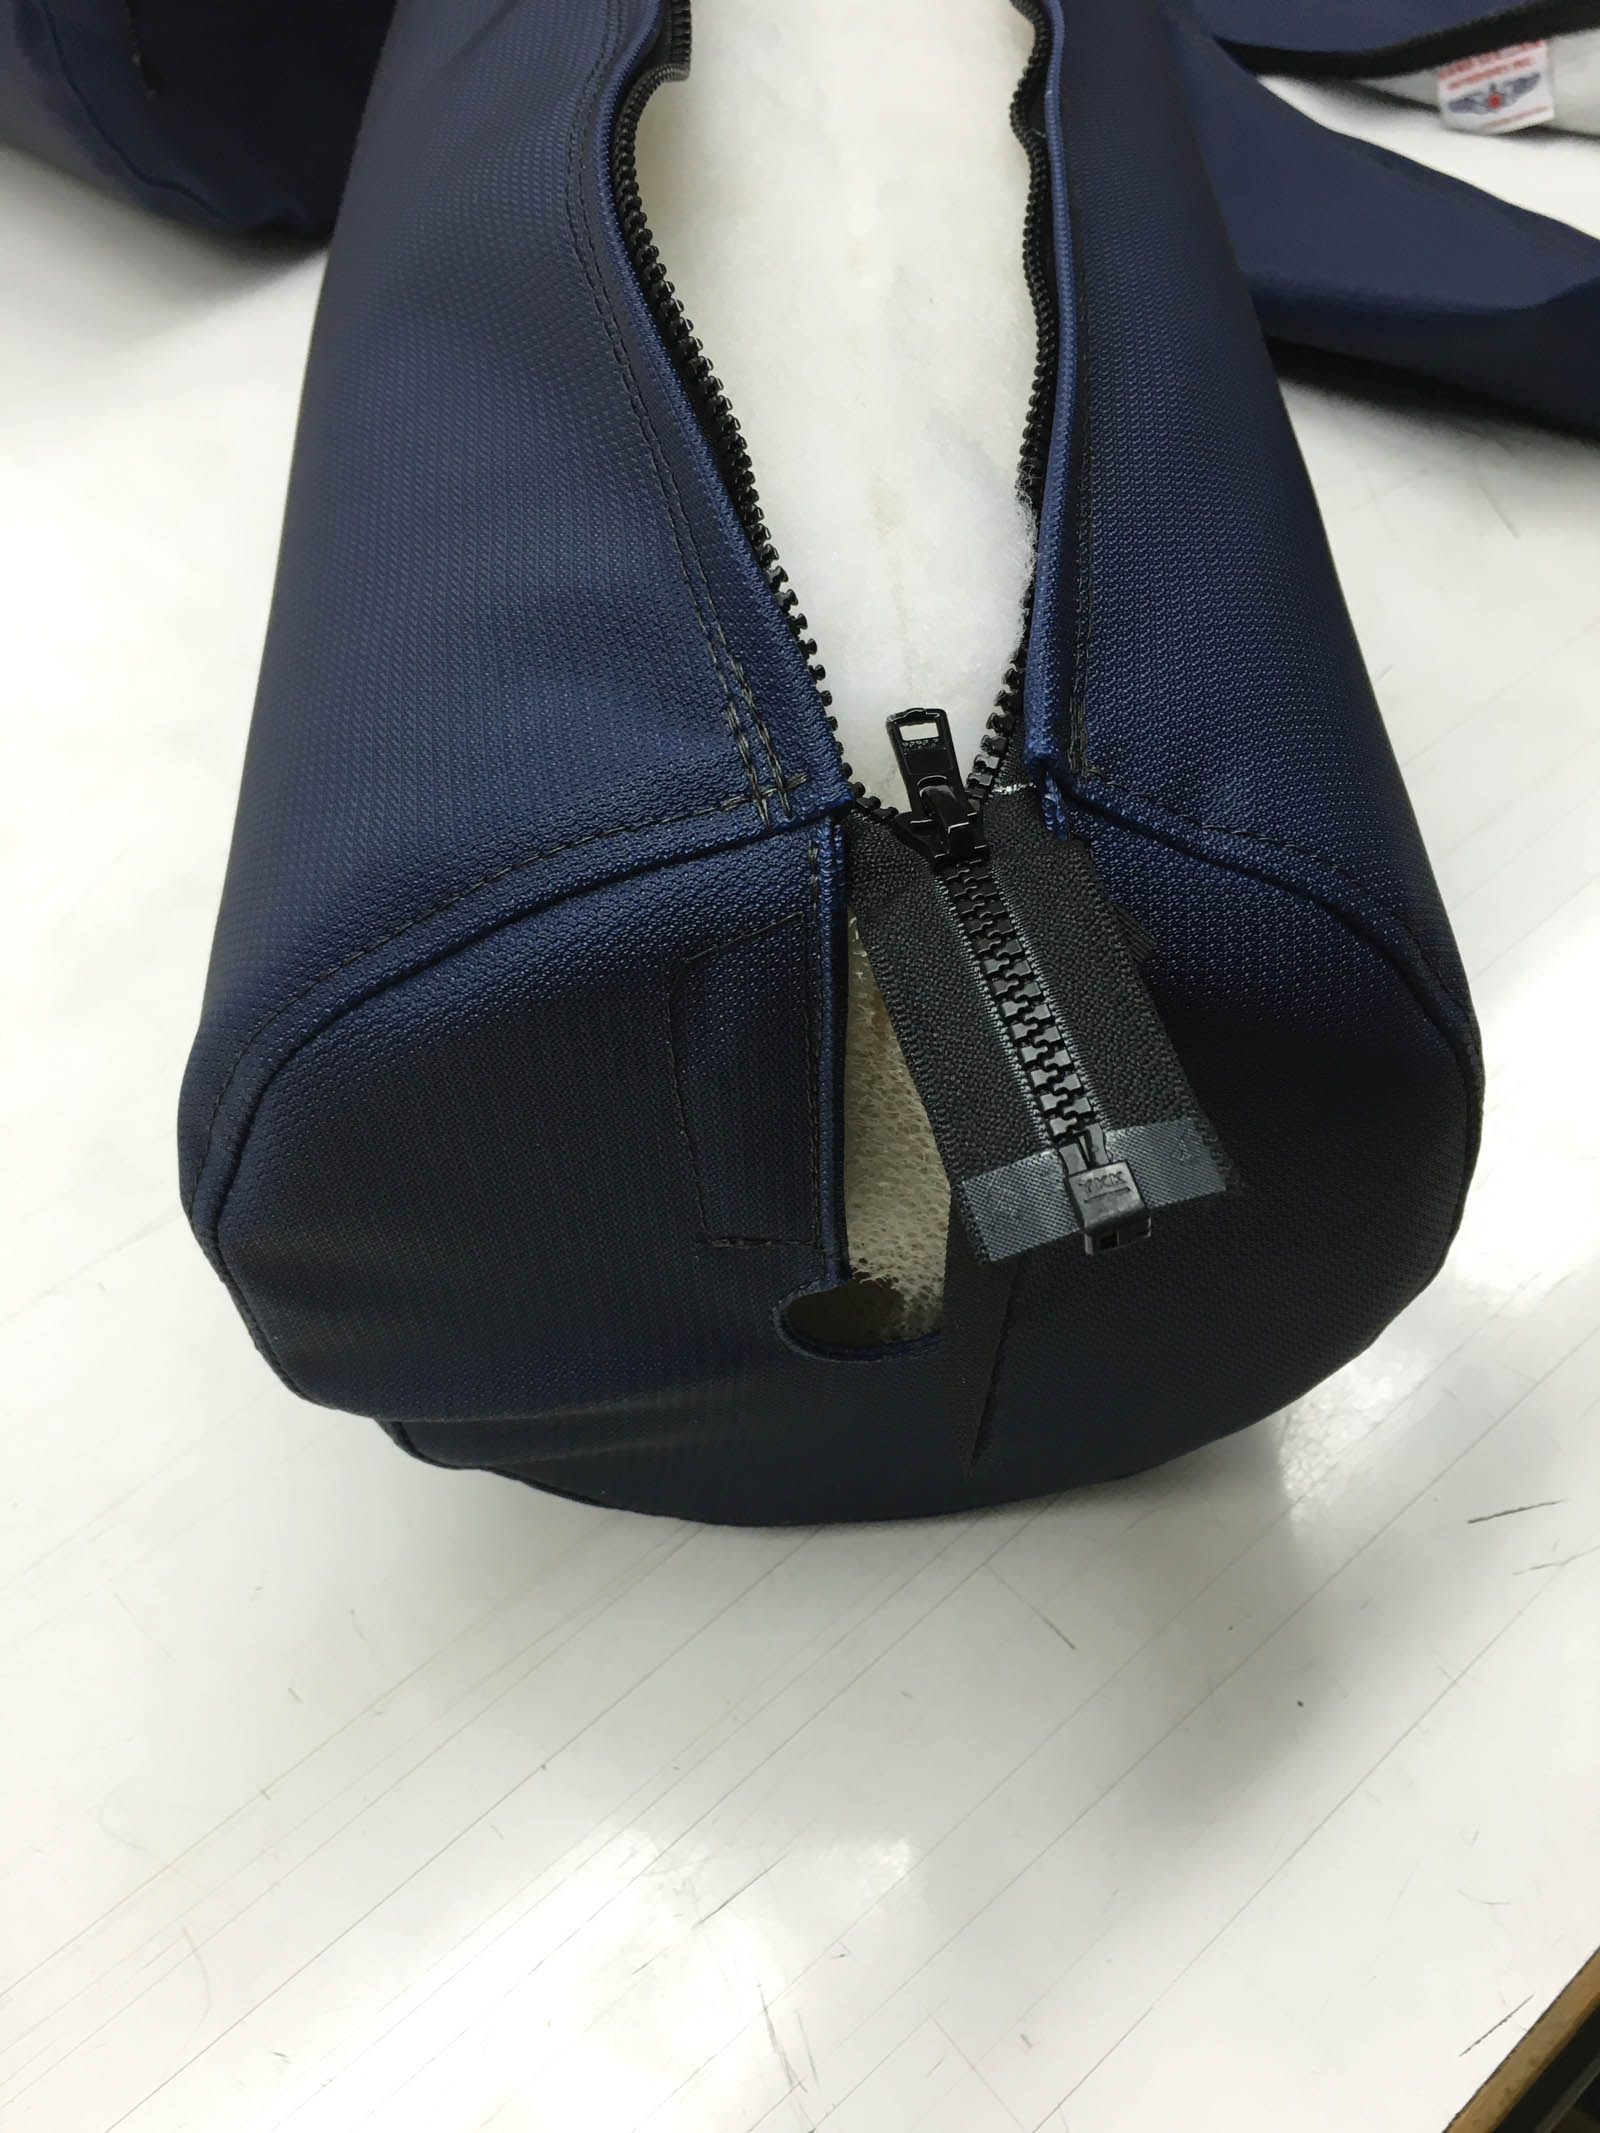
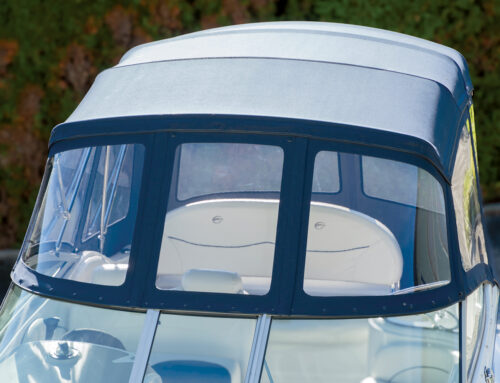
This view shows the new construction, featuring a cleaner design and zipper detail.
For this particular project, I approached the cylinder design and prototypes without an original pattern. My goal was to design and fabricate attractive cylinder covers to fit over stainless tubing; the cylinders had an 8-inch diameter and a length of 27 inches. We had to make removable covers for four cylinders with inserts in medium-density foam. I also wanted to provide sufficient firmness for seat backs.
In the past, we had fabricated Jacuzzi pool cushions on tubing; that project helped us in our approach for this project. The Jacuzzi cushions were designed for permanent location, whereas the cylinders for this project on a 42-foot catamaran needed to be removable.
This view shows the new construction, featuring a cleaner design and zipper detail.
Construction and installation steps
- We started with the round ends first. The circles were cut to include a half-inch seam. We cut two 8-inch circles of vinyl for each side. We generally cut our foam and material the same size, so the foam fills out the cushion cover after the seam allowance reduces the cushion size.
- We placed the vinyl circles face-to-face.
- On the inside of the vinyl, we marked the center hole for the tubing cut-out. We also marked a line for an opening along half of the diameter for an access opening for where the finished cylinder would need to be placed over the tube.
- We stitched along the outside of the indicator line for the opening slit, around the circle for the tubing and down the other outside line for the opening slit.
- We cut next to the stitching between the lines for the access opening and around the center hole, removing the excess at the center hole.
- We turned the layers to the right side and top stitched the layer opening in place. Then we trimmed the inner-facing layer.
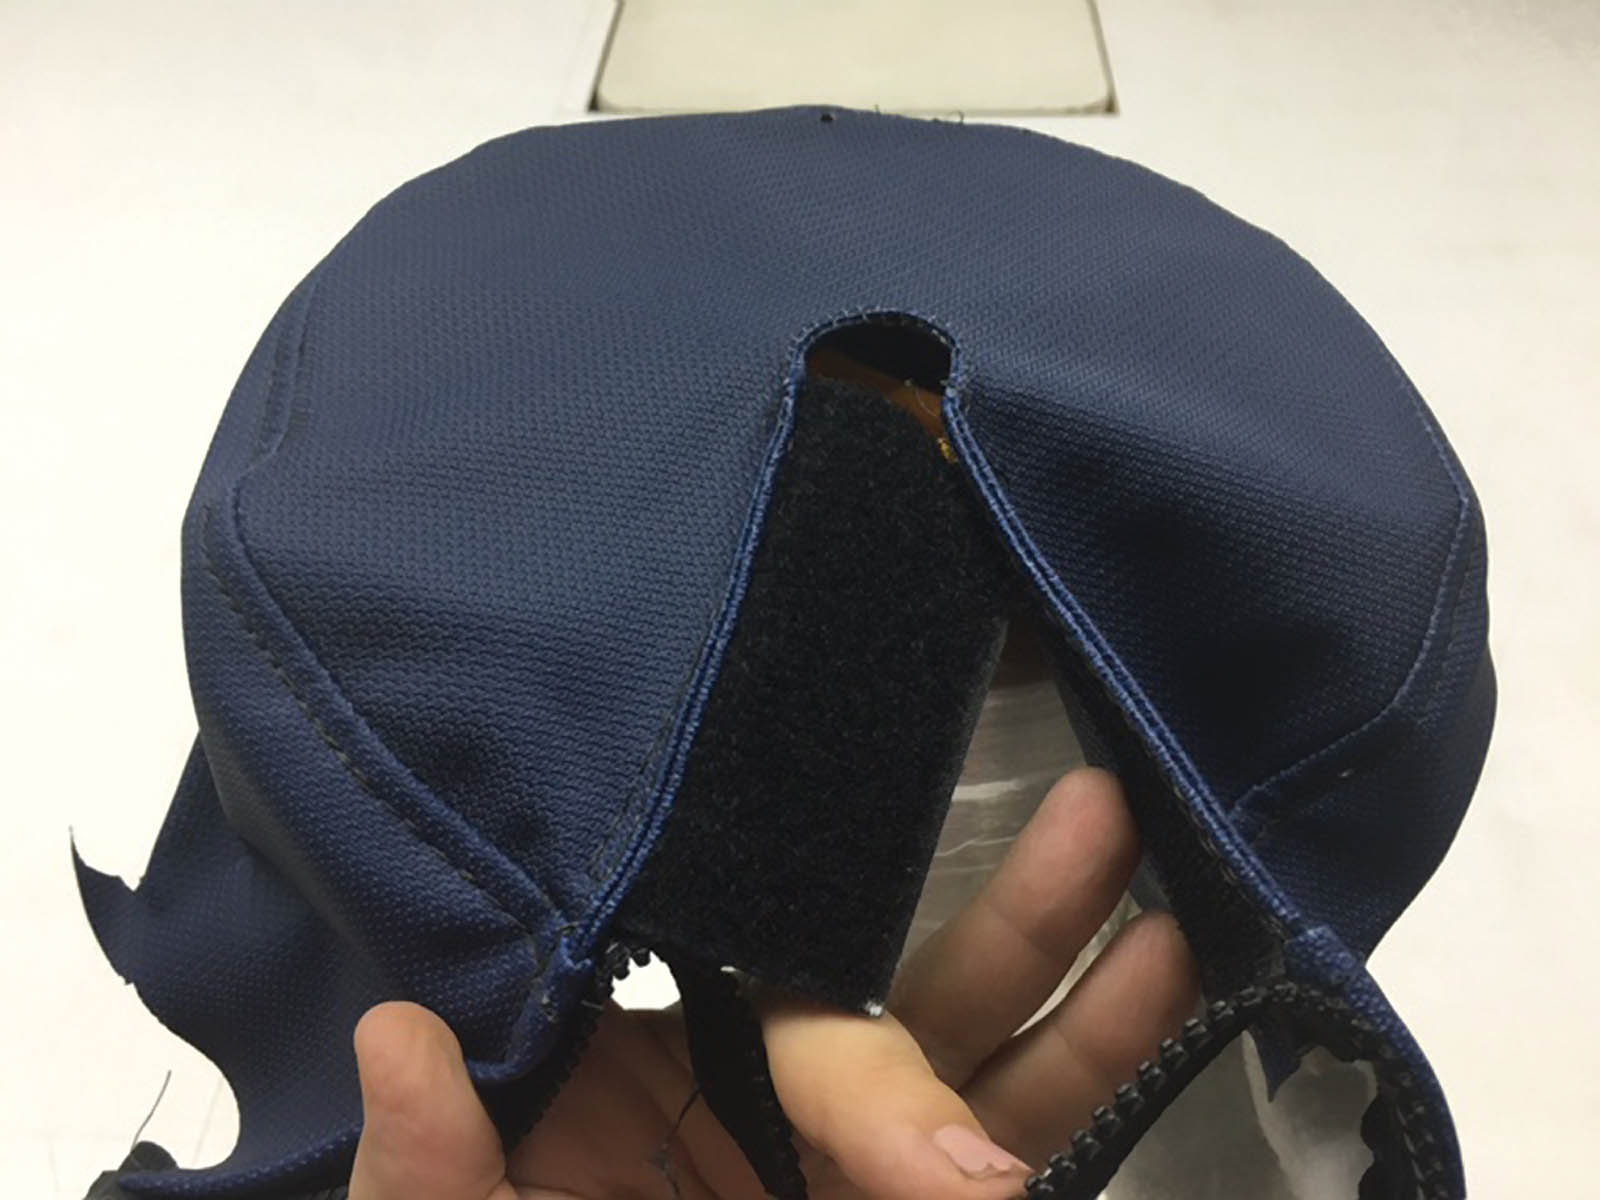
- The cylinder ends were securely closed with a Velcro™ flap, but the center of the cylinder would incorporate a number 5 jacket zipper. The tails of the jacket zipper would hide inside the sides of the cylinder and be accessed via the Velcro opening and closing next to the tubing.
- A piece of 2-inch male Velcro formed the flap, as one edge of the Velcro was sewn to one side of the opening under the tube hole. A piece of 1-inch female Velcro was sewn to the other side of the 4-inch opening. This ensured that the area would hold tight in a closed position when the cylinder was placed on the tube. See photo 6.
- The cylinder center panel was measured and cut with seam allowances included for the zipper.
The two ends of the cylinder were sewn to the center panel. - The jacket zipper was sewn to a turned edge of the center panel, leaving a 3-inch tail at each end where the cylinder side ends met the center panel.
- The foam was inserted into the cover. We sprayed a dry silicone on the foam before inserting it into the covers; the silicone reduces resistance between the foam and material.
- The finished cylinder could be easily placed on the tubing, inserting the foam over the tubing, closing the zipper, then tucking the zipper ends into the foam and securing the end circles via the Velcro.
- By carefully maneuvering the foam at the cylinder ends, the male and female Velcro secured and closed the space below the tubing to where the zipper connected.
The end result was sleek cylinders with hidden access areas for easy removal and installation.
At the time of installation we wrapped the tubing with nonskid material to hold the cylinders in-place. The original cylinders had unattractive zippers that displaced to various locations on the tubing.
We were proud to deliver a handsome project, and the captain and owner were equally pleased.
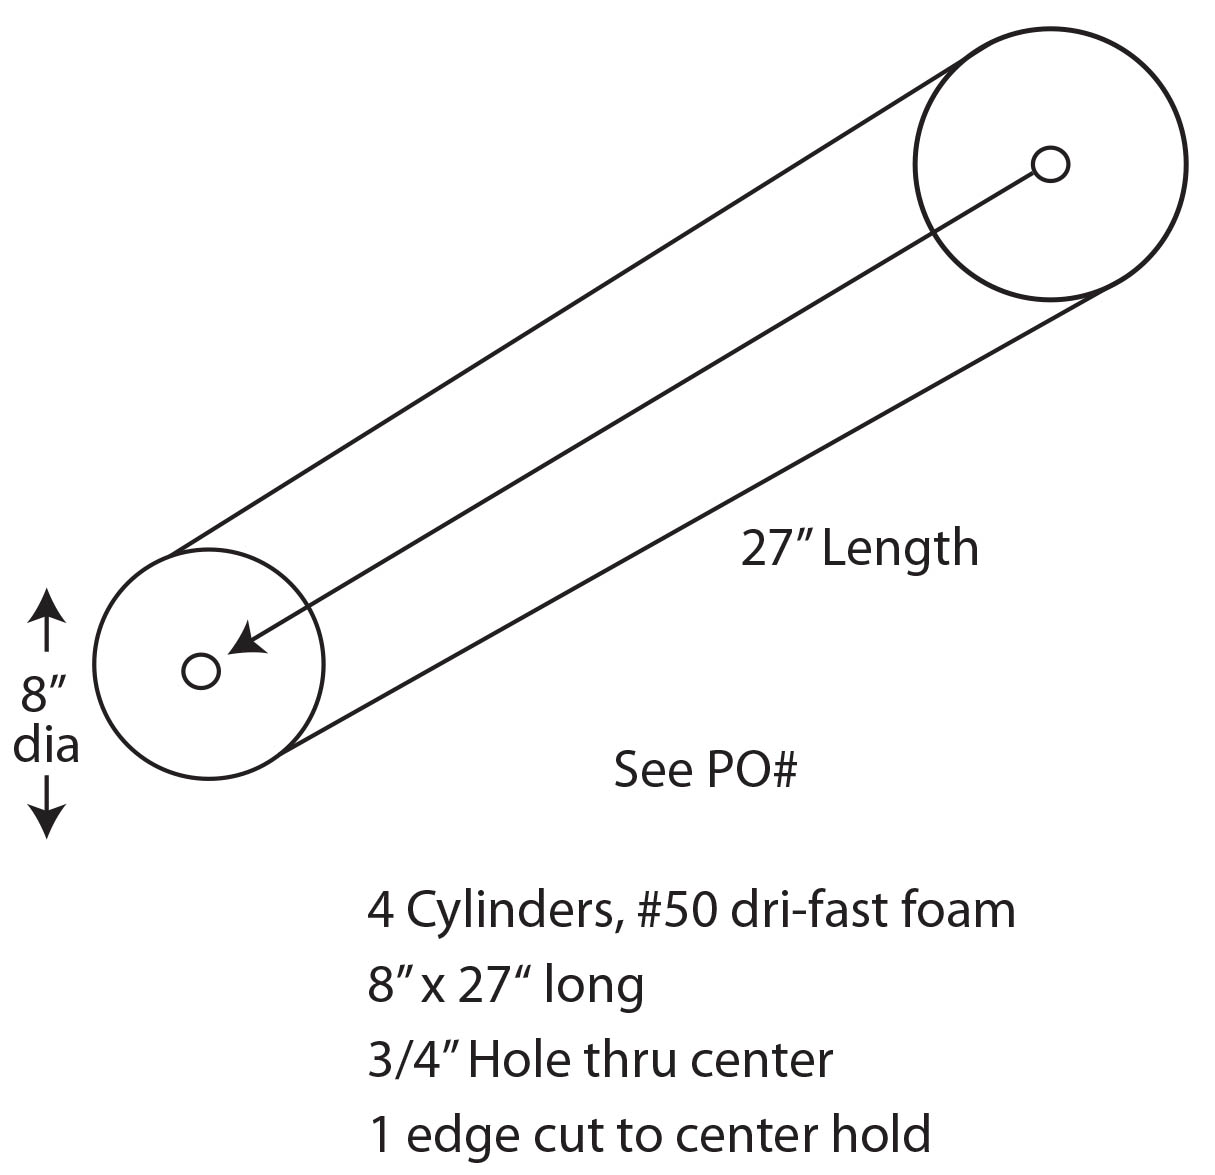
When ordering foam for cylinder cushions, send a sketch that diagrams exact measurements.
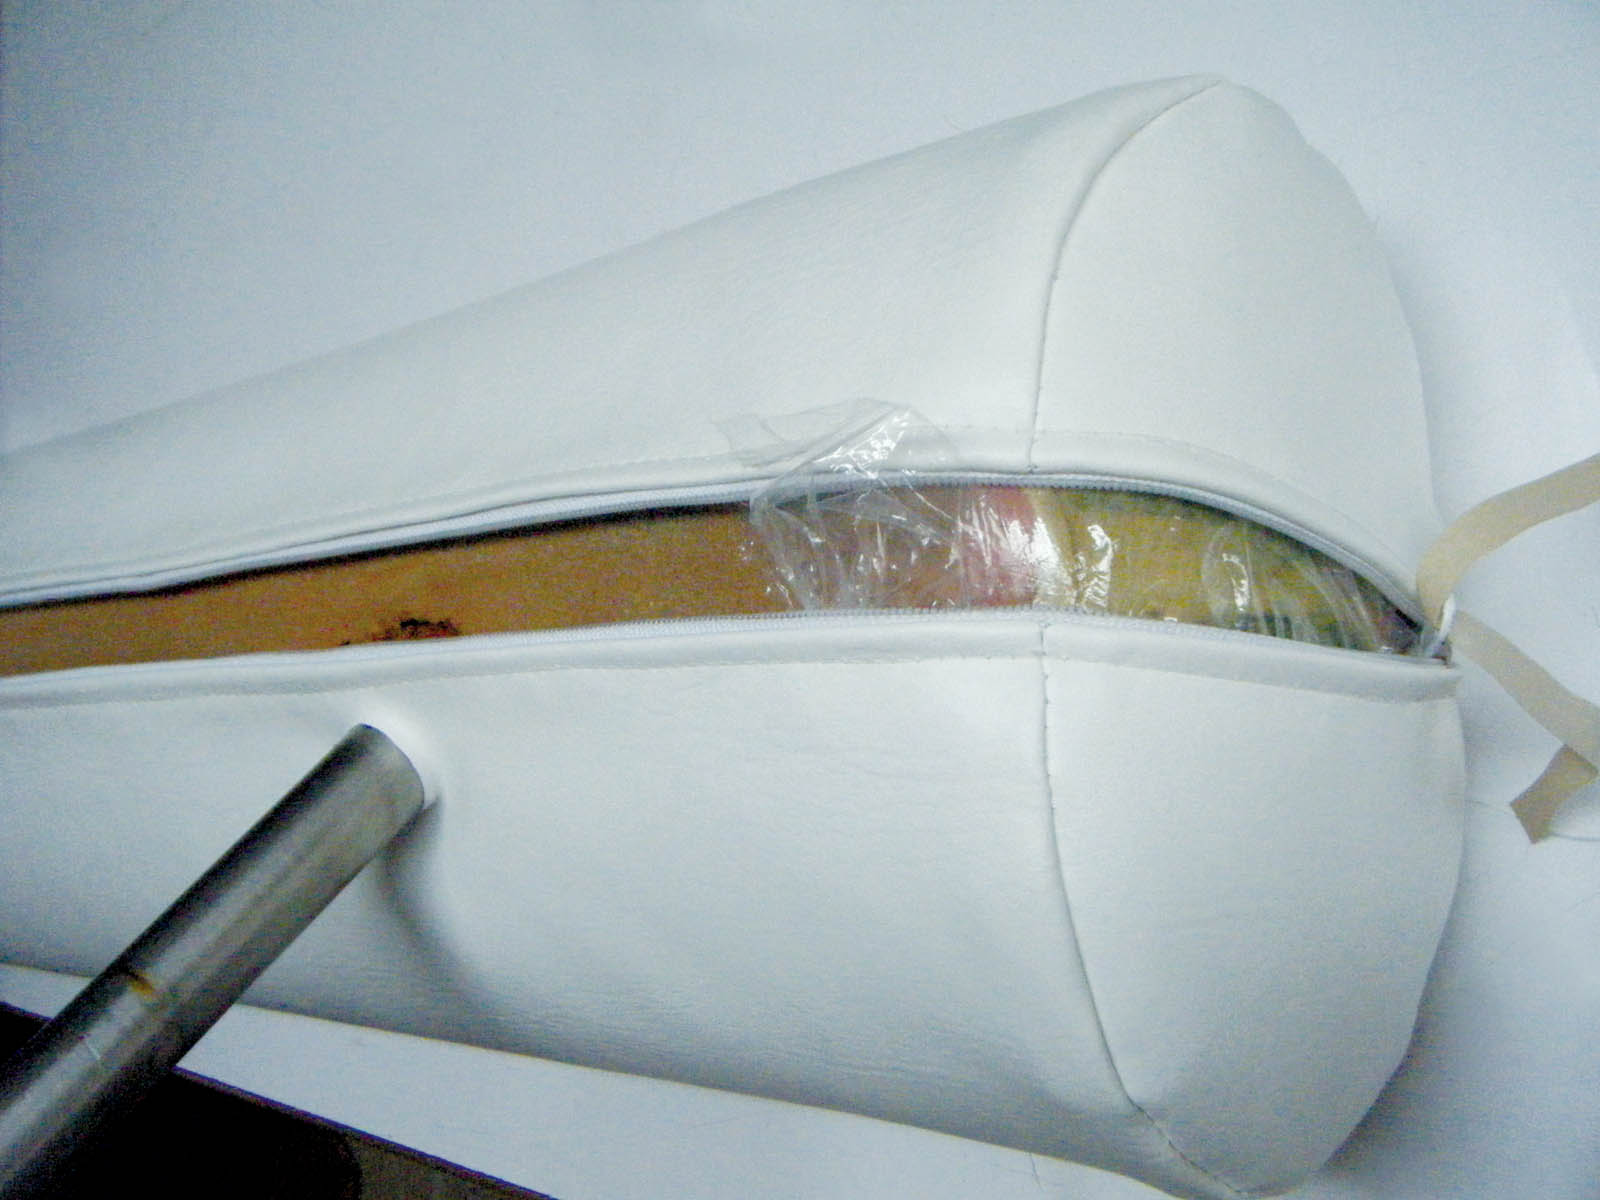
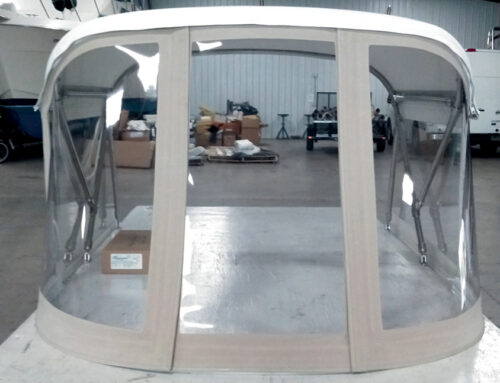
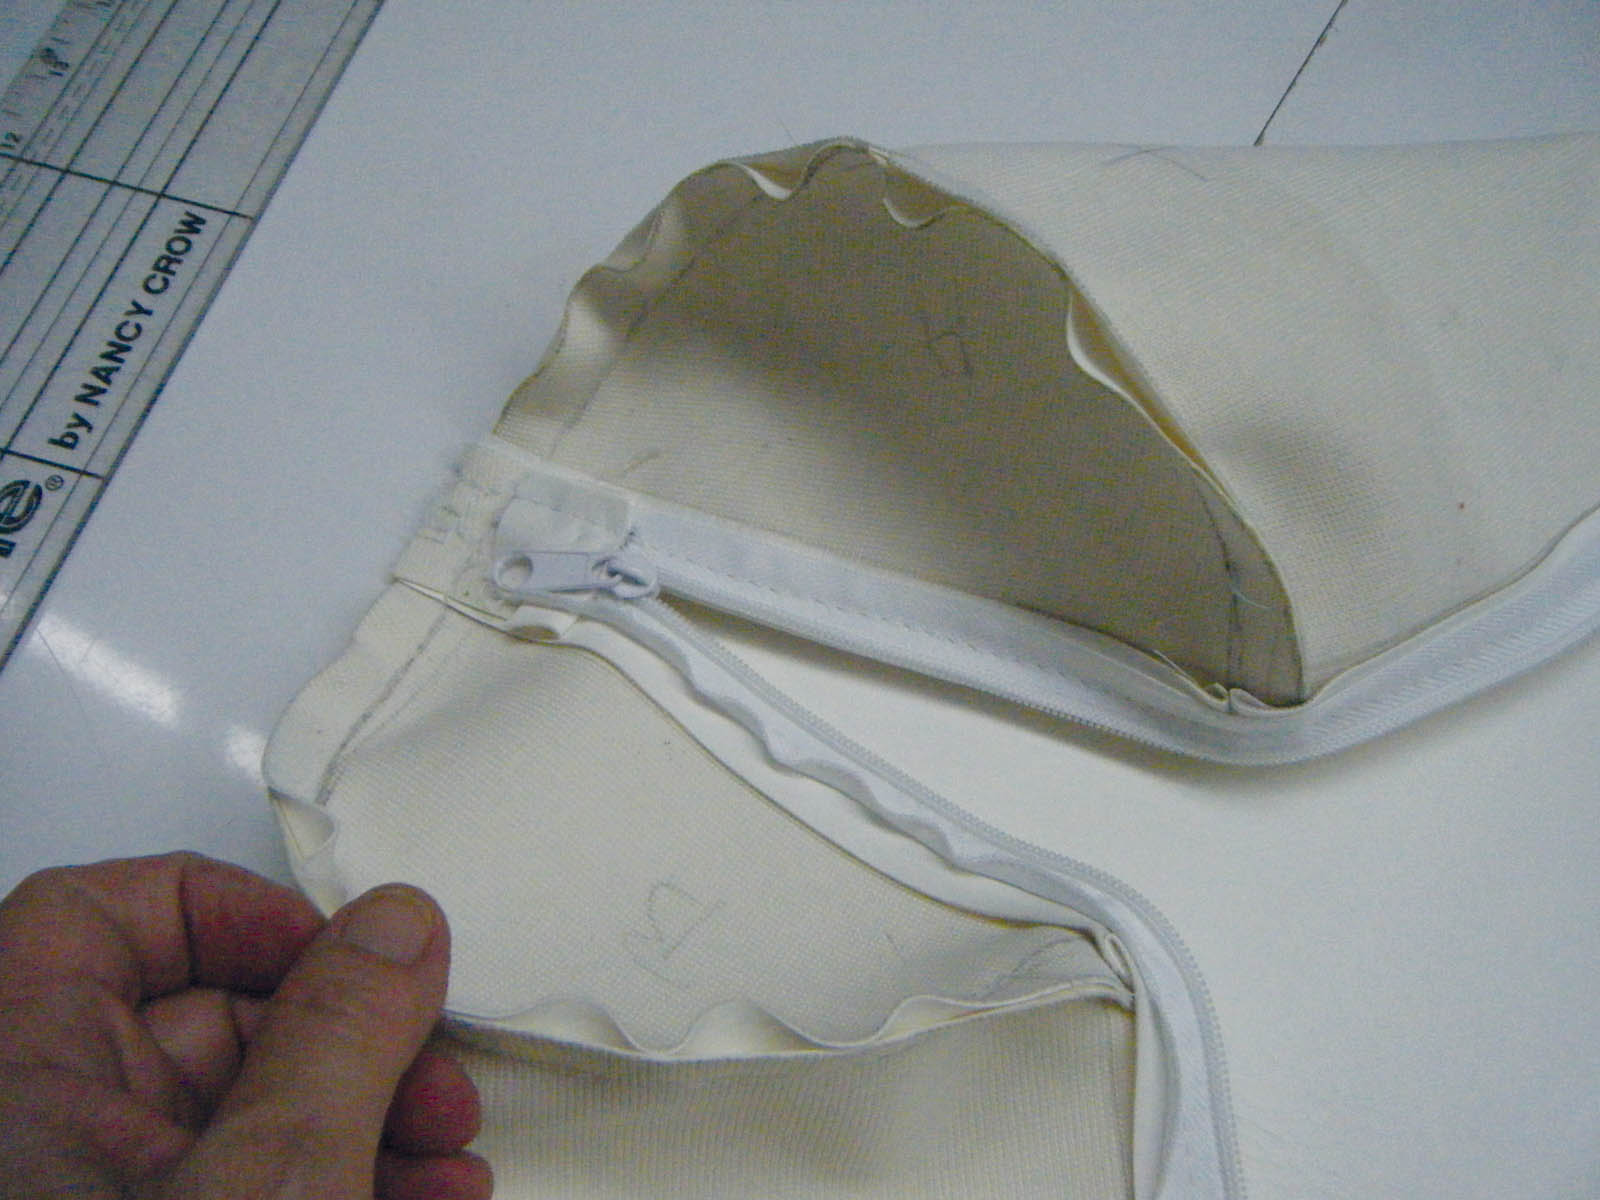
This white Jacuzzi cushion was fabricated with the zippers extending into the side ends in order to insert the interior into the cover. The pole placement cut-outs were underneath the cushion zipper.

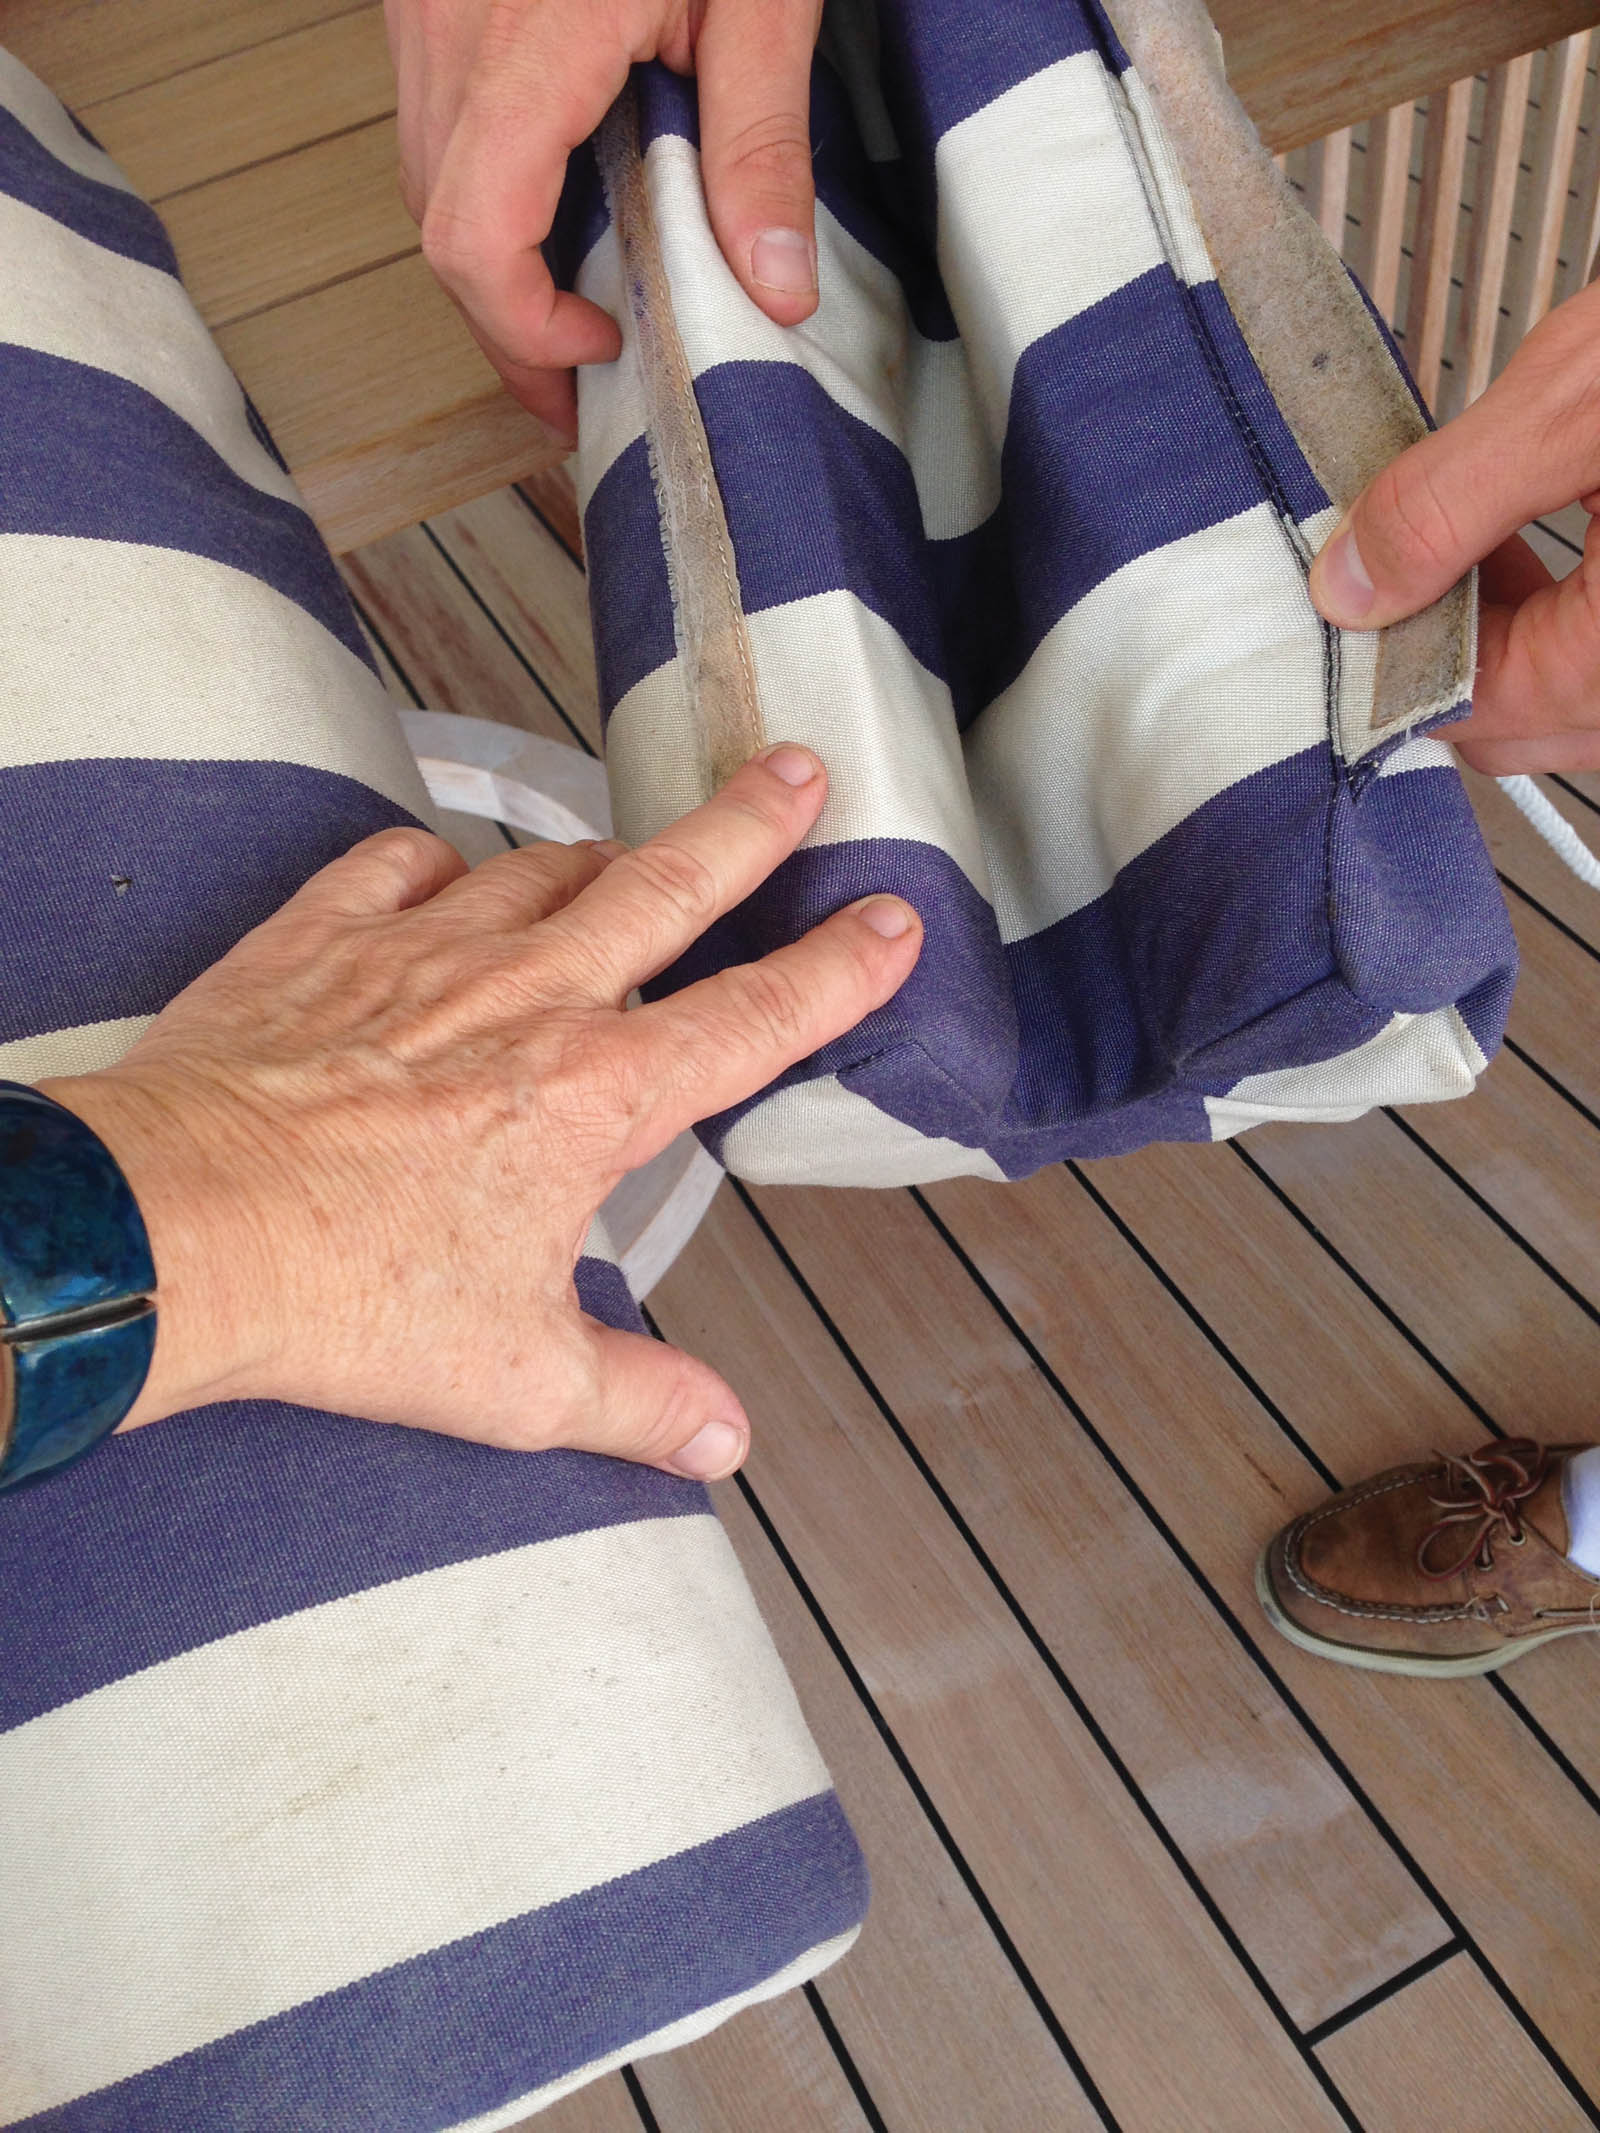
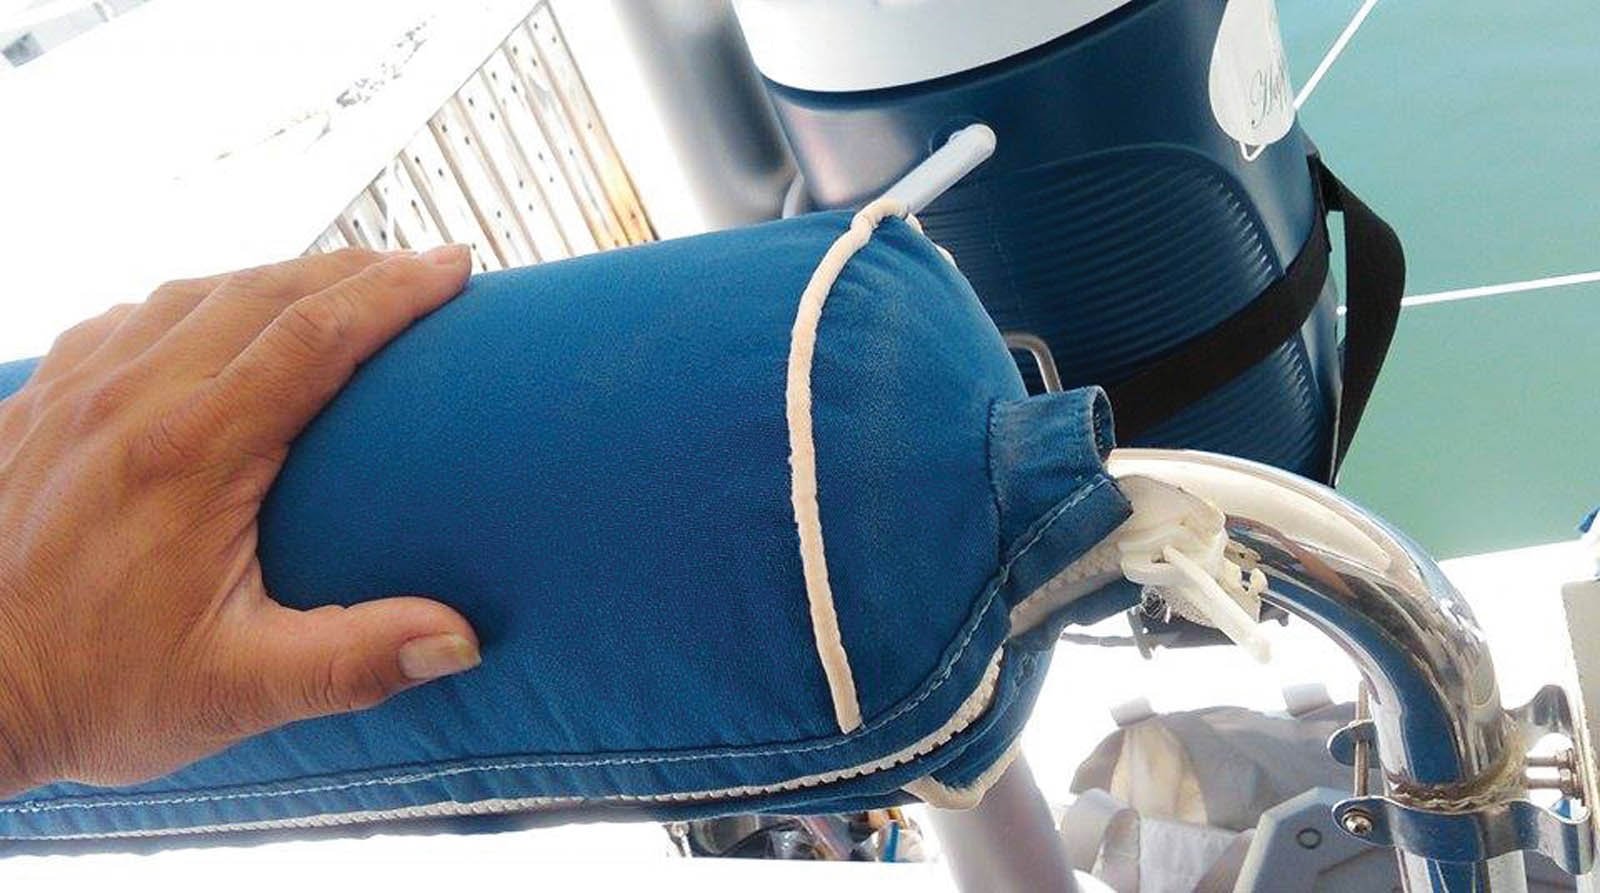
Details of a striped cylinder cushion fabricated in canvas to fit on a tube or railing.