TEXTILES.ORG
 Cockpit cover fabrication tips
By Leo Pohlmann, in collaboration with Zach Pohlmann
Throughout my 30 years of marine canvas experience as the owner of Uncharted Marine Canvas, I’ve seen many trends come and go. One that has emerged within the past five to 10 years is the creation of cockpit covers on sportfishing boats. Located in the Florida Panhandle, my shop often works on boats that utilize this type of cover. In this article, I will give some insights on cockpit covers as well as some tips about how to manufacture this style of cover.
Rising popularity
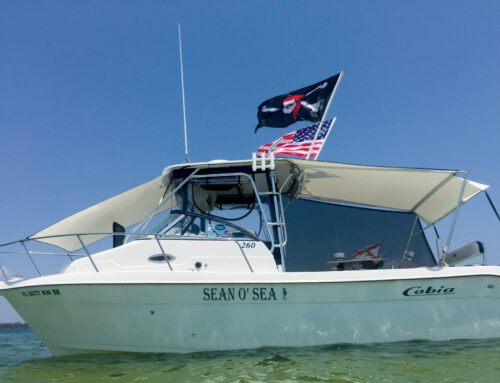
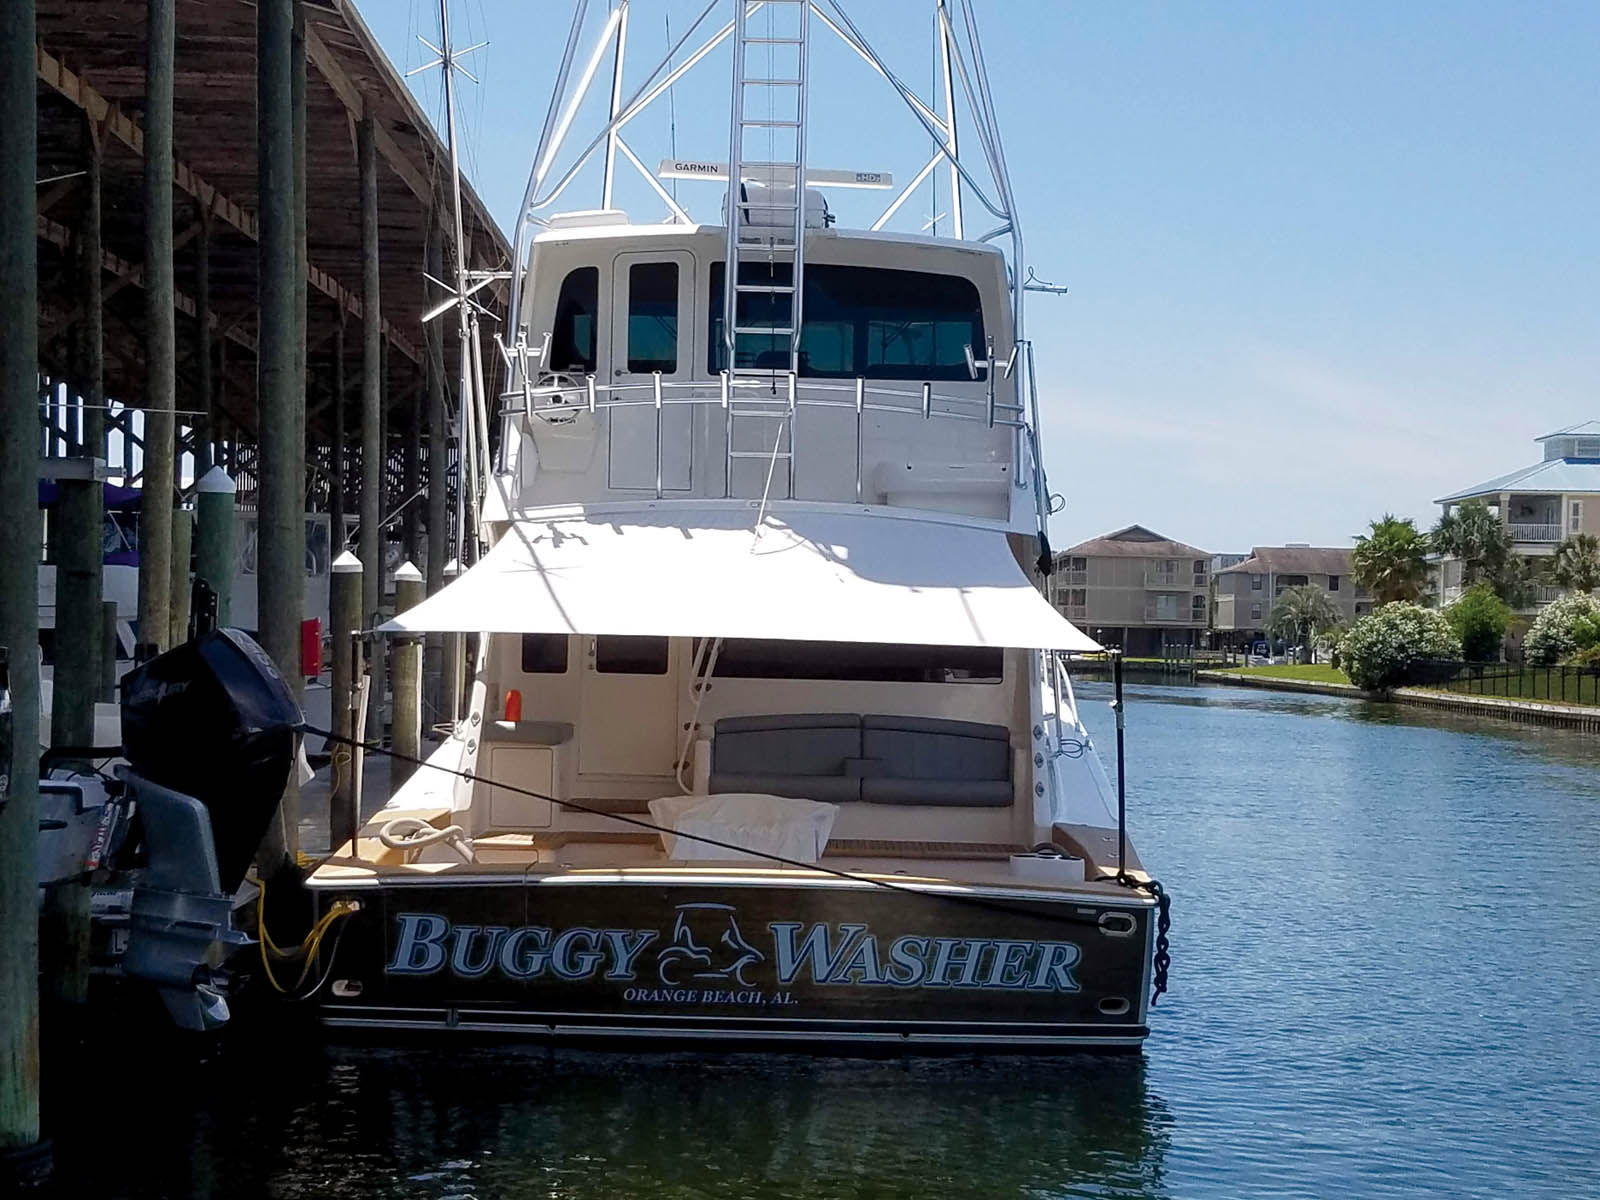
While cockpit covers are relatively new to the marine canvas industry, I have seen a recent uptick of interest in these covers from owners of sportfishing boats in my area. The reason for this boom is that these covers offer something that previously could not be achieved—shade and weather coverage over the cockpit area. Connecting from the underside of the bridge deck all the way to the rear rub rails, this solid cover brings protection to the previously unprotectable.
By utilizing cockpit covers on these boats, owners are adding life to the teak flooring and fighting chair—keeping the boat looking good and saving themselves money at the same time. In addition to protecting the aft of the boat from the elements, this cover offers a large amount of shade—something appreciated by crew members seeking relief from the hot sun, whether they’re deckhands preparing the boat for a fishing tournament or a family enjoying a day on the water. Designed to be taken on and off quickly and efficiently, cockpit covers are also very user friendly and cater to even the most casual of boat users.

Adding headroom
As cockpit covers become more common, customers want to get the most out of their investment. One of the biggest negatives of these covers is the lack of headroom when in use. One solution is to incorporate support poles in rod holders and zippers in the cover (Photo 2 page 31). Incorporating a zipper near the rear of the cover allows the user to unzip the excess material needed to secure the cover to the rub rail, and to instead secure the cover to poles inserted into rod holders. These poles are made from carbon fiber or stainless steel and provide all the support of a traditional cockpit cover with additional headspace. This design has become more and more popular, and the new multiuse function is an added selling point for customers.
Leo Pohlmann has been in the marine canvas industry for more than 30 years, now servicing a large portion of the Florida Panhandle and Alabama from his shop, Uncharted Marine Canvas, in Gulf Breeze, Fla. Growing up on the water, Leo has always loved the boating industry, so his draw to the marine canvas field was a natural fit for him. For this article, Leo worked in conjunction with his son, Zach Pohlmann, who is currently pursuing his master’s degree in communications with a focus on sports.
SIDEBAR: Cockpit cover fabrication tips
Here are some techniques to give these cockpit covers
a modern look as well as a strong foundation.
Cockpit cover patterning
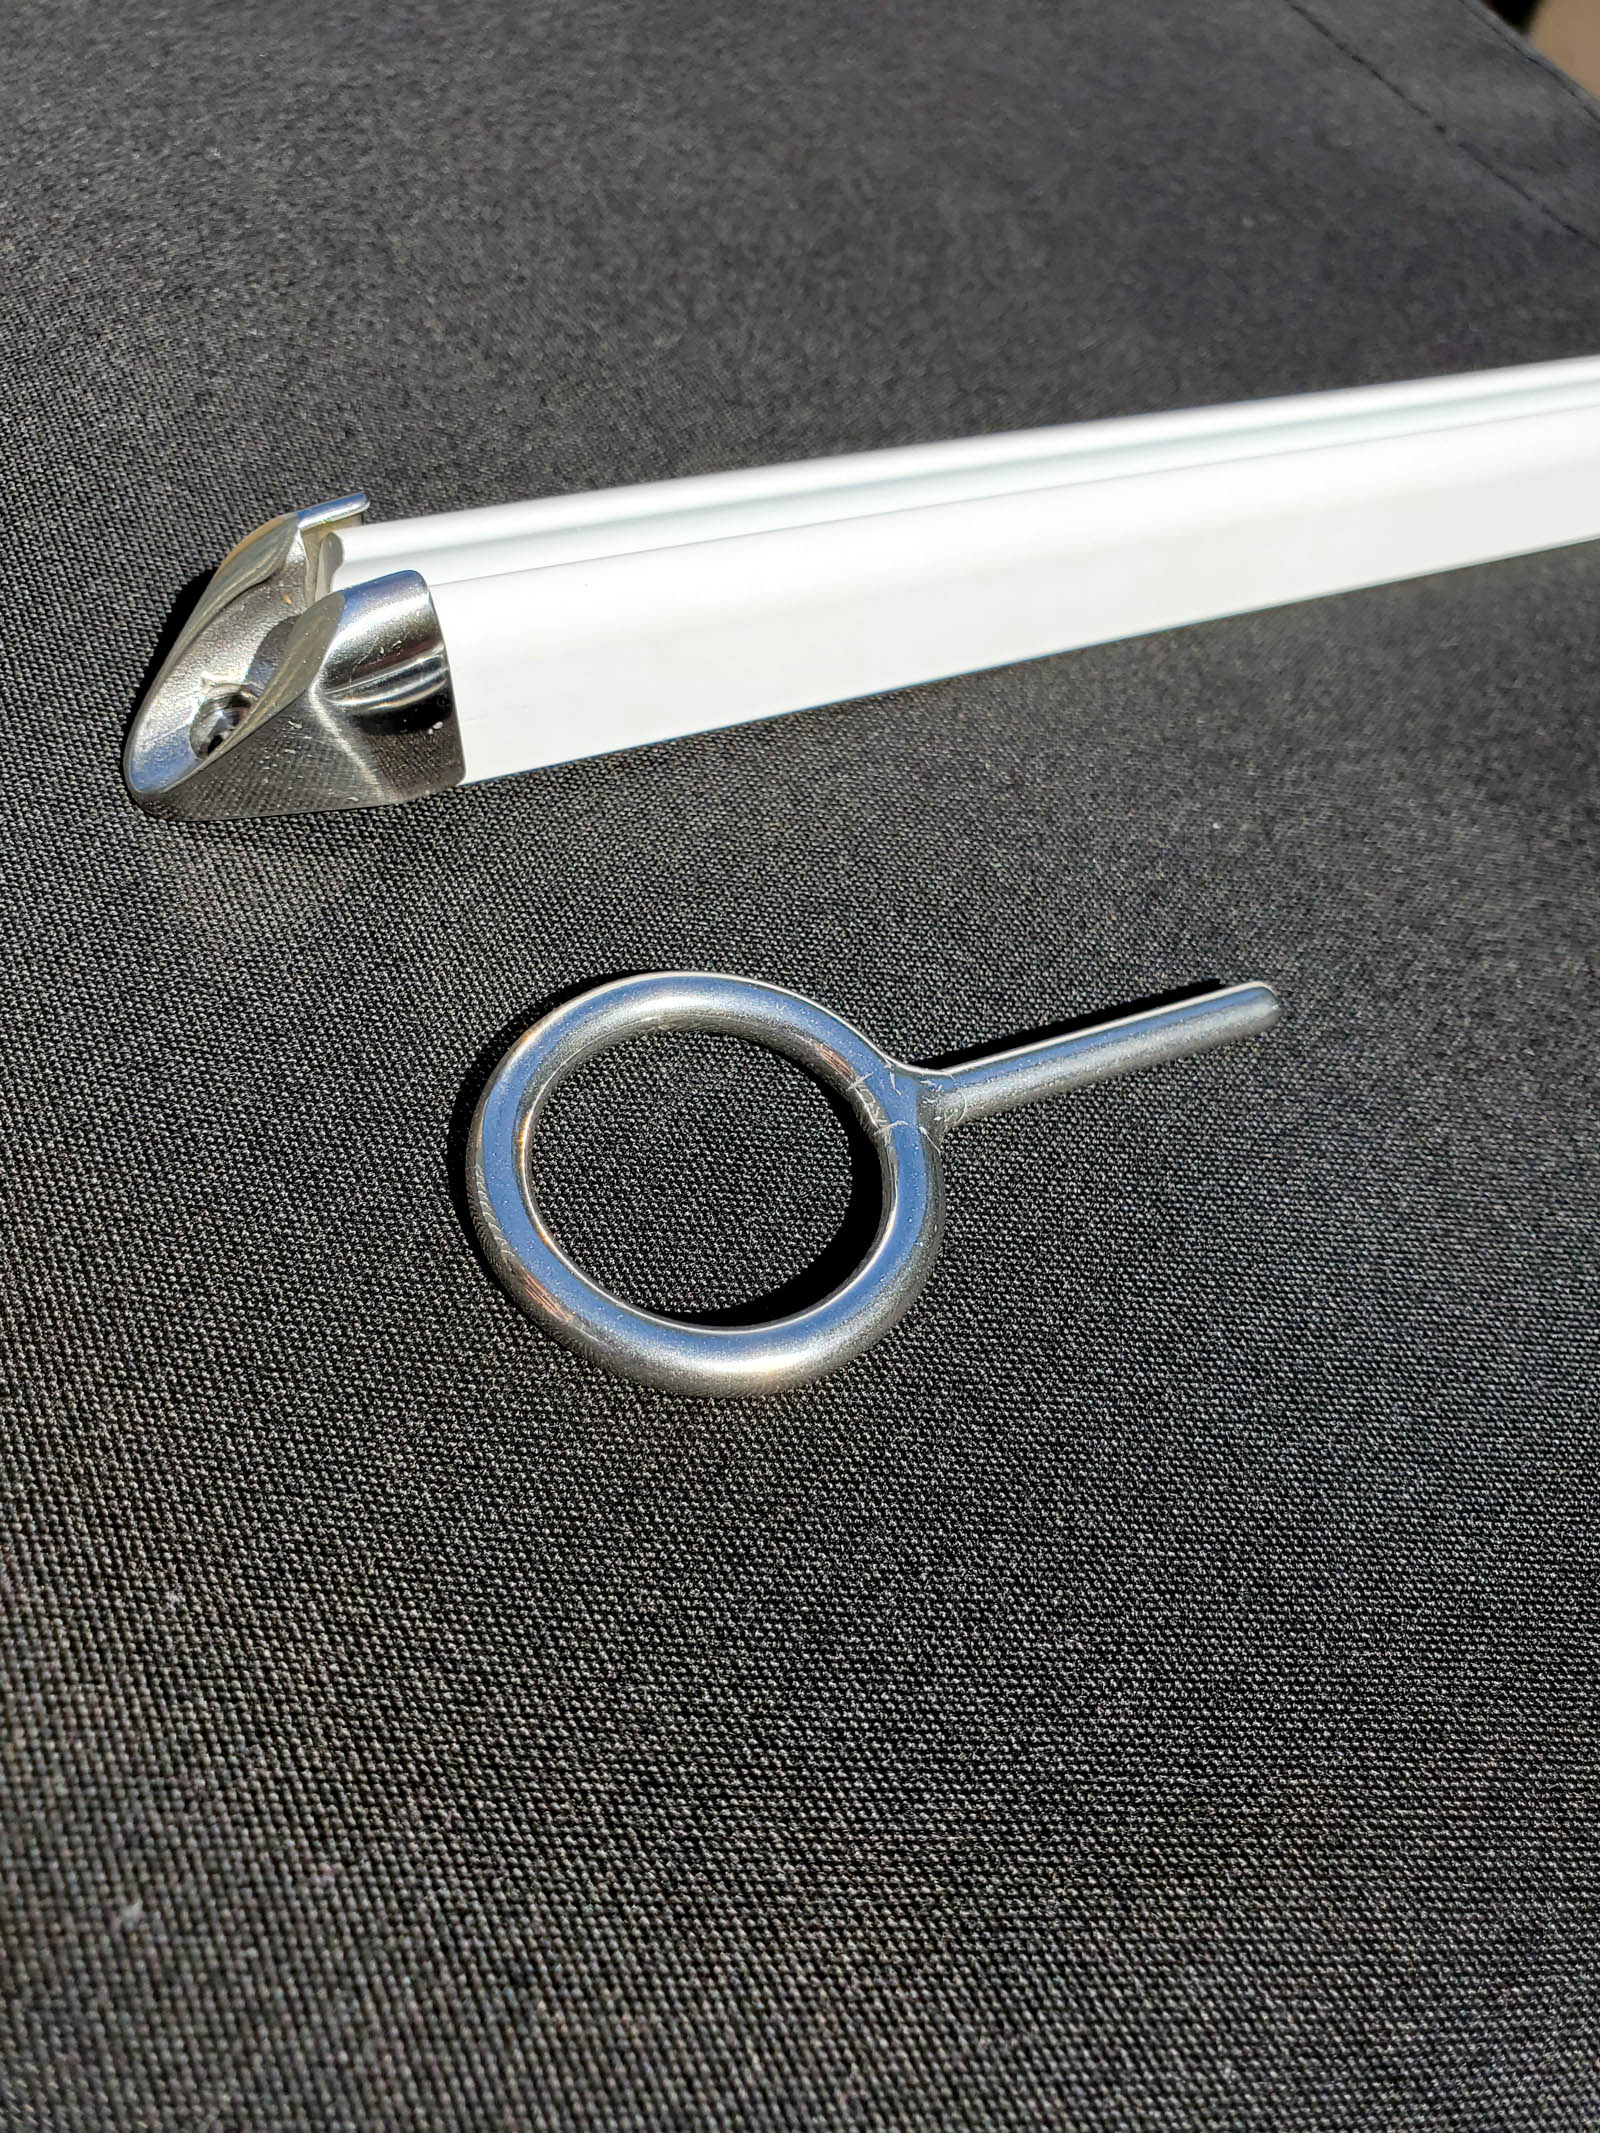
Begin by measuring and fitting the track to be placed under the bridge deck of the boat. Our preferred track is Costa Track, which is made from a PVC material that is flexible but also offers a strong foundation. Costa Track is designed to have a low profile that includes hidden screws to make a clean finished product. Once the track is in place, add stainless steel end caps to each end of the track (Photo 1). These end caps, which are relatively new to the industry, help prevent damage to the track and keder welt.
Next, turn your attention to the rear rub rail. You will need to remove a number of screws to provide a place for the pins to be installed. As a general guide, remove screws every 24–30 inches to ensure that both the cockpit cover and rear rub rail will be well secured.

Then use patterning paper running from the track to the rear rub rail to measure key points for the cover production. Since patterning paper is typically only 72 inches wide, we use three panels of paper to get all the measurements. To align these panels, we use the dot-to-dot measurement system, which is derived from the Marine Canvas Training Institute under Don Wedge. Using this method, we include other notable patterning marks such as the track opening and the pin placement on the rub rail. Once these measurements are complete, head back to the shop to start on the cover production.
Cockpit cover production
To begin the production process, lay out the three separate pattern panels and tape them together, matching the dots. This will help you understand the amount of material needed. We use Stamoid Light from Serge Ferrari, which comes in a variety of widths including 59, 80 and 102 inches. The variety of widths is an important aspect of this material because the fewer panels that are needed to be sewn together, the stronger the finished product will be.
Once you’ve determined the correct size, make a blank so the pattern can lay on top and be used for a guide when cutting out the desired material. We use Teflon™ thread to sew everything because it resists sun rot for the life of the cover. Once the blank is properly sewn and cut out, sew keder welt into the 2-inch facing at the track end of the cover.
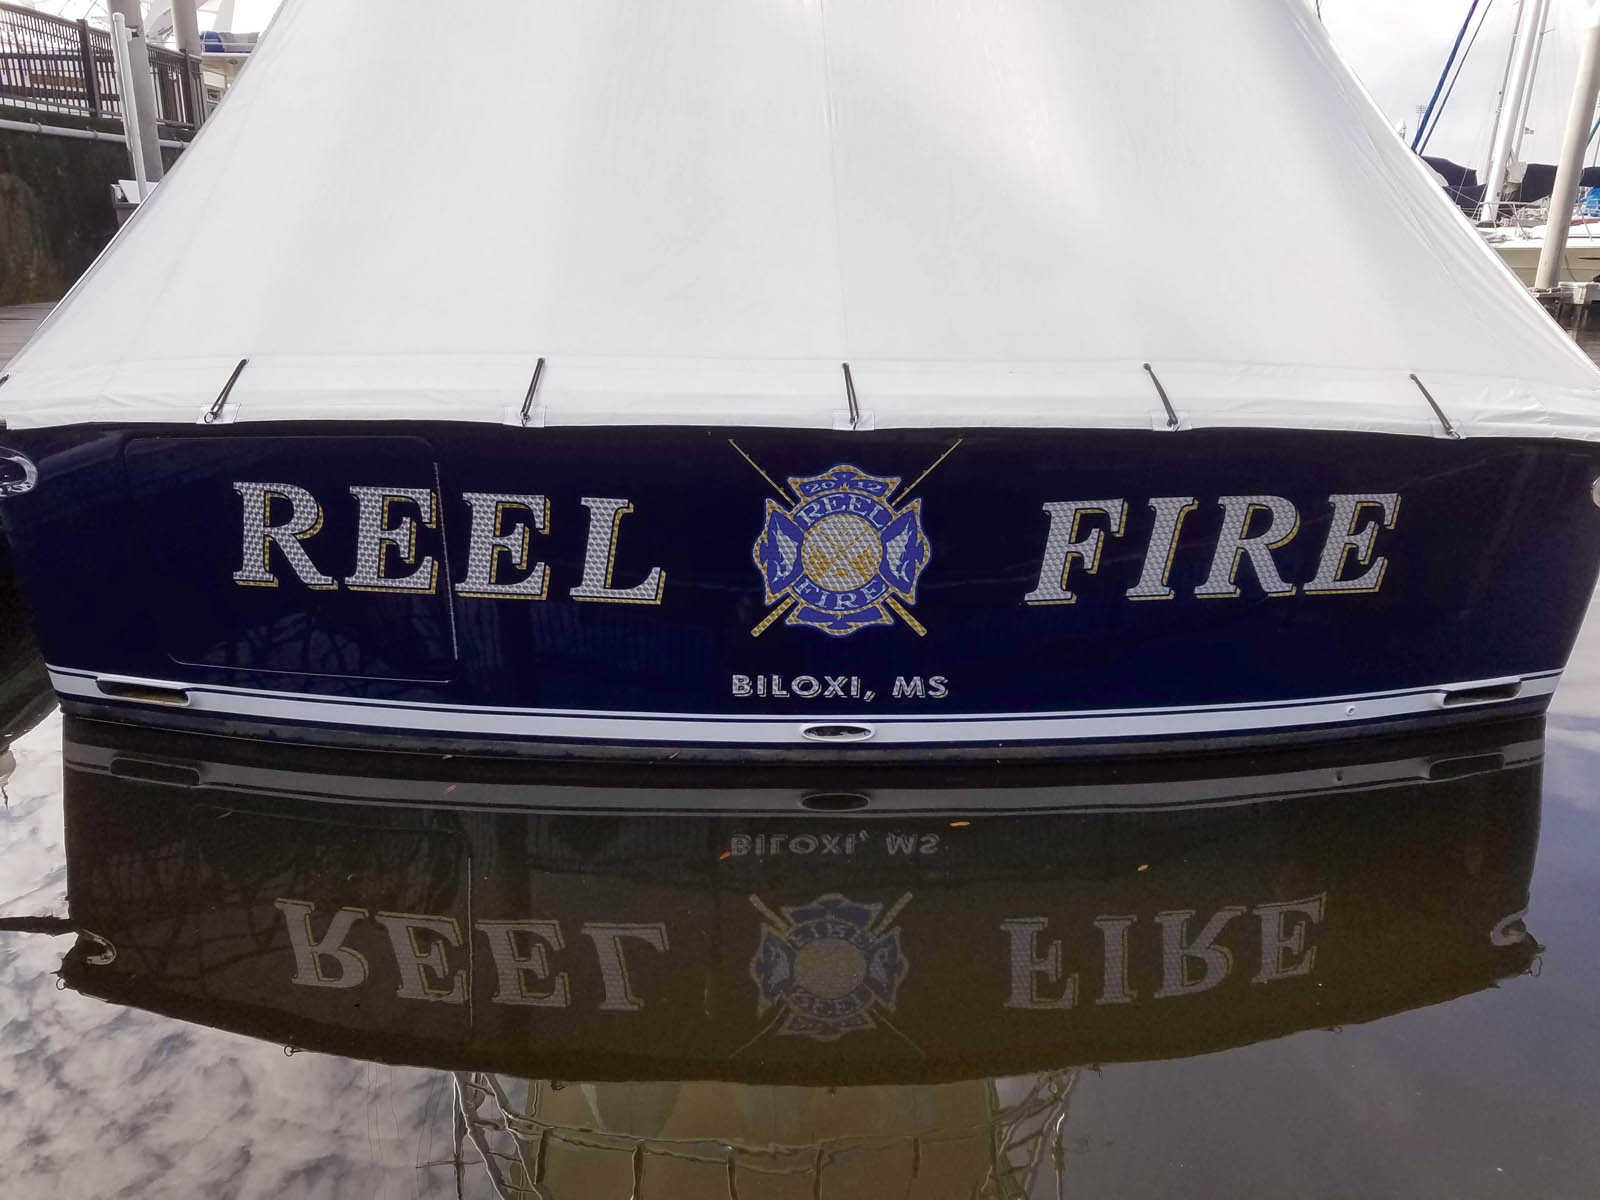
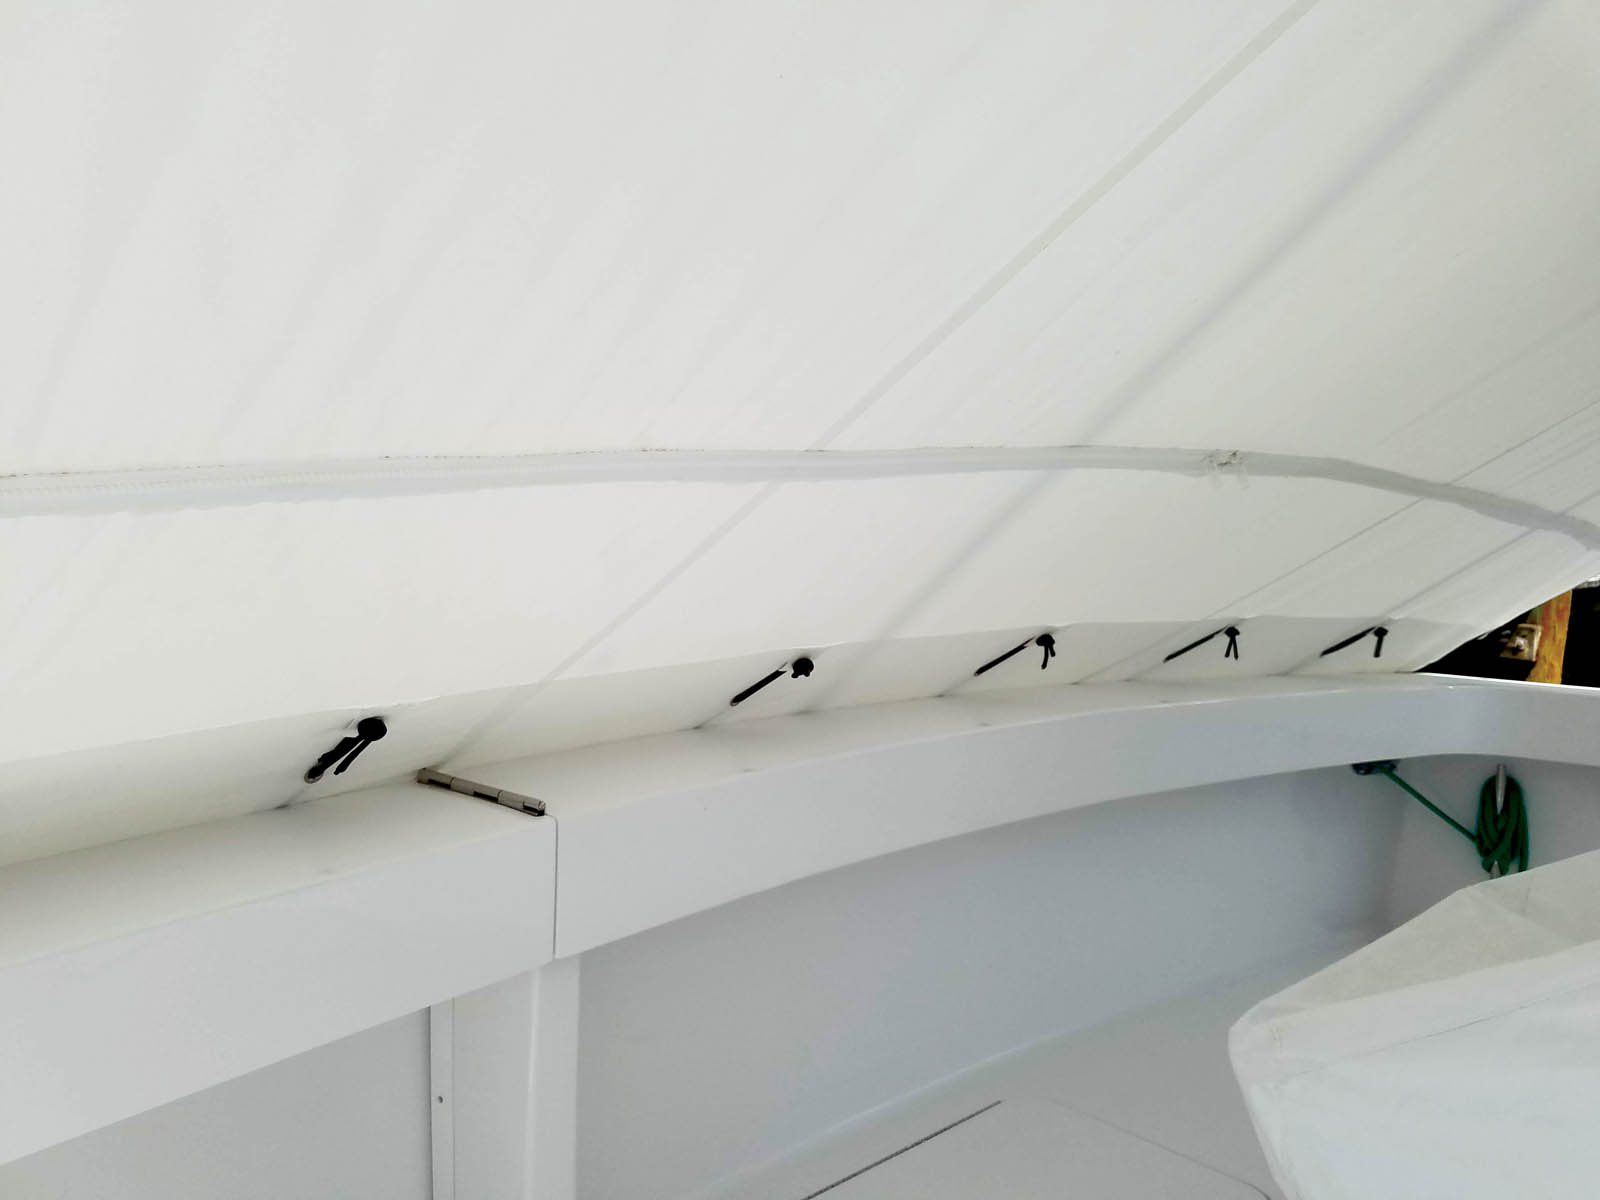
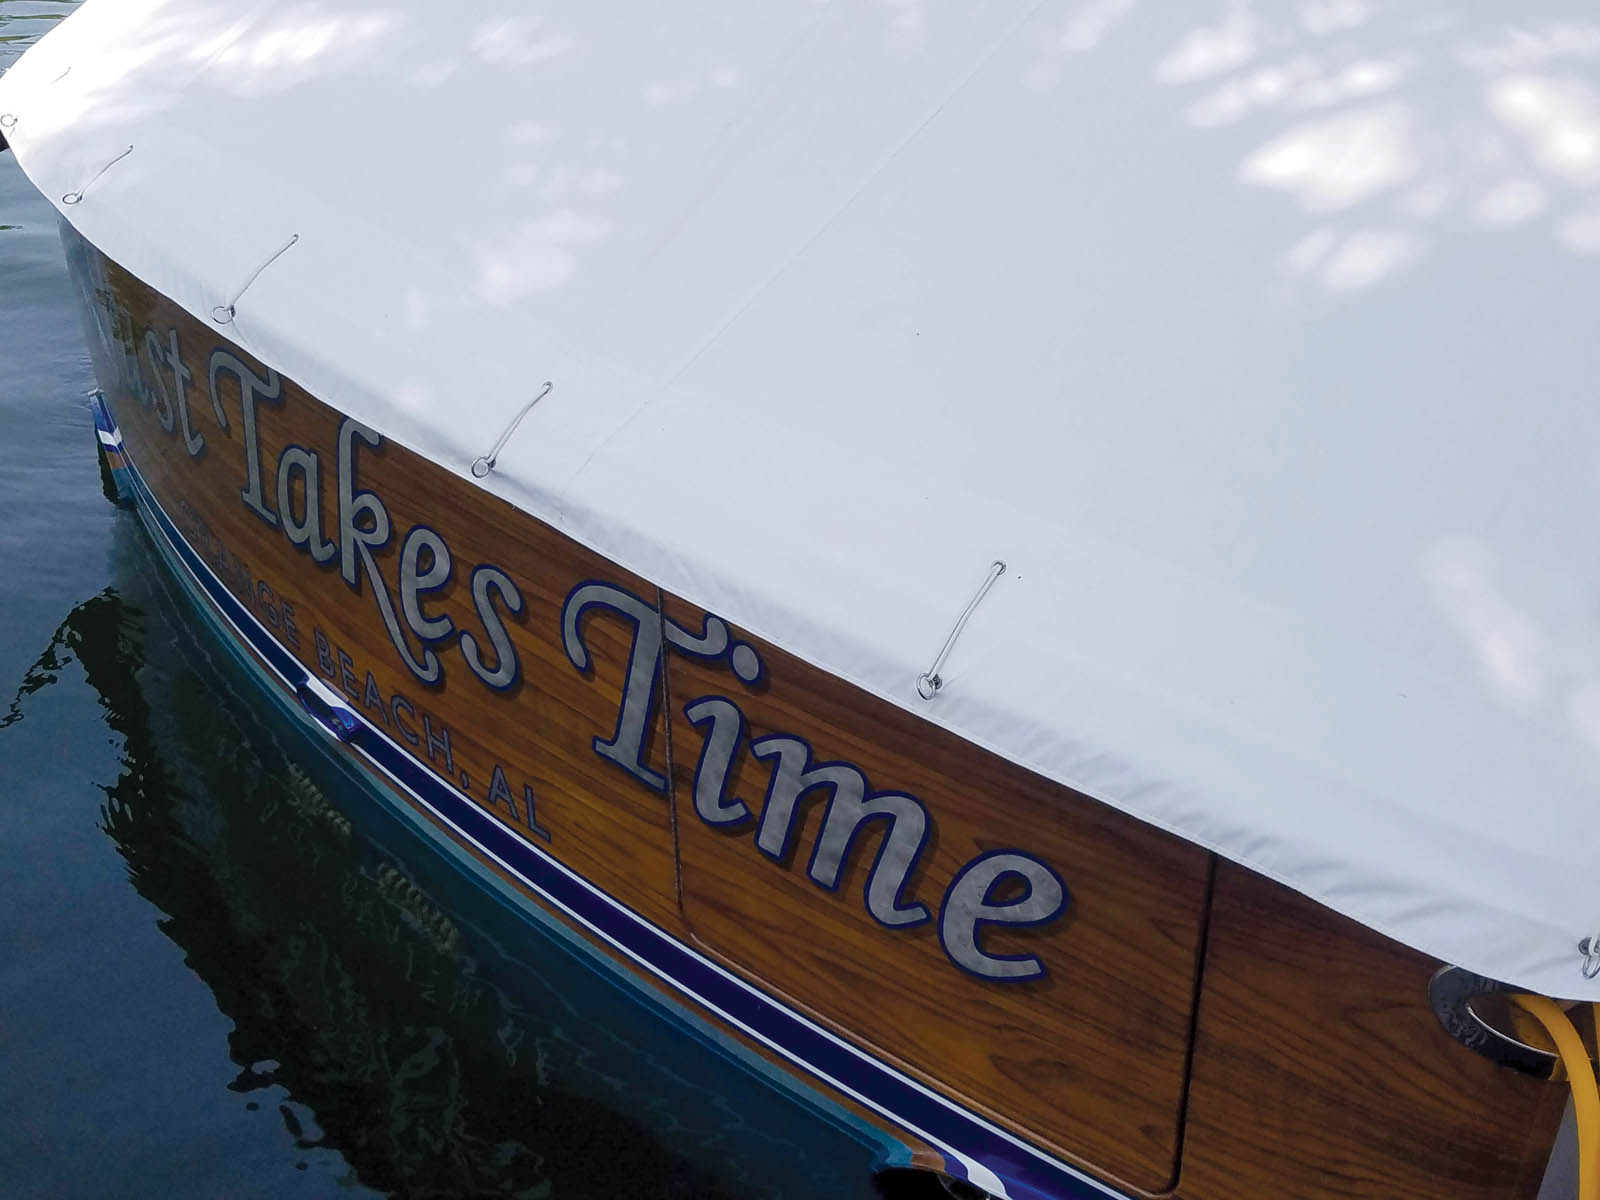
Next, add an 8-inch facing to the bottom of the cover. This will provide plenty of reinforcement for the grommets that help secure the pins in place. These stainless steel pins are then incorporated into the cover and attached through a bungee cord system that maintains the modern look of the cover (Photos 3 and 4). Finally, install grommets in the 8-inch facing so the pins can go through the cover and into the rub rail. Now it’s time to head back out to the boat and begin the installation process of the cockpit cover.
Cockpit cover installation
Installation is the time to put the final touches on the cover to ensure everything fits well and the final product is what you set out to achieve. Begin by sliding the keder welt into the track under the bridge deck to secure the top of the cover. Once that is in place, stretch the cover to the rear rub rail and install the pins in the pre-determined holes to secure the cover. As a general tip, we tell customers to start putting pins in around the middle of the rub rail and work out to the corners. When that is complete, the cover is finished, and the job is done.