TEXTILES.ORG
 Advanced cushion fabrication
By Mark Hood, MFC

Compartment cushions can be challenging to fabricate. In this article, we will go step-by-step to fabricate a sample compartment cushion with a knee rise, starting with patterning the seating area for our foam. The pattern will be the finished cushion size to fit the cavity exactly. If a project requires a string of individual cushions, we try to make as many of them as possible the same dimensions to cut down on the patterning time.
We like to use Accord Cloth for cushion fabrication, but very thin, clear plastic can be substituted in these steps. Keep in mind that compartment cushions take many more hours to fabricate than base box cushions and must be priced accordingly.
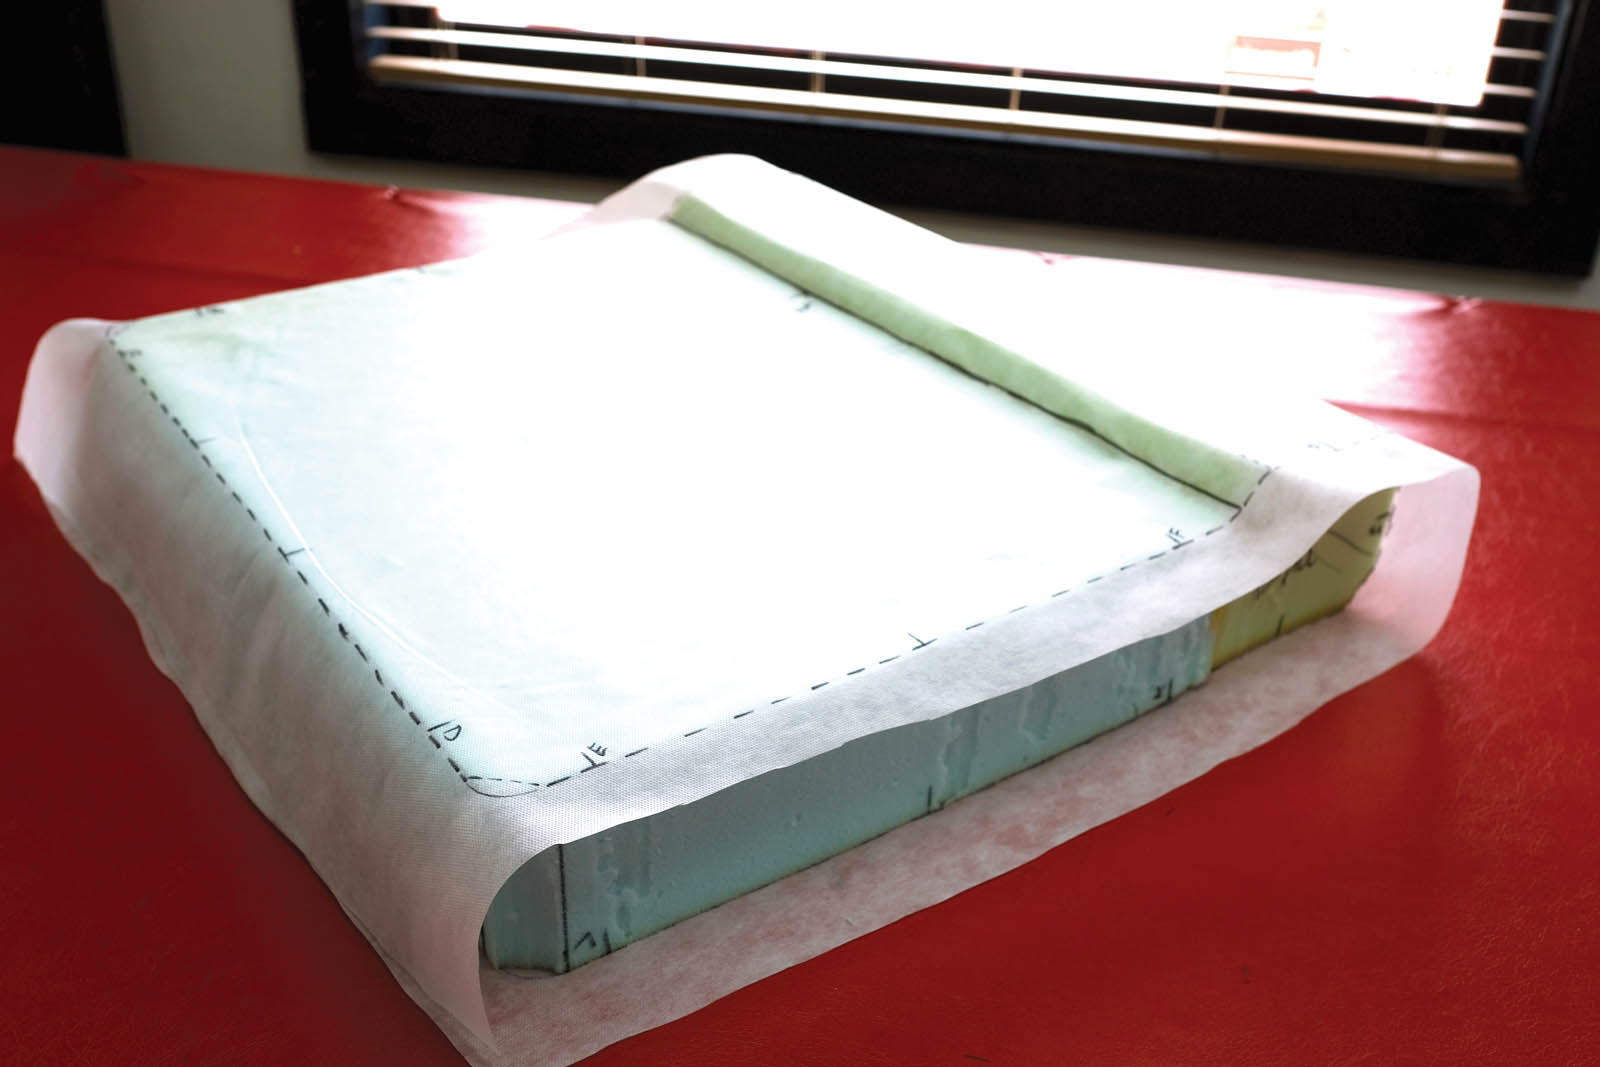
Photo 1
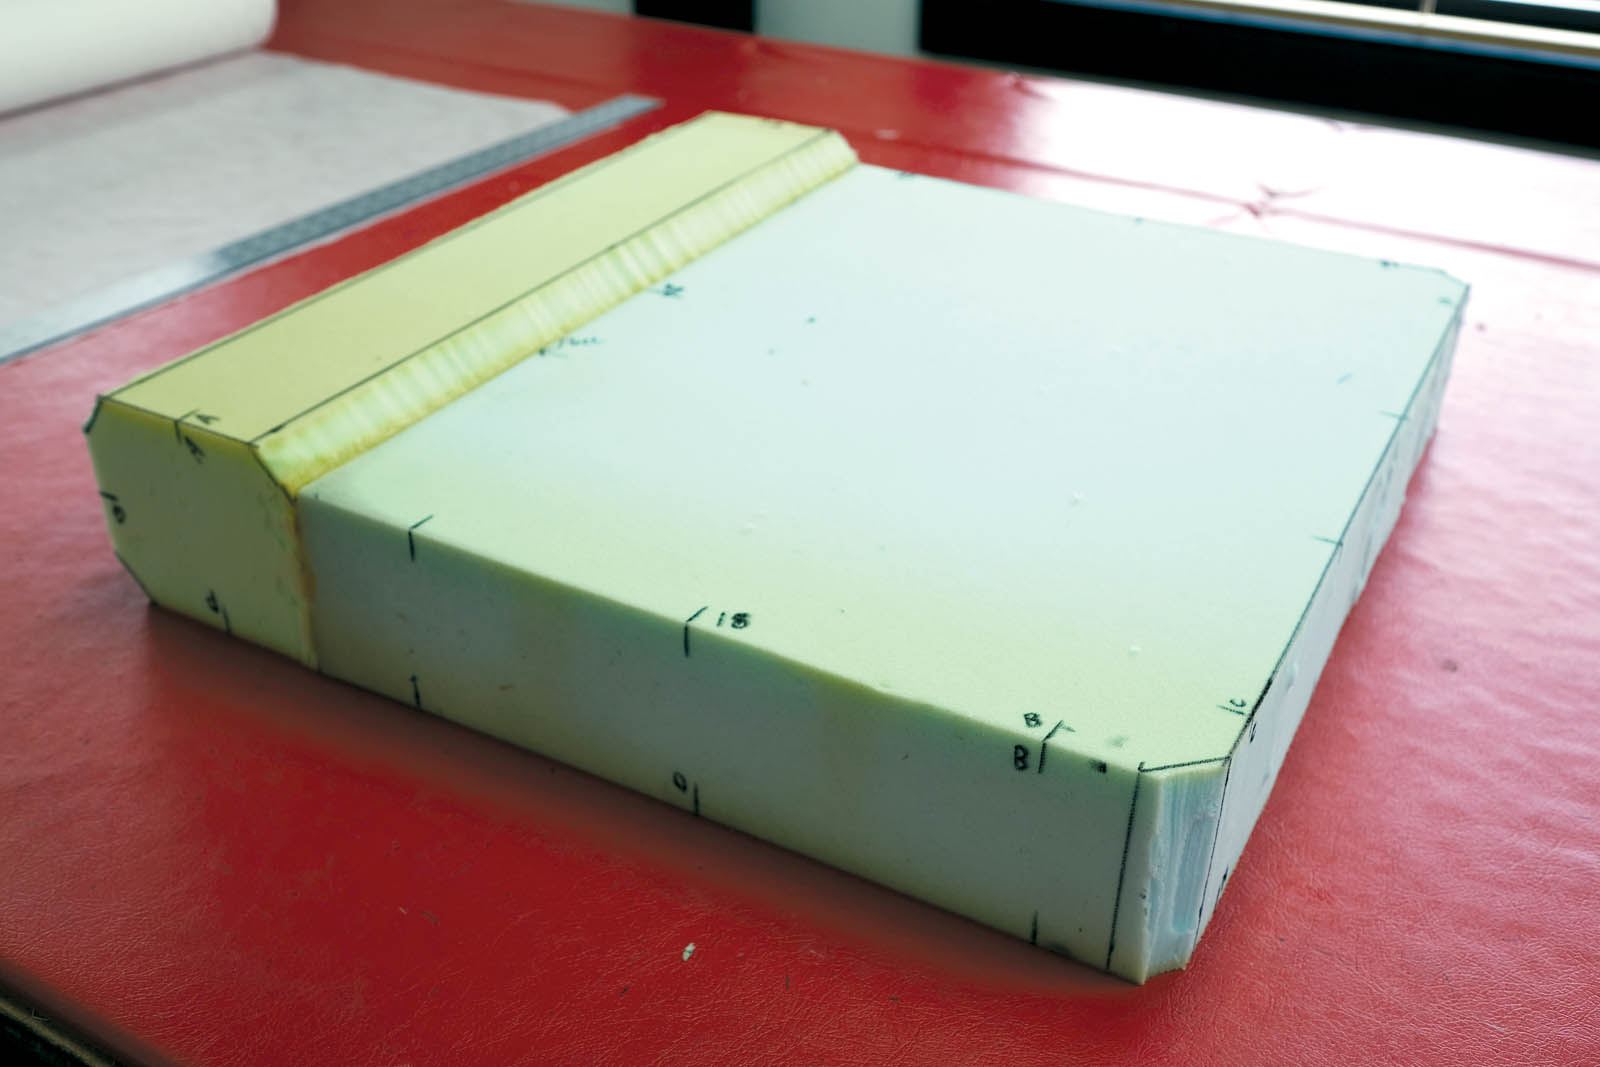
Our foam is cut to shape by using a pattern of the area that will contain our cushions. The seat base on the right is 4″ thick and the knee lift piece on the left is 5″ thick. The knee lift piece is chamfered with our foam saw on three edges, as shown. Using 3M™ Super 77™ temporary adhesive, we have glued the pieces together for patterning our foam. They will be separated later and wrapped with polyester wrap prior to stuffing individually.
We mark across the edges of our sample foam with a permanent marker to create hash marks. Everywhere there will be a seam needs a hash mark and an alignment letter. Our seaming can be done in various ways to suit the overall design. In our sample, we decided on a single seam design with just two pieces for simplicity. We chamfered the aft corners of our foam for our seam design.
Photos 2 & 3
Using white Accord Cloth, we make our first pattern. The Accord Cloth is translucent so we can see the permanent marker notations on our foam. We use 3M Super 77 temporary adhesive to hold our Accord Cloth in place while patterning our foam. We smooth out the Accord Cloth so it fits all the dips and curves of our foam. Using our permanent marker, we trace the edge of our foam around the first three sides.
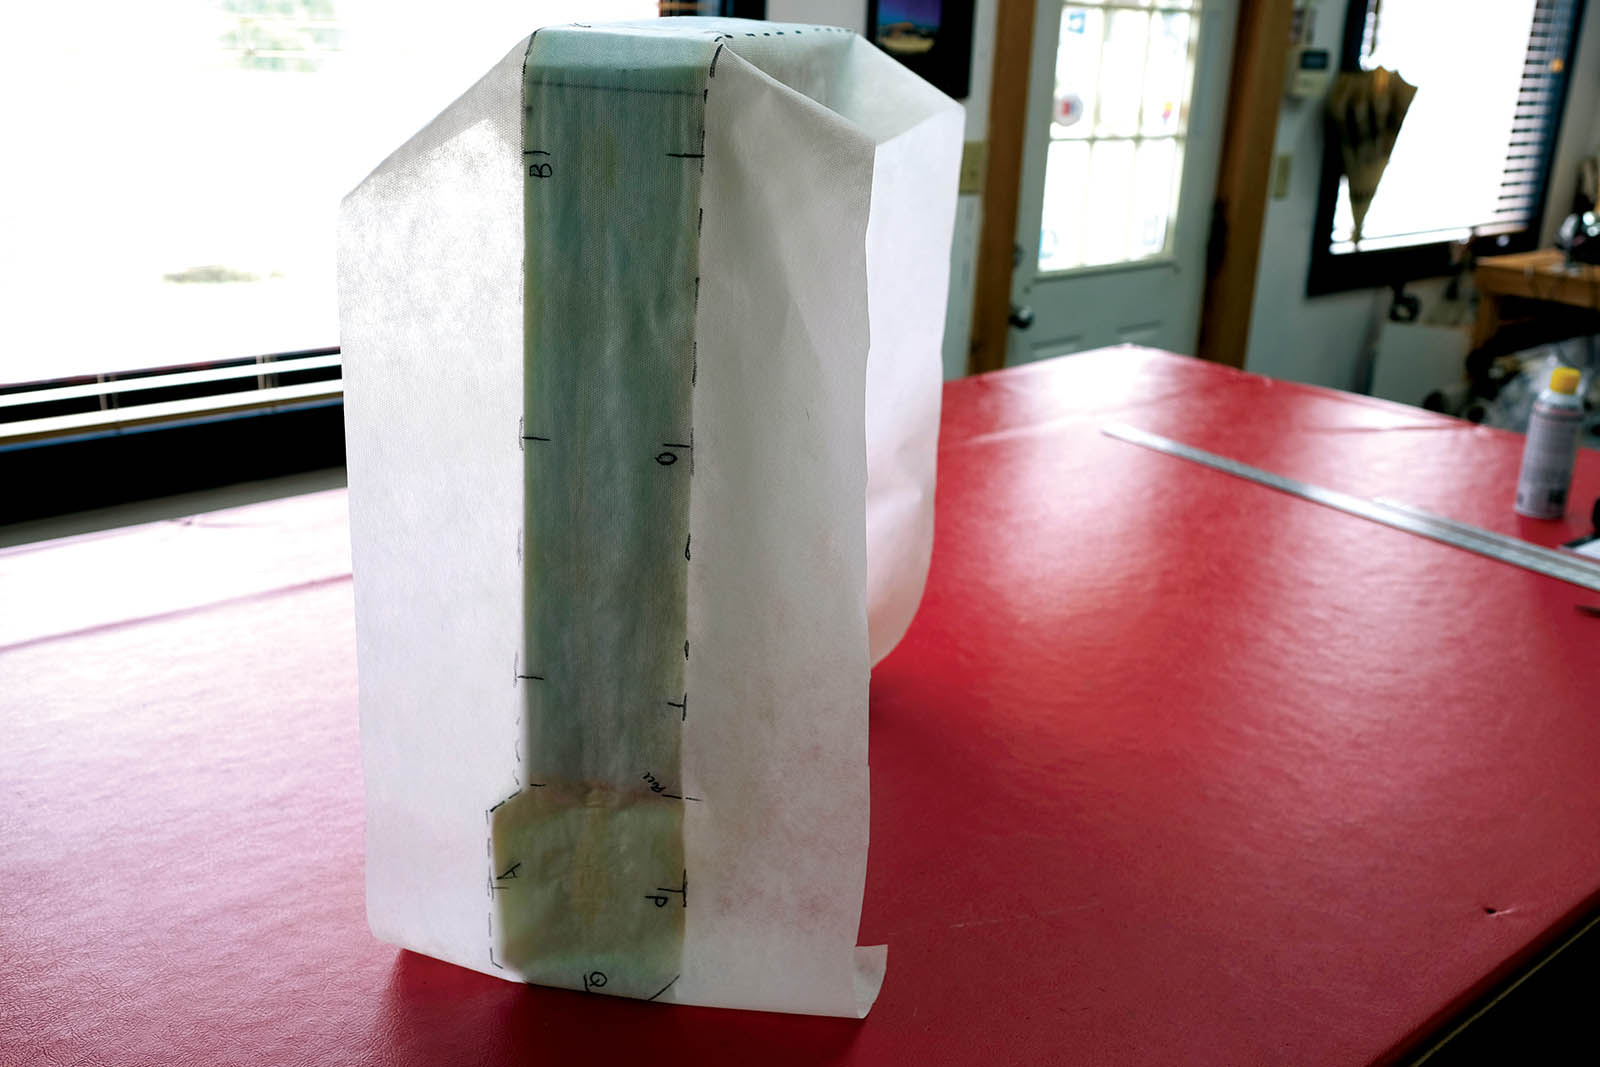
Next, we mark where our foam is glued top and bottom on our pattern. This is the top and bottom of our pull divider. Then, we add our inner hash marks along with any letters for alignment. We remove the first panel pattern. Next, we pattern the other three sides. Up one side, across the back, and down the other side for this panel. We mark up the same as the first panel, adding the other side of the hash marks, letters and pull positions.
Photo 4
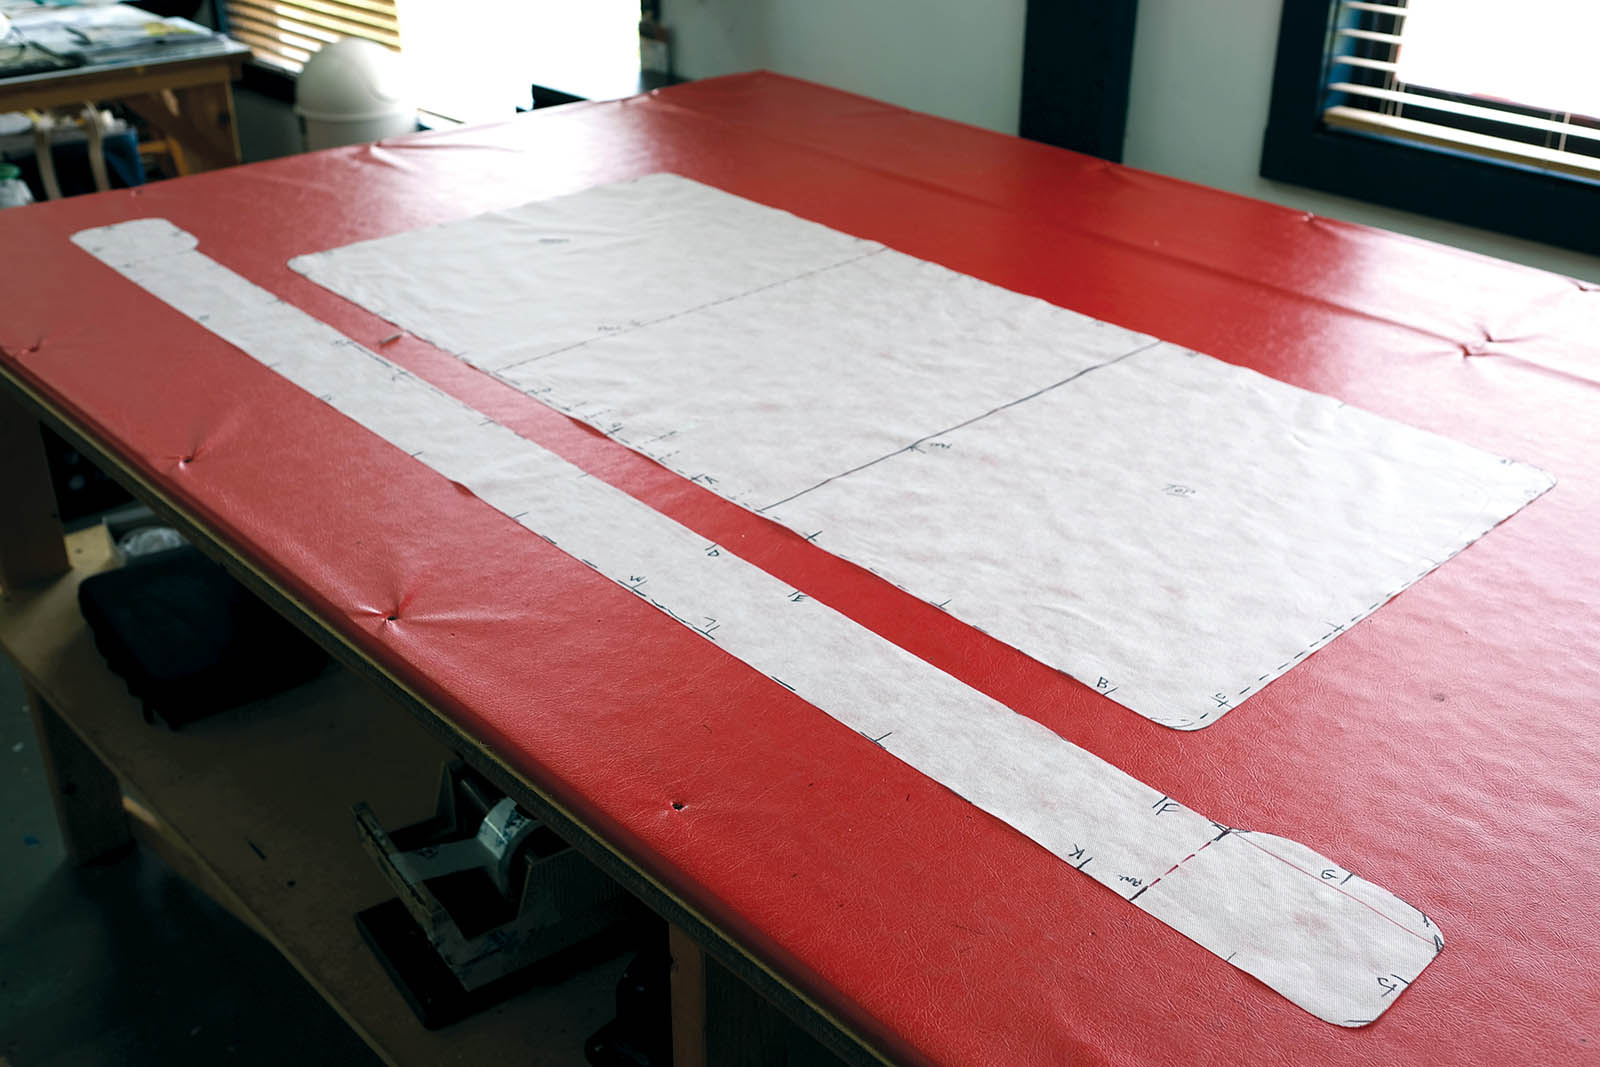
In this photo we have developed and cut out our pattern. We straighten out our edge marks prior to cutting out our pattern. All hash marks to index and align our fabric pieces are on our pattern. Also, the position of our zipper on the bottom has been marked along with the position of our fabric pull top and bottom attachment. In this seam configuration we have just two pieces, but it could be cut and seamed differently with more pieces. There are many different variations of this cushion style in terms of fabrication, number of pieces and the way they are seamed.
Note the vertical positioning of our pull piece between the top and bottom of our cushion. On our pattern the pull is the dotted line. Our pull is internal, and its use is twofold. It provides a separate chamber for the knee lift foam section, and it holds the fabric into the crease at the top of our cushion.
Photo 5

Using our Accord Cloth pattern, we lay out our two pieces onto our fabric. Our hash marks and alignment letters have been transferred from our pattern to the fabric along with pull and zipper placement marks. We are only adding a ¼” seam allowance to our pattern pieces, but we will be stitching ½” in like we usually do. This provides a uniform ¼” compression all around the edges of our foam. It fills out our cushion and allows all our cushions to fill the seating area and not be too tight.
We make our welt and add to the cushion border at the same time. Our welt is 1½” wide, cut on the bias of our fabric. We use a ¼” welt foot with 5/32″ welt cord. We sew down our main compartment zipper on the inside of our panel at the marked location. Positioning is important. The location needs to be on the bottom behind the pull. This will make it easier to stuff the forward compartment and zip it closed.
Photo 6
We have aligned our hash marks and letters, stapled our seam and stitched. Now we’re ready to turn our cover right side out. We have half our internal pull sewn across the bottom panel and the other half sewn across the top panel. The pieces are directly opposite each other where our two pieces of foam meet. We have separated our pull zipper and sewn down each piece individually to our panel on the inside. Our pull pieces end ½” in from each sewn side.
Photo 7

Here we’re looking through our main zipper at our internal pull. Having our main zipper this close to our pull will make stuffing and zipping the knee lift compartment easier. The reason for the extra zipper on our pull is to make closing the knee compartment easier. Our pull sider is started outside the cushion and run off the other side to close. It does not stay with our cushion. Our knee lift compartment is stuffed, closed and ready for the larger seat cushion foam. Our long zipper ends will stay inside our cushion and will not be cut.
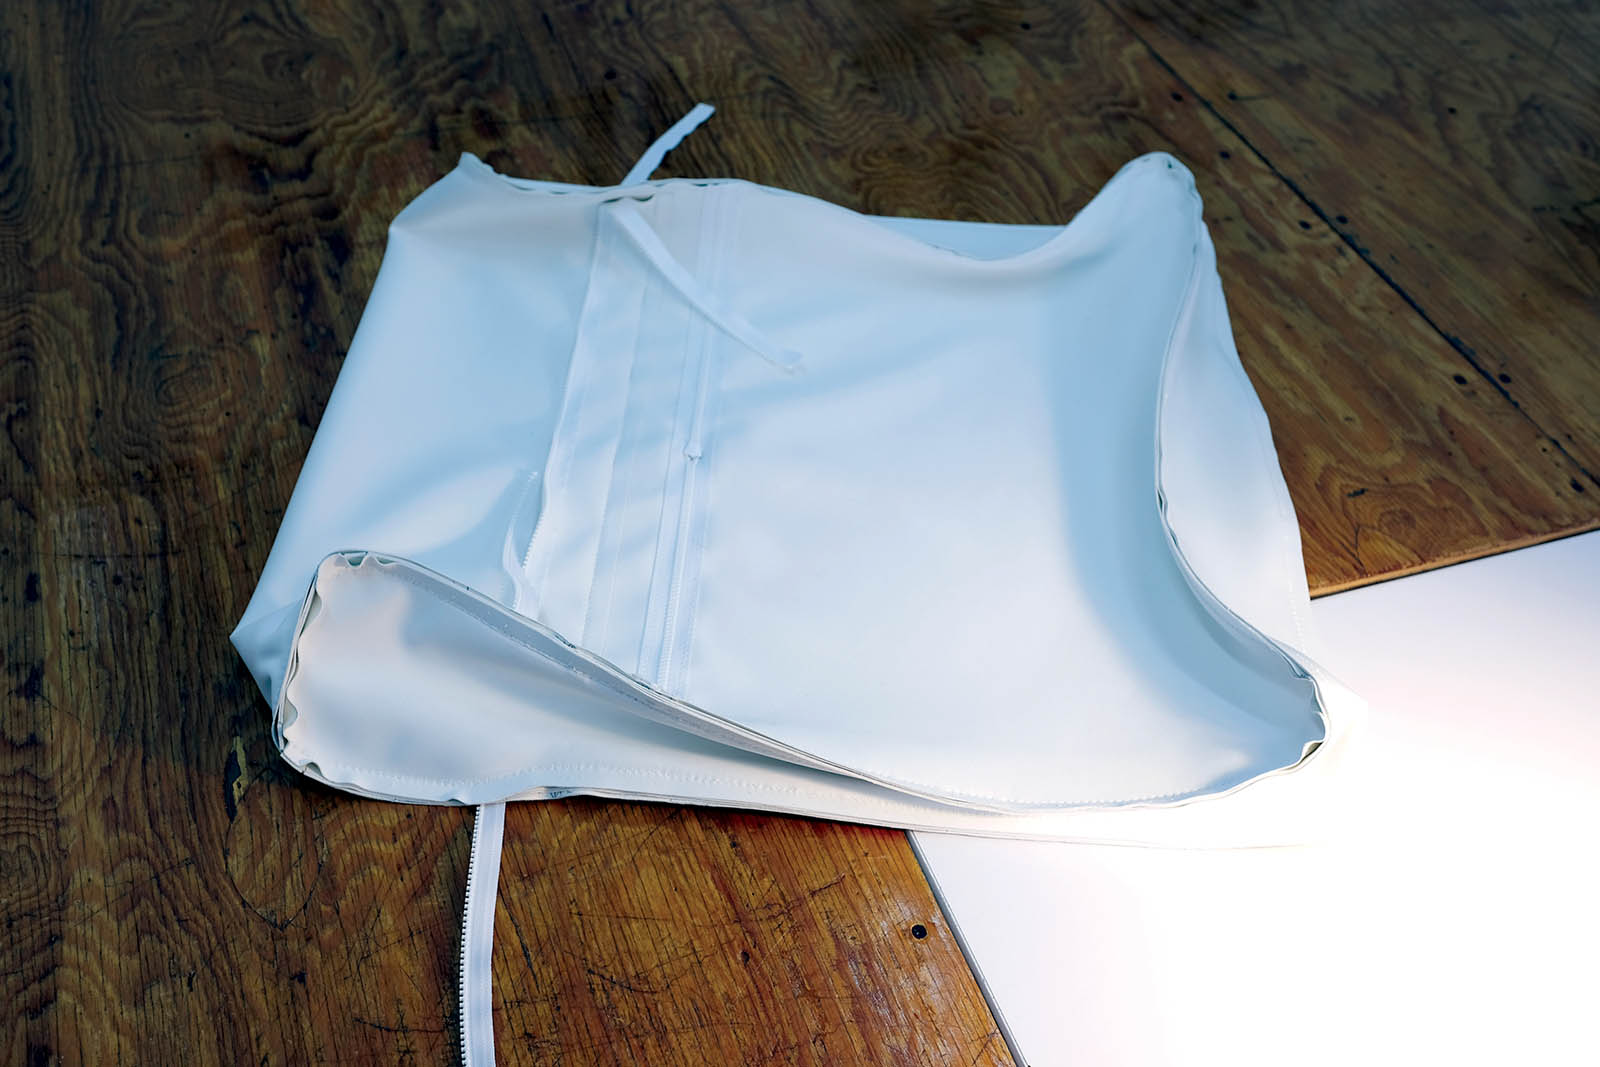
Photo 8

Our cover has been turned right side out. Our foam has been cut and shaped prior to patterning. Now we separate the two pieces of foam and wrap them in ½” polyester wrap to soften the edges prior to stuffing.
Mark Hood, MFC, along with his wife Deb, have owned and operated Hood Canvas LLC in Merrimac, Mass., for the past 40 years. For the last 10 years, they have trained students from around the world in quality marine canvas fabrication in their training workshops. www.hoodcanvas.com
SIDEBAR: Pull Piece Fabrication Tips
To fabricate the pull piece, we take the thickness of our foam and add ½” to arrive at the correct width of our pull. In our case, the seating area foam is 4” thick, so we will cut our internal pull 4½” wide. The width of our pull needs to be just inside the finish width of our cushion on each side.
Our pull is only sewn to the top and bottom of our cushion. It is not sewn to the side. Also, we install a #5 zip down the middle of our pull. Leave lots of extra zipper length at each end to facilitate closing the compartment.
It is imperative to sew the pulls to the top and bottom panels on the exact line marked using a ½” hem. The finished pull width is 3½”.