TEXTILES.ORG
 Elegant rigid solar panel installation made easy
An increasing number of jobs at Gemini Marine Canvas & Marine Products (GMP) in Rockland, Maine, begin with clients bringing in rigid solar panels. Rigid panels remain a firm favorite among boaters looking to augment their onboard electricity supply due to their higher efficiency, longer life span, greater durability and lower cost than their flexible solar cousins.
Mounting rigid panels is not difficult if you have the right gear.
Frustrated that available hardware options fell short of the mark, we created our own and launched that part of the business in 1996. Now we offer a line of innovative 316 stainless steel fittings made with solar panels in mind. We’ve learned that carefully choosing components that can be moved and redeployed can also help future-proof client investments.
Panel installations need to be sturdy, easy to deploy and avoid output-killing shade. We use two basic installation styles customized to meet each job’s needs. Here are my top tips for building attractive, cost-effective and ocean-rugged marine solar installations on either dodgers or bimini tops. [See page 36 for Gemini Marine Canvas & Marine Products’ 2023 MFA Excellence Award-winning project.]
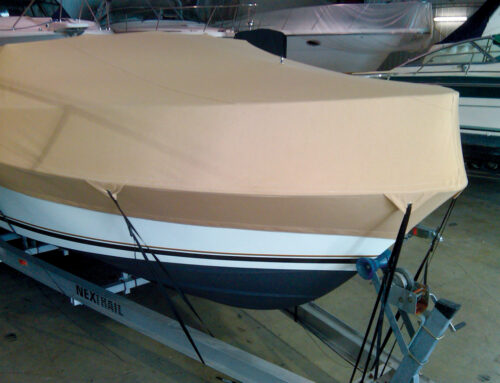
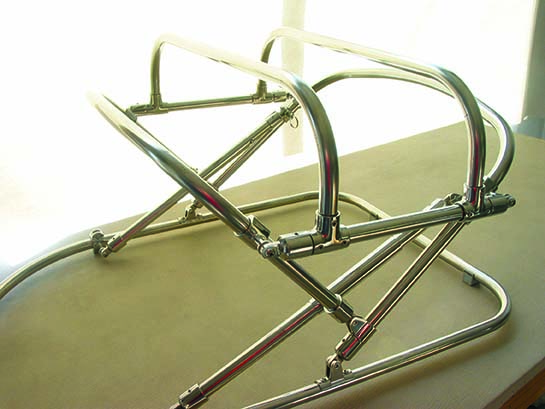
Style 1: Up and over
This style (see Photo 1) suits clients who need to take down their canvas from time to time while leaving the panels in place (like cruisers who periodically run into heavy weather).
This frame uses 90-degree slip-Ts to hold arches in place, and eye ends attach outboard of existing structures. The canvas is unaltered, so there’s no need to disassemble anything to remove it. Our offset sliding or hinged mounts are perfect for clamping that frame to the canvas frame.
The panels then attach to the overarching tubing with plastic mounting clips, U-bolts or additional offset mounts with a hex head bolt option.
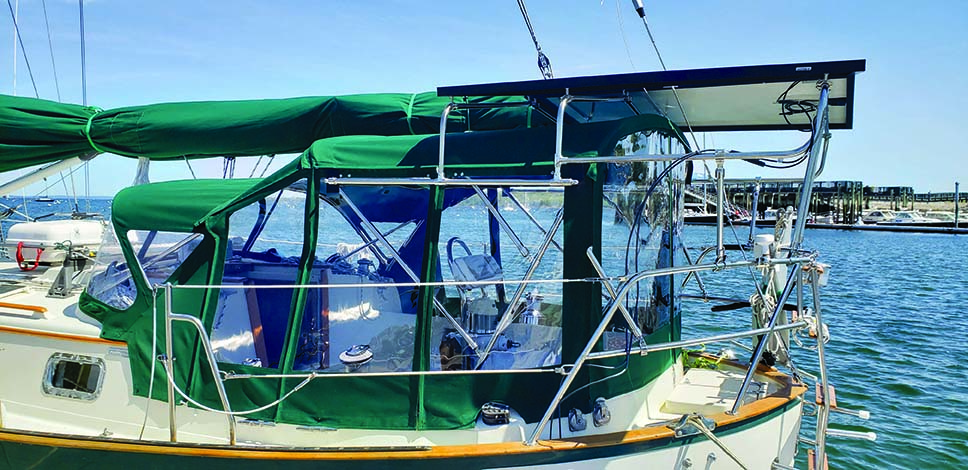
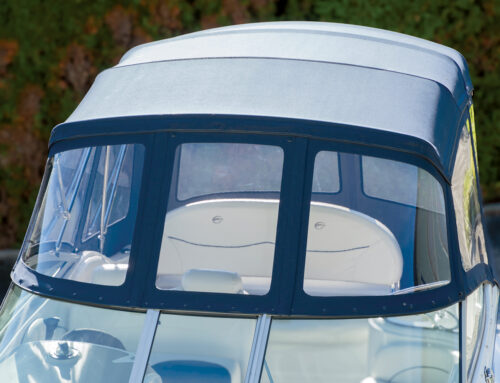
This style (see Photo 2) offers several advantages:
- Canvas can be moved without touching the panels.
- Canvas is not cut or modified.
- Careful placement of the frame’s base tubing can double as a tensioning bar for the canvas structure. This eliminates tensioning straps entirely, creating a version of either GMP’s strapless bimini or drop-top dodger concepts, cleaning up the deck and improving access.
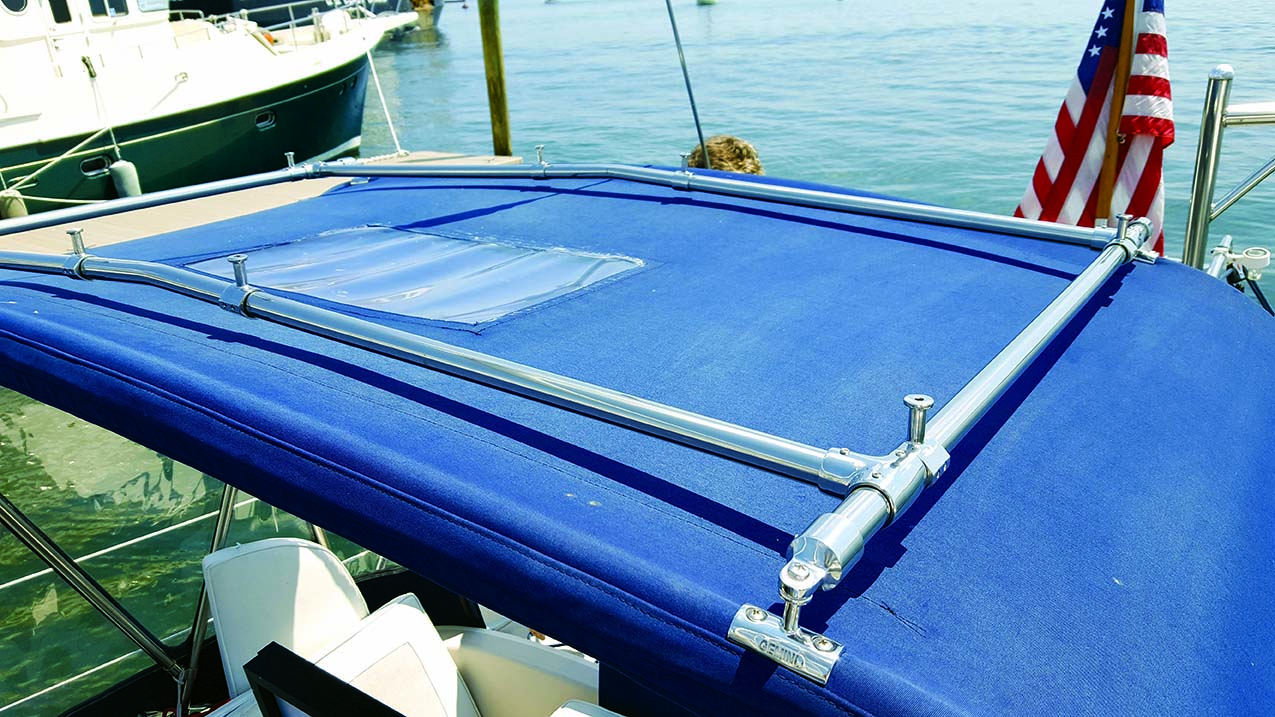
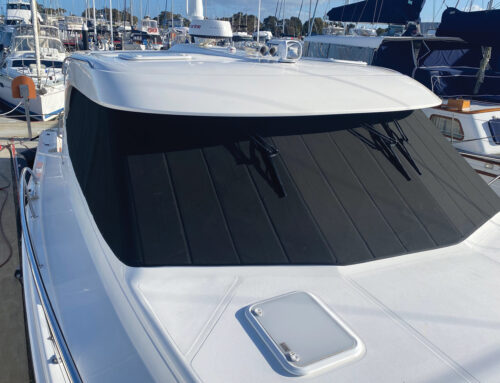
Style 2: Low and lean
This style suits clients who generally leave their canvas and solar panels in place for the season. A frame of tubing, slip-Ts and eye ends attaches to existing structures through the canvas. There are several ways to do this:
Option 1 (Photo 3): Tap pairs of holes into tubing and screw concave post mounts directly down onto canvas using a piece of rubber or leather, if desired, for maximum grip. We use a #10 tap and 10-24 screws up to ¼ inch long—there’s no need to through-bolt the tubing. For extra flexibility, you can make removing panels easier by using our concave fork mounts and a quick-release pin.
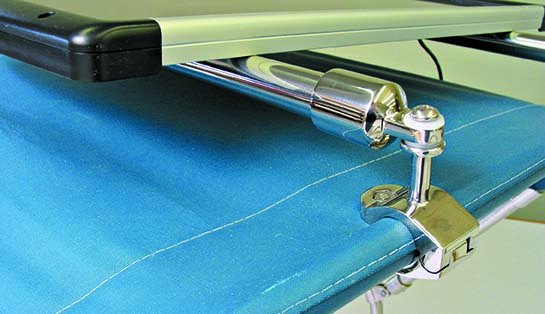
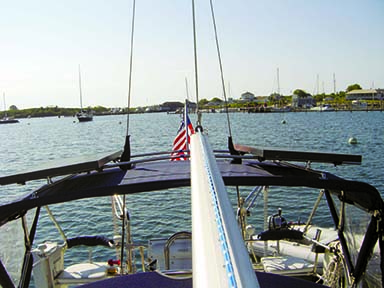
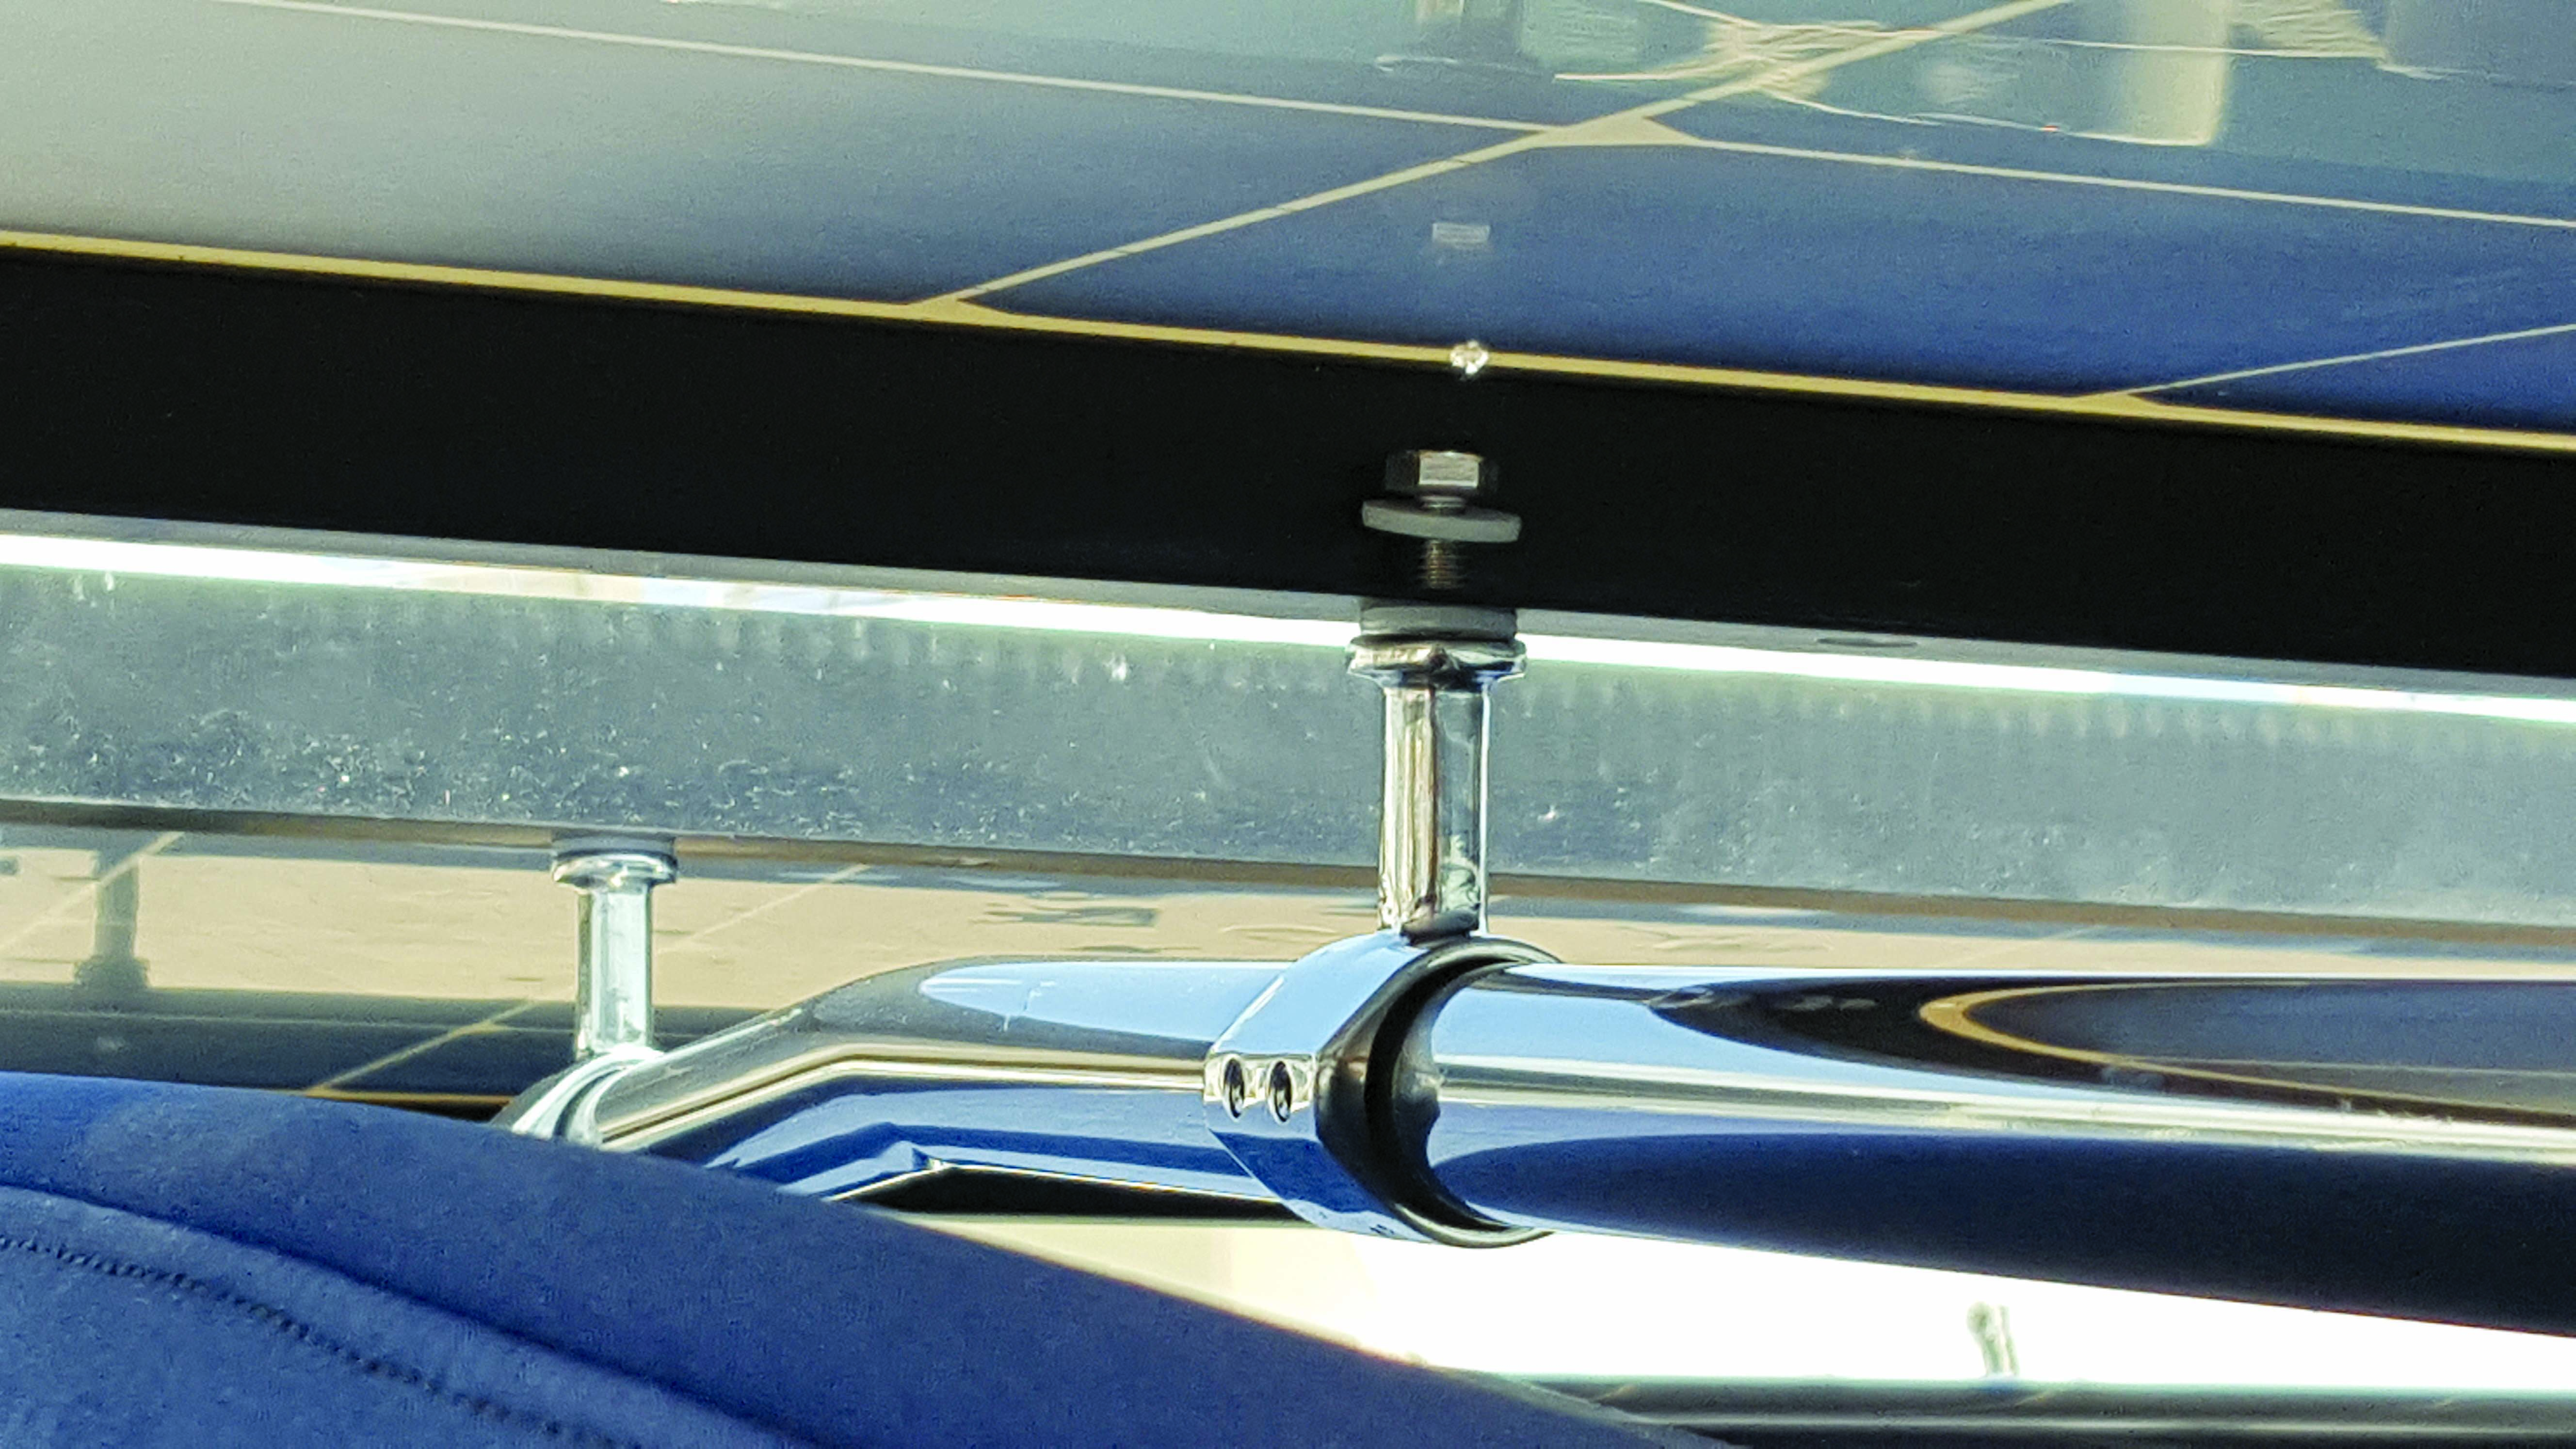
Option 2 (Photo 4): Use hinged offset mount clamps around tubing and canvas, making only a small hole in the canvas for the clamping bolt that closes the mount.
Option 3 (Photo 5): Sliding or hinged offset mounts are fixed in place with the posts feeding through either cutaways or reinforced holes in the canvas.
Once the supporting frame is in place, the panels attach to their frame. GMP sliding or split offset mounts with a hex bolt in the post are perfect for this job and give panels a little 1¼-inch lift that provides excellent air circulation to keep panels cool and output high.

Advantages of this style include:
- A clean, elegant design
- A smaller, lighter panel frame that is easier to move and store
- Hinged and sliding side mounts that can be moved easily to update the system.
John LeMole, MFC, has been building canvas for more than 25 years in a bustling shop with a small crew. In addition to inventing the stainless steel hardware he uses and sells to the public, he has been an MFA Master Fabric Craftsman since 1999 and has won numerous MFA design awards dating back to 1997.
SIDEBAR: GMP’s custom hardware
- Made with 316 stainless steel.
- Saddle-style concave fork mounts are oriented 90 degrees differently to others on the market.
- Mount offsets enable adding tubing to existing structures by giving just enough space to get around anything that’s already there. The hinged split mounts will even hold firm on bends in tubing, eliminating compromises in design.
- Even if you’re not building solar, the components are highly flexible by design and can be used to attach accessories, build strapless folding canvas frames and more.
- The DrillSteady tool makes it possible to drill stainless tubing flawlessly every time, even on a rocking boat, in under 45 seconds. No slips. No gouged tubing.
For more information, videos, downloadable installation guides and to place orders, visit geminiproducts.net.