TEXTILES.ORG
 No-fail boat covers
There’s more than one way to build a boat cover—but the best fabricators ask clients these critical questions before they settle on a design.
by Sigrid Tornquist
Fabricators agree—custom boat cover fabrication starts with a conversation with the boat owners. What canvas professionals do with the information they get, coupled with experience and innovation, can mean the difference between a boat cover that fails and one that protects a vessel year after year.
What are the critical factors skilled fabricators consider? Application, geography, fabric, ventilation, measuring tools and that oh-so-illusive ingredient—innovation.

Double duty?
One of the first questions to ask a customer is: Do you want a mooring cover or a travel cover? Chances are, clients would prefer one cover that serves both purposes. While it is possible to make a “two-for-one” cover that works as both a mooring cover and a travel cover, the reality is that the resulting product will perform better in one aspect than the other, or it will do both only moderately well.
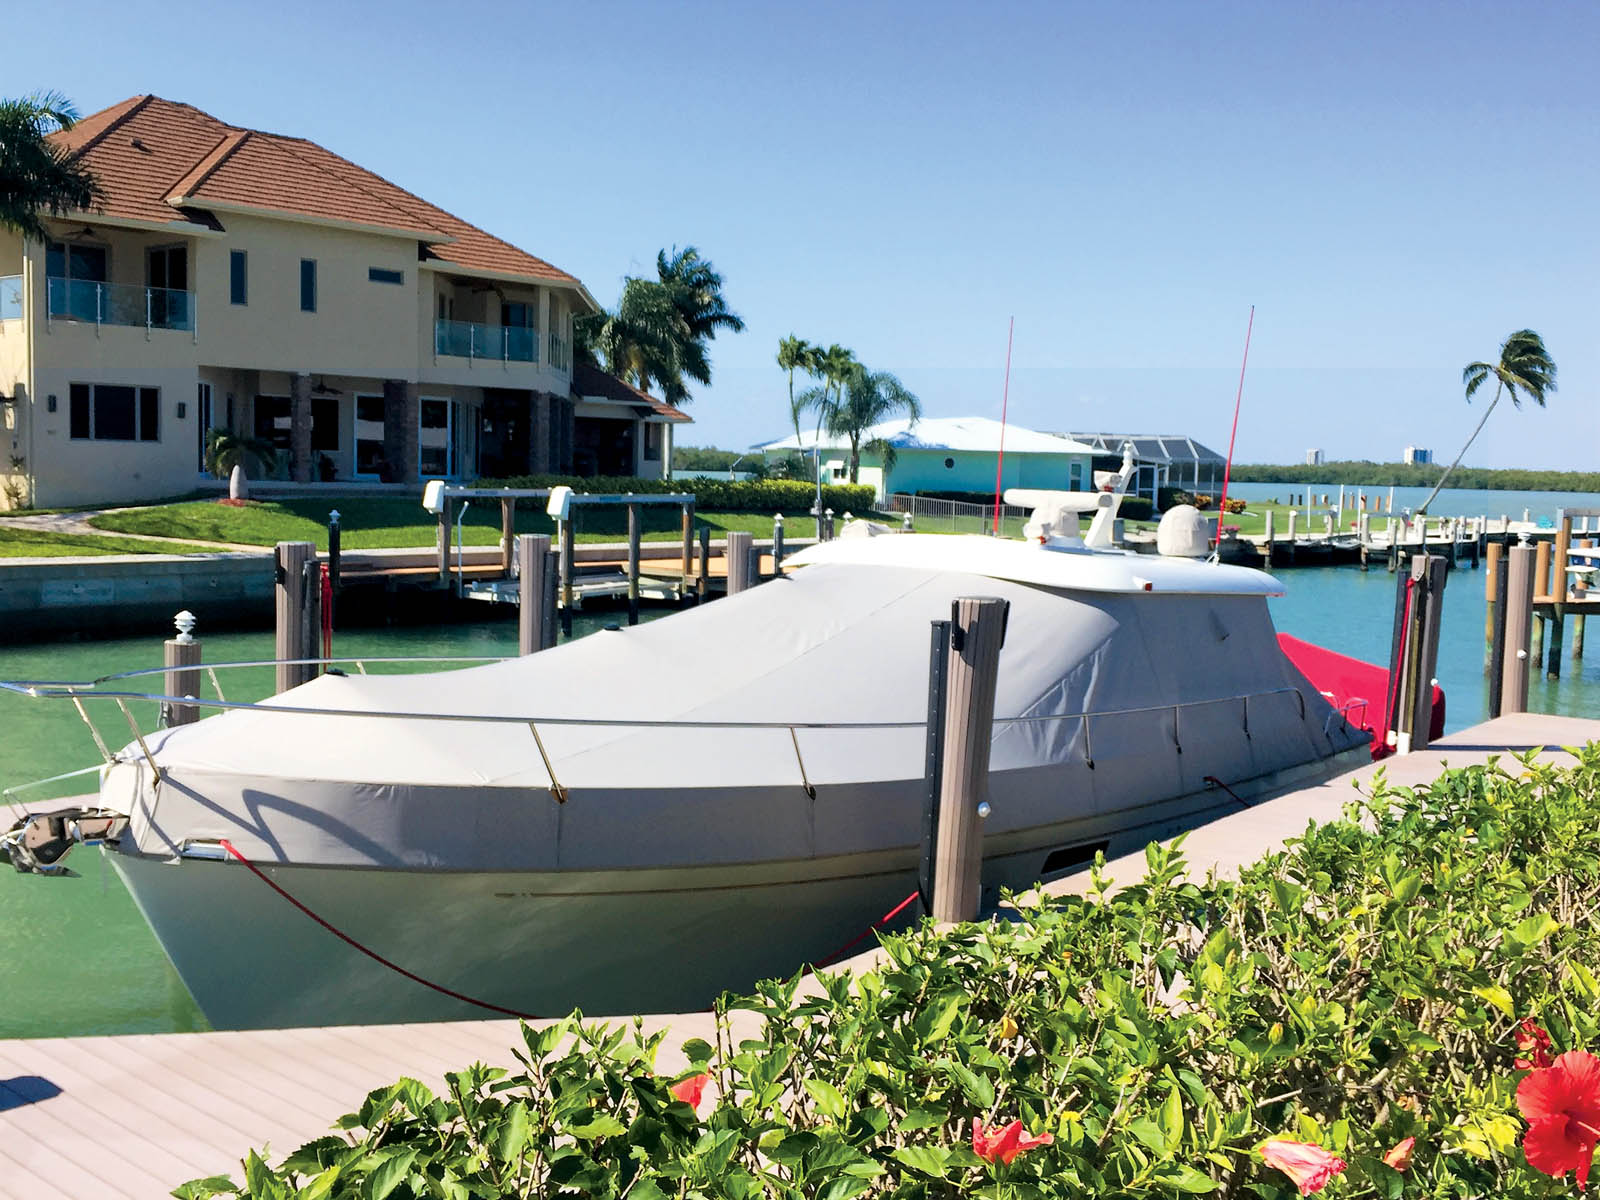
One difference between a travel cover and a mooring cover has to do with the space between the fabric and the vessel. Travel covers perform best when they “hug” the boat, while mooring covers rely partially on space between the cover and the boat to assist with moisture management.
“Travel covers are designed to move down the highway at 65 or 70 miles per hour. They’re very low profile,” says Ed Skrzynski, owner of Marco Canvas & Upholstery LLC, Marco Island, Fla. “For a mooring cover we want the cover up high so as the moist air droplets rise, they get smaller and smaller in size to allow them to more easily move through the fabrics and vents.
“That said,” he continues, “there are some differences depending on the climate. Down here in the south we have very high levels of humidity year-round, high heat, UV and subtropical rains that can bring 4 inches an hour. Northern climates tend to have less annual rain and humidity, and boats are only used seasonally but they may have to contend with snow loads or cold cracks. Each market must pay attention to climate when it comes to cover design and longevity.”
Material matters
Several factors determine which fabric to use for which covering application, including whether the cover is for travel or mooring, how much cleaning and maintenance the owner is willing to do, and what degree of effort the boat owner is willing to exert putting on and taking off the cover.
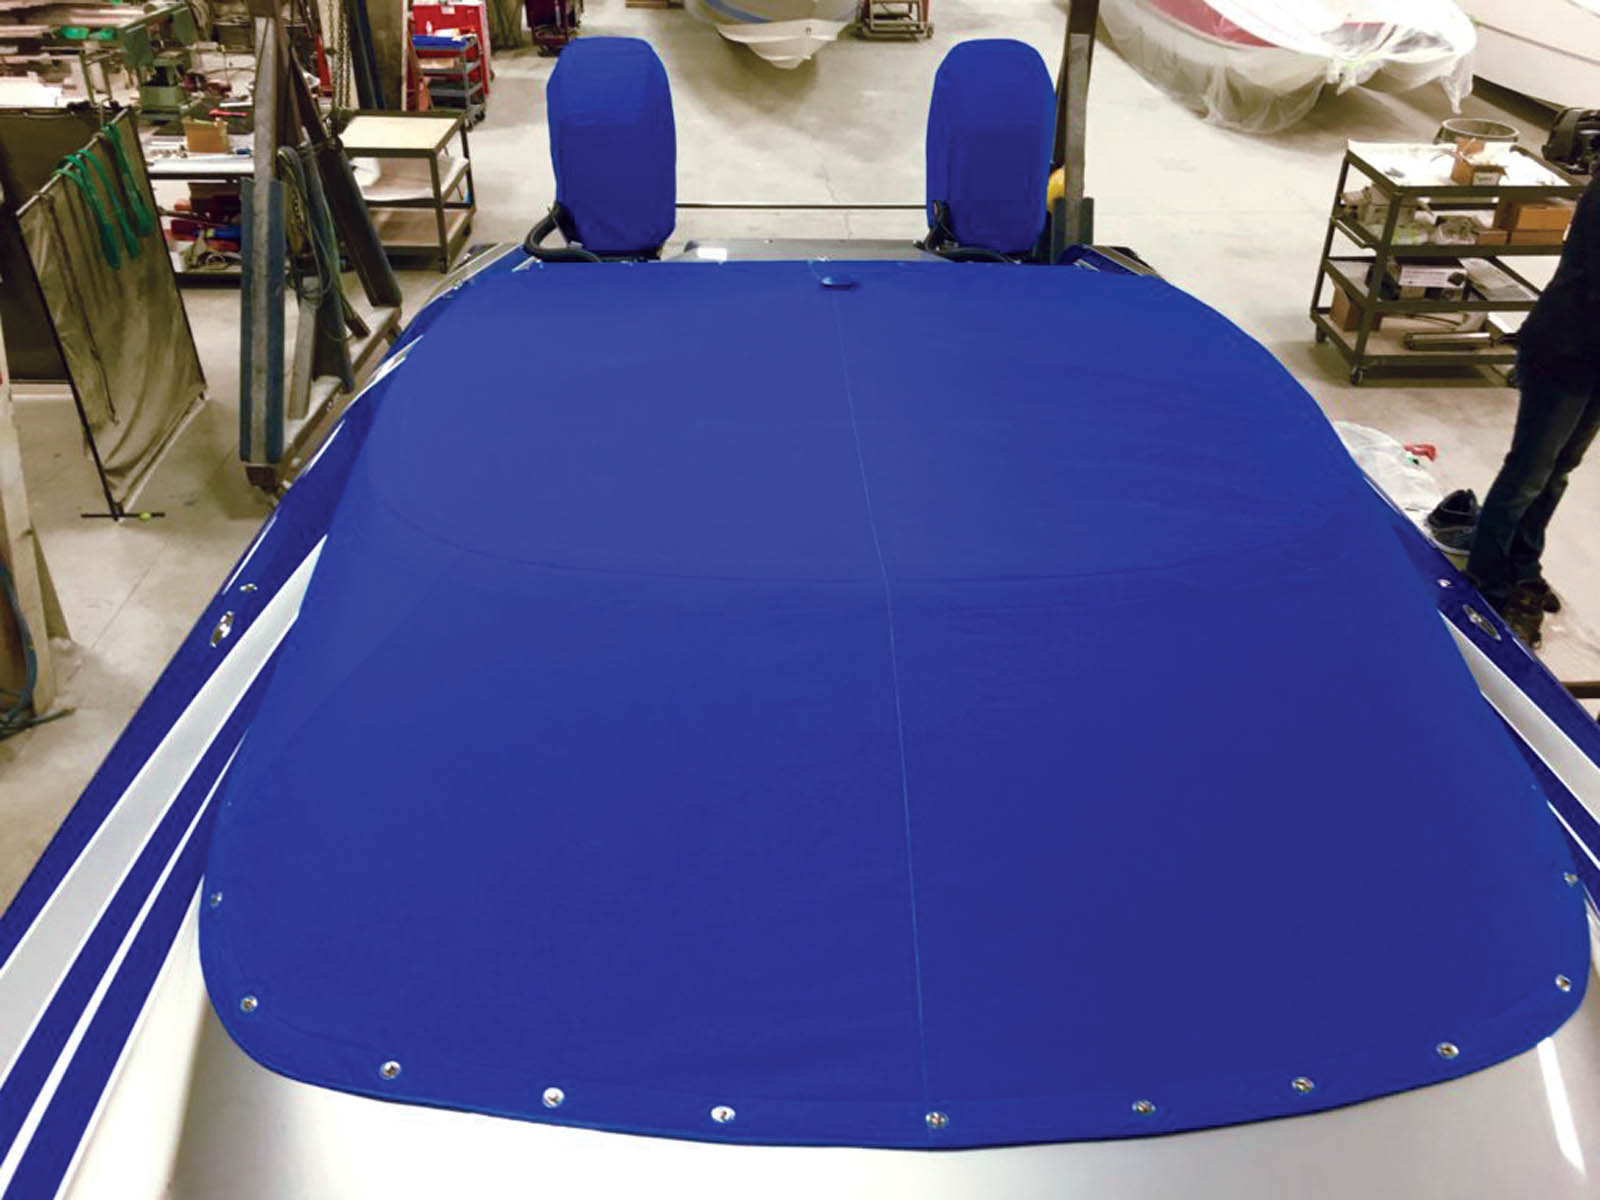
“When we’re doing travel covers, we don’t want to use an acrylic that’s going to stretch,” says Chris Ritsema, founder and owner of Canvas Innovations, Holland, Mich. “So for that application, we’ll use polyester-type materials such as Top GunÆ or WeatherMAX™, which are more stable.”
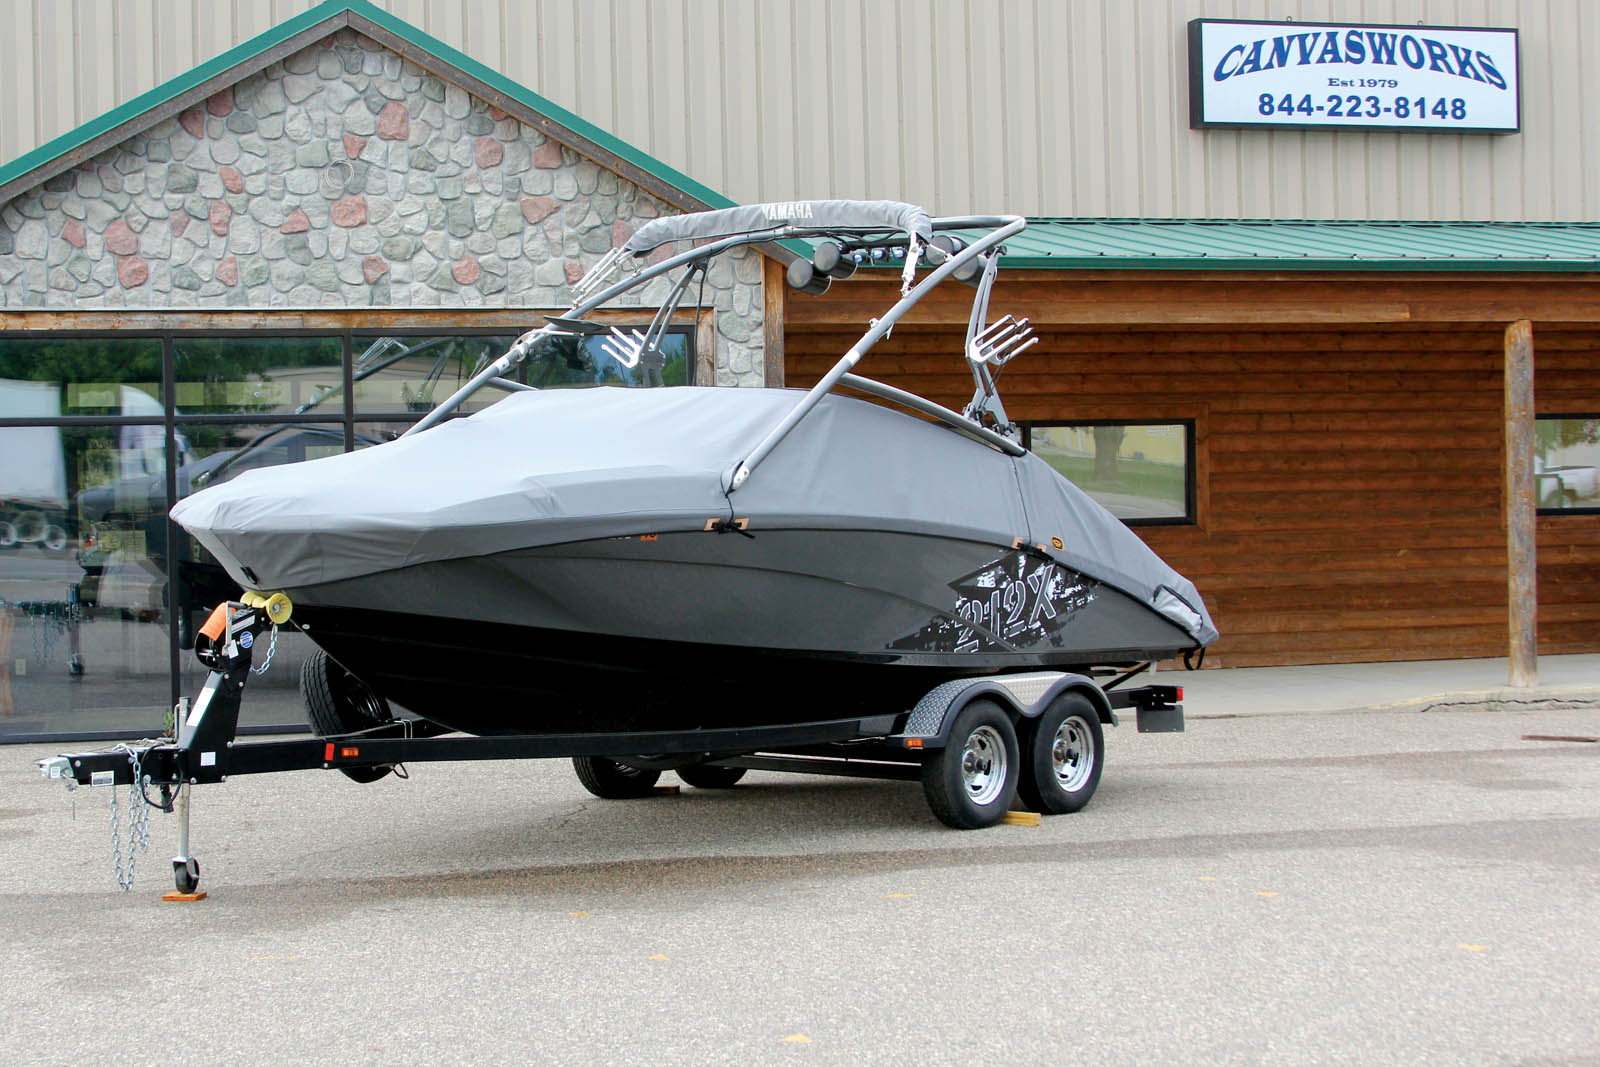
Duane Smith III, who partners with his father, Duane Smith Jr., at Canvasworks Inc. in Cokato, Minn., agrees. “For all of our small travel boat covers we stick with Top NotchÆ because it handles the wear and tear of running down the roads,” he says. “But anytime we’re working on a yacht or something like that, we’ll mostly stick with SunbrellaÆ because it’s the industry standard, does a good job and it’s got an incredible color palette. With a long, unsupported span we might change to something else because it can have a bit of trouble supporting its own weight.”
For boat owners who want more protection than a single cover can provide, Suzi Clinefelter, owner of Mystery Bay Sails and Canvas, Nordland, Wash., adds a liner. “I fabricated a storage cover for a classic 16-foot wooden runabout, and the client wanted every possible bit of the boat covered,” she says. “He also required a soft lining to protect the custom paint from any chafe damage. The end result was a two-layer cover—Sunbrella exterior fabric with Endurance marine-grade polyester lining.”
Just breathe
The relationship between fabric and mold prevention is, as they say, complicated. Boat owners want a fabric that will keep water off the interiors of their boats, but they also need some air movement and venting to keep condensation from creating a mold bloom. To the uneducated boat owner, it may seem logical to opt for a waterproof, white fabric to keep out as much water as possible and reflect the heat. That may work with the proper venting, but if the venting is inadequate or fails in some way, the results will be disastrous.
“More coating means much more water repellency both from the outside and the inside—so a lot of the fabrics being developed now are developed for lightness and water repellency,” says Duane Smith Jr. “They’re great lightweight fabrics, but the problem with them is that they are so water repellent that your venting has got to be incredible.”
The problem that can happen when water is trapped under a cover is what Skrzynski calls “cycling.” “Put a waterproof fabric on as a cover without enough vents or fabricate a low-profile cover and the moisture can’t get out and it can turn into a mold nightmare,” he says.
Duane Smith III recently posted a video on the Canvasworks blog that showed him checking under covers on the company’s lot one morning in April. “Every single cover on the lot—without exception—had wetness on the backside,” he says. “It was simply condensation—water vapor in the air that occurs when you get a large temperature change—and it collects on the back of the covers because it can’t get through the fabric quick enough.
“So if you’re using a completely waterproof fabric, vinyl-coated or a painted type, even with venting there is typically not enough air movement to resolve the problem,” he says.
More than one way to vent a cover
Installing vents on a boat cover isn’t as simple as it may sound. Vents can be mechanical in nature (solar or battery powered) or they can rely solely on their physical properties to move air—and all kinds must be installed correctly to ensure proper performance.
“Almost all fabrics should be vented,” Skrzynski says. “With ventilation you want to install more than one vent so air can transfer from one vent to another, so air can escape. Mechanical vents can accelerate the process, with the added benefit that they fit right into the tent pole and can help support the pole so it doesn’t fall out of the cover—but the problem with some solar vent fans is the motor mechanisms tend to be fragile.”
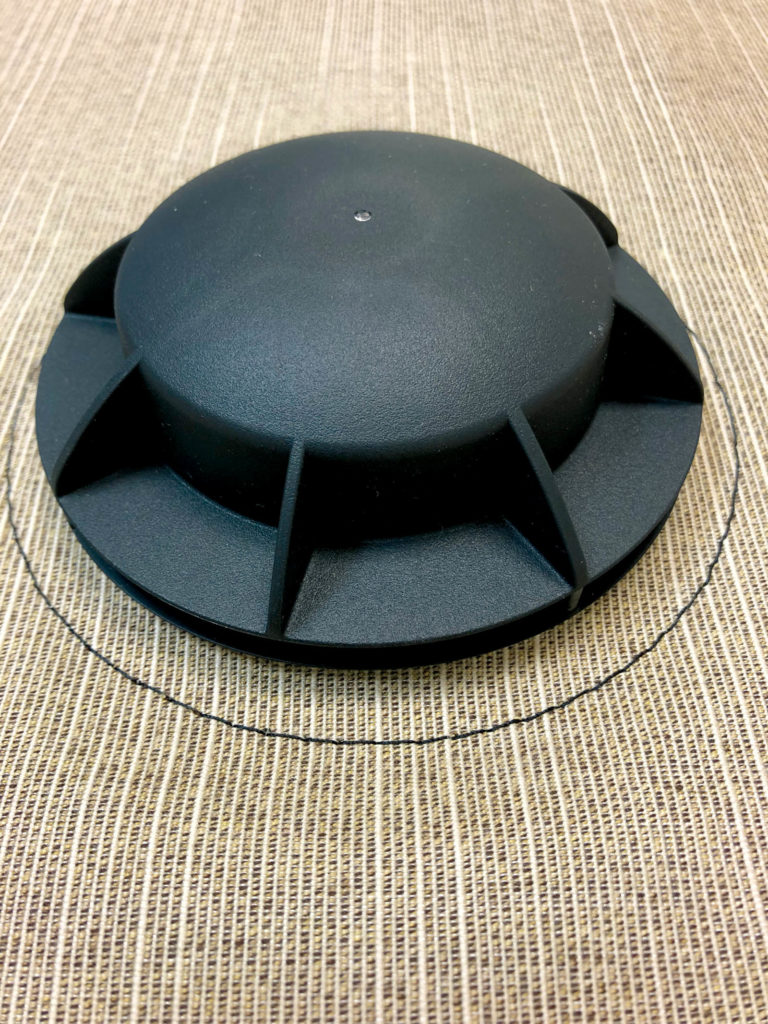
There are myriad techniques for installing physical vents, and the direction you install them is also a consideration, Skrzyinski says. “A cone vent needs to be installed facing downward so the rainwater will run over it, and then we mesh the back of it. For travel covers the vents need to be installed backward of the direction of airflow so it creates a low-pressure zone under the cover and sucks the air out for a vacuumed fit.
“Everyone has their own way of venting,” he continues. “You can also just use fabric and sew it in a way that it stands out. Some use keder welt at the bottom edge of the vent. We use PVC glass materials left over from enclosures and turn them into fabric-covered vents.”
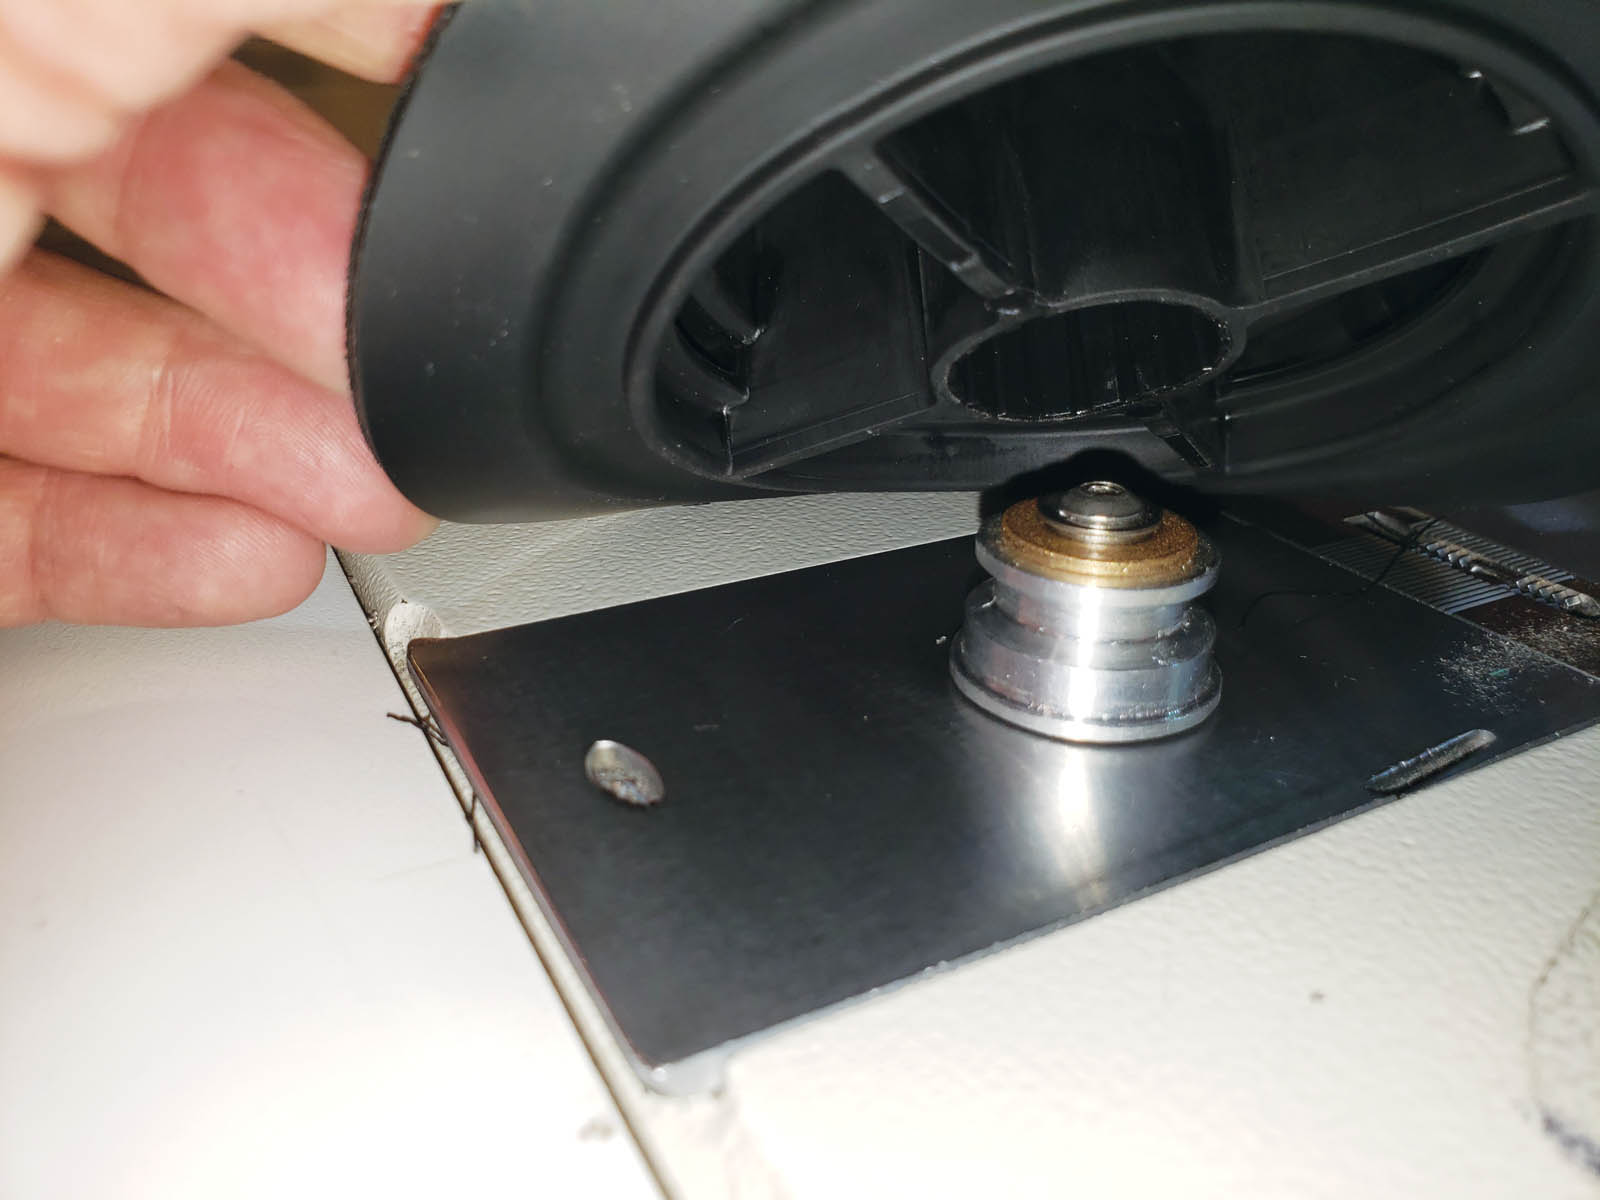
Manitowoc, Wis.-based PrecisionSew has developed a new version of its Softvent™ for boat covers. “The material allows the vents to be soft, yet incredibly tough, and the polyurethane material doesn’t deteriorate in UV light, ensuring the vents last the life of the cover,” says Tim James, the vent’s developer. “It’s flexible, so it can form to the shape of the fabric and it saves time for the sewers to install. We created a new installation process using a magnetic sewing attachment because sewing in the center of a cover can be challenging. The attachment constrains the vent to rotate around the center axis ensuring precise stitching, while at the same time allowing the sewer to focus on moving the material rapidly through the machine.”
He developed the product to address some of the pitfalls of current vent designs. “The new vent stays put when the cover is trailered or put under load,” James says. “[It] conforms to the shape of the cover, spreading the load over a large area so it doesn’t wear the fabric.”

PrecisionSew has primarily sold the vents to original equipment cover manufacturers (OEMs) and is only now considering custom shops as a potential market. Ritsema is one of the few custom fabricators who is currently using the vent and is enthusiastic about it. “We’re just transitioning to the Softvent,” he says. “It’s sewable, which is super fast. It takes about four minutes to install whereas the other vent we’ve used takes between 10 and 15 minutes because you have to sew a reinforcement patch, cut a hole and sew it together. With this one it’s just one circle pass and it’s done.”
“We are just starting to sell the product to the custom market,” James says. “We need to ensure the fabricators have the correct information related to the installation process.”
Sigrid Tornquist is a Minneapolis-based writer and editor.