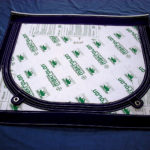
Cutting tips for semi-rigid enclosures
 Semi-rigid enclosures have become a growing market over the past 10 years. The majority of these enclosures are bonded panels that are fabricated by EZ2CY and Rainier Industries. These enclosures are usually sold to the upper tier of boat owners and are generally out of reach, price wise, for the average customer.
In recent years, a sewable version of polycarbonate glass has grown in popularity and made it possible to offer semi-rigid enclosures to a larger segment of boat owners. Polycarbonate glass is in use everywhere. Eyewear, aircraft windows and bank teller windows are examples. Early versions, made in the early 1990s, were too thin and lacking in UV and abrasion resistance.
In 2005, I was introduced to the second generation of polycarbonate. It is 60 mil thick and has an abrasion-resistant coating on both sides. While 80 mil is too thick to sew, 60 mil can be sewn on your average canvas shop machine.
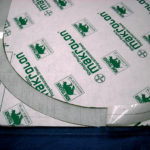
We use Makrolon AR made by Sheffield Plastics. Makrolon shares the same clarity as acrylic glass but has 30 times the impact strength and is shatter proof. The AR coating gives the polycarbonate excellent UV resistance (98-percent blockage) and is resistant to yellowing. Tight radius corners are possible without distortion.
There are a variety of ways to cut this glass. Sheet metal shears, jig saws and razor blades are common cutting tools. After a lot of trial and error, we have perfected our fabrication technique. We found that notching and “breaking” the cut line is the most accurate way to get a straight, smooth line. The tools we use are: OLFA glass notching tool, OLFA razor knife, Fiskar rotary razor knife, heavy-duty shears, cutting guide with non-skid bottom and safety gloves.
Once you learn these techniques, you will be able to increase your profits and your status as a shop on the cutting edge.
-
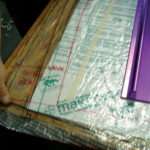
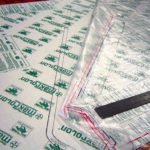
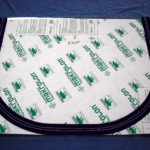
- LAYOUT: We use Canvex pattern paper for templates. After making a template, lay it down on top of the polycarbonate sheet and transfer the marks. Allow 3/4-inch sewing salvage.
-
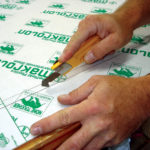
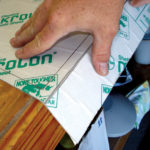
- CUTTING: Using the notching tool and guide, lightly etch the cut line. Go back over the line several times, increasing pressure with each pass, until you are halfway through the glass. Line up the cut line with the edge of the table and bend panel down until it snaps. Turn the panel over and, using the razor knife, cut through the paper line.
-
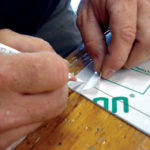
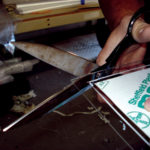
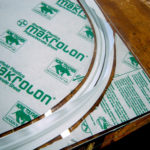
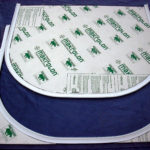
- TRANSFERRING MARKS: Crease back the paper liner and transfer marks using a china maker. This is your fabric border edge. Use the razor knife to cut back the paper 1/4-inch past the fabric border. Flip the panel over and remove the same amount of paper from the edge. Run the razor at a 45-degree angle along the cut edge to smooth out. Round the corners with shears. This will eliminate sharp edges that could eventually wear through border fabric. Fabricate your panel using seam tape to hold the border in place while sewing. Staples will not work.
-
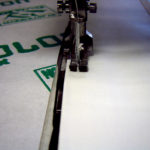
- SEWING: Normal sewing needles will cause cracks around the hole, which will eventually lead to failure. Diamond point needles allow the needle to puncture the glass without damage. Most sewing supply companies carry these needles. V-92 and V-138 synthetic thread is preferred because of the long service life of these panels.
-
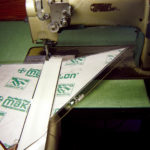
- CLEARANCE: When you lay out the panels, be aware of the distance from the needle to the base of the sewing machine. Most shop machines have a 10-inch clearance. A long arm machine is recommended, as they have a 30-inch clearance. For example, if your zipout is too far in, splice pieces using fabric strips and hinge.
-
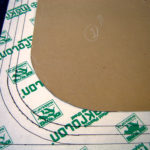
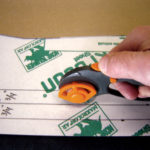
- ZIPOUTS: Using a corner pattern, mark the outside edge of the zipper. Mark center line 3/4-inch in and repeat for inside edge. Using the rotary cutter, etch your entire line on the first pass. Complete the cut using the notching tool- slow and easy. Fold back paper and cut away with razor knife. Tape down 3/4-inch bias binding and sew down either side of center line. Turn panel over and, using 1/4-inch seam tape, tape down and sew outside edge of zipper. Repeat for inside edge. Separate zipper and glass and bind inside edge of zipout. Use 600-grit sandpaper and gently sand outside edge, as this can’t be bound. Sew in tabs for fasteners that will allow zipout to hinge up.
Chris Sharp, MFC, is owner of Sharp’s Custom Canvas Inc. in Georgetown, S.C., and a member of the Marine Fabricators Association.
 TEXTILES.ORG


