TEXTILES.ORG
 Fabricating an enclosure

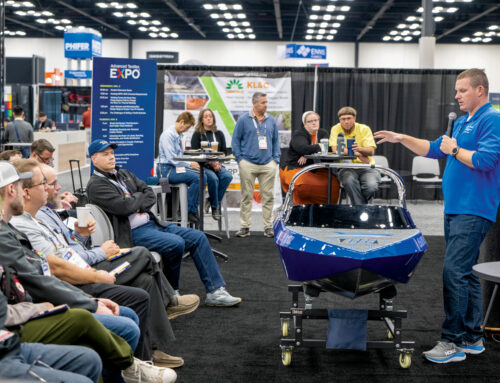
A finished bimini enclosure from the inside. Note the clean look with no zippers, the “smile” zippers showing and the “no gap” corners. This is just one way of many to fabricate enclosures that produce quality results.
My wife Deb and I have run Hood Canvas for the better part of 30 years. I attribute most of my skills in the early years to the late Ralph Hulsman of the Oakum Bay Canvas Co. in Marblehead, Mass. We spent many hours together exchanging ideas on napkins in area restaurants.
The way we fabricate enclosures for bimini tops is a bit different from conventional techniques. We use the 1 1/2-inch width of the standard YKK #10 zipper as the basis for the overlaps and allowances on all our enclosures. The result is a clean looking enclosure inside and out, with zippers hidden in the overlap. Our panels are finished on the inside exactly the same as the outside with the top zipper facing the outside with the bottom edge 1 1/2-inch down. I know this is different, but it will make sense.
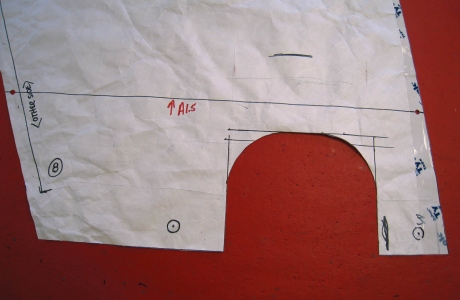
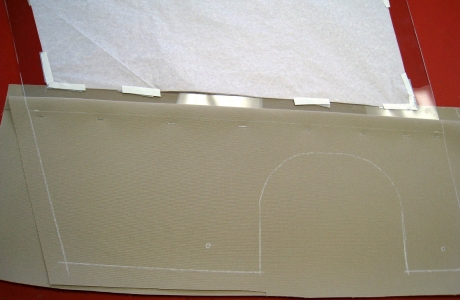
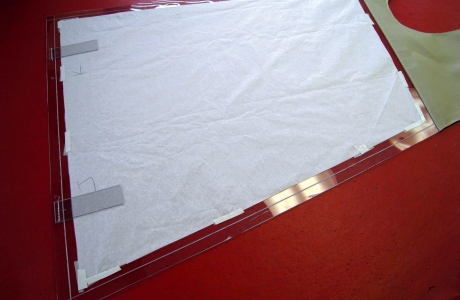
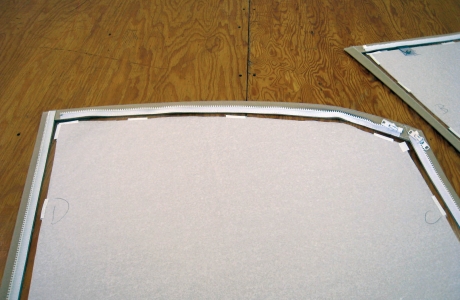
One of our Tyvek patterns off the boat and developed to the point that we can start cutting the Strataglass and Sunbrella we use in 90 percent of our fabrications. Notice that the bottom edge and start and stop points of the top zippers are marked on the pattern, as well as one corner division between two adjacent panels. (I’ll explain these down-turned corners in a future article on natural intersections and patterning.) We cut the pattern up 3/4 inch from the bottom edge of each top zipper.
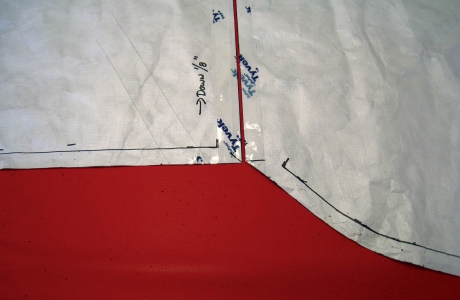
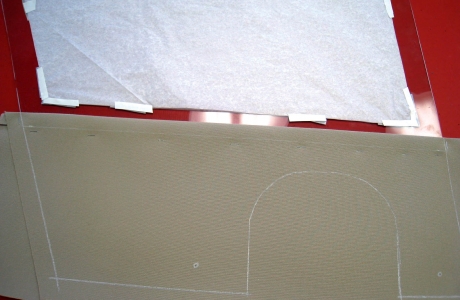
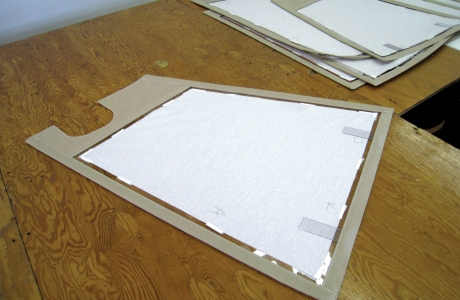
The bottom edge of one pattern that I will use as an example in this article. There is a line drawn above the semicircle cutout that represents fabric below and vinyl glass above. We punch holes in the pattern so that lines can be drawn onto the fabric and the corresponding vinyl glass. On the left is a vertical zipper mark where it will be joined to the back edge of an existing dodger.
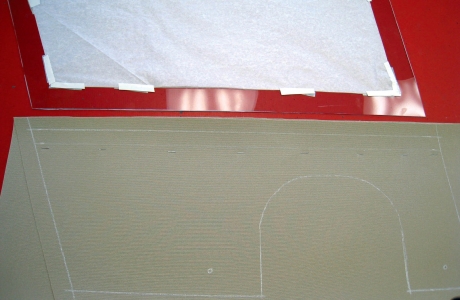
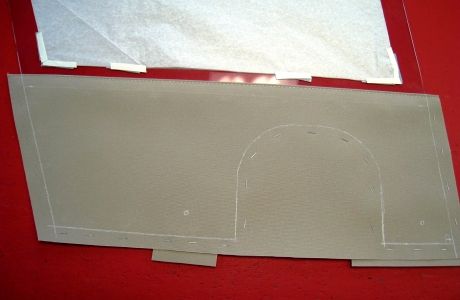
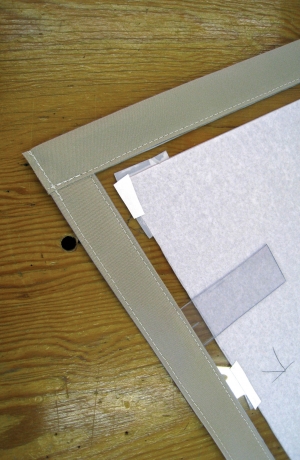
The cut pieces of vinyl glass and fabric from the pattern (in step 2) staged in relation to each other for joining. We have added a white pencil line 1 1/2-inch up from the punched hole line drawn on the bottom fabric. We have added a second line 3/4-inch down from this line that serves as a fold line for attaching the fabric to the vinyl glass. We made this bottom fabric piece two-ply in order to sandwich the bottom edge of the glass, producing the same finished look on the backside. The two layers of fabric are stapled in a row just below the punched hole line, to hold them in relation to each other while joining in step 4.
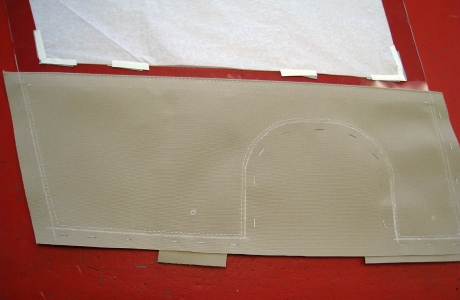
Add 3/4-inch double-sided seam tape to the bottom edge of each side of the vinyl glass. Fold the bottom fabric on the 3/4-inch line, remove the backing of the seam tape and slide up onto the glass and stick. The bottom of the vinyl glass panel should line up with the punched hole line on the fabric.
Flip the panel over, remove the backing of the double-sided tape, fold and stick the top of the bottom fabric to match the folded edge on the front side.
Stitch along the top of the folded fabric where it meets the glass, and staple the bottom three edges so the fabric lies flat. Slide cut squares of fabric between the two layers of fabric before stapling. This adds extra reinforcement in the fastener locations marked on the fabric from the pattern.
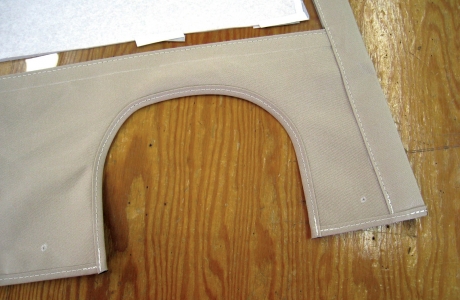
Stay stitch around the bottom three edges, including the semicircle, and cut off the excess on the line to match the pattern.
We draw lines on the top and two sides 3/4-inch in from the edges with white pencil. We add roll-up tabs to the top edge on both sides and stay stitch in place.
Before we move on it is necessary to have a specialized binder made up that takes 4 18-inch strips of fabric and finishes them to 1 1/2 inches with a stop at 3/4-inch. People I spoke with in the binding industry informed me that I could not make this binder without a dedicated machine and special feeds. I decided to proceed and make up this binder as strictly a bolt-on with single screw to a standard single needle walking foot machine. At the time, I thought I was spending $300 on a piece of bent tin that probably would not work. It turns out it was the best $300 investment I ever made that produces high-quality fabrications in record time. With it we can install the tops and sides of a 10-piece bimini enclosure in about an hour. The 1 1/2-inch finished size extends onto the glass 3/4-inch to the white line and 3/4-inch off the edge onto the adjacent panel of fabric. When the two adjacent panels are butted up to each other, the combined overlap is 1 1/2 inches, which is the width of a standard #10 YKK zipper. We now install a vertical enclosure zipper like a sandwich between the two panels. This zipper placement technique accomplishes two purposes: it hides the zipper from view and enables it to move smoothly from both sides.


Two views of the large binder at work. Note the white 3/4-inch line and the binder finishing to the edge of the line. The finished binder width is 1 1/2 inches, so 3/4 inch of this width is off the edge of the glass on the top and sides of the panel being worked on in these two pictures.
The panel with all of its large binding installed.
To finish the tops, run a stitch along the top edge of all the panels.
To finish the bottoms, bind the bottoms of all panels with 3/4-inch matching acrylic binding.
The panel with its zippers installed. The top zipper faces outboard to hide it.
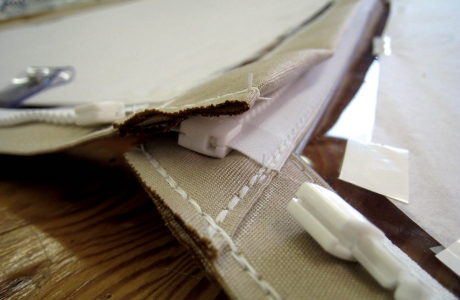
A close-up view of the vertical zipper overlap. If you removed the vertical binding, the two edges of the raw glass would butt each other.
Mark Hood is owner of Hood Canvas in Merrimac, Mass., mark@hoodcanvas.com.