Sewing the fabric puzzle together
It’s time to sit down at your sewing machine and begin to put the pieces of the fabric puzzle back together.
You may have one or two machines to choose from, or several. Regardless of how many choices you have, you generally have a favorite. And, more than likely, the number-one reason for your choice is that you can control that machine better than any other machine in the shop.
Control is essential for a top-quality finished piece, and it will give you the confidence to try more advanced projects. Control will play a huge part in how you feel at the end of the day.
Having the best equipment in the world won’t help you if you don’t get familiar with the way it operates. Take the time to really get to know your machine. If you are hiring someone else to work for you, let them get the feel for the equipment before turning them loose on a project.
My favorite machine for upholstery is a 27-year-old workhorse with a brand name that most people have never heard of (a Nakajima DBL 182U-2). Despite my occasional neglect, it performs every task I put in front of it. Having no fear about what the machine is going to do allows me to spend more time thinking about the job.
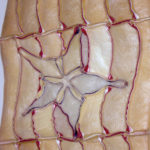
When you are getting ready to sew the fabric pieces, take a moment to visualize the order that the pieces go back together. This is important, particularly if some of the seams are to be top-stitched. Sewing even one seam out of sequence can really set you back on the clock, and a mistake on a large cushion or sunpad could cost you material (Image 1).
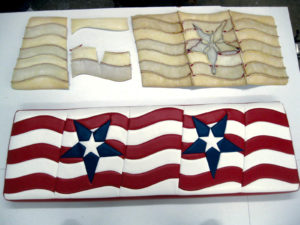
Image 1
When you are ready to sew the fabric pieces, visualize the order that the pieces go back together. Sewing even one seam out of sequence can set you back on the clock and cost you material.
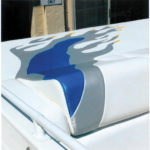
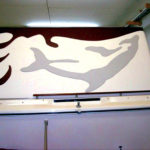
If the pieces did not get marked in the right sewing order, look at the backside of the old pieces and see what direction the seams lay. If you are making a new design and have nothing for reference, remember to take a minute to put the pieces together in your mind. This one minute can possibly save you hours by spotting potential errors in your calculations (Images 2 and 3).
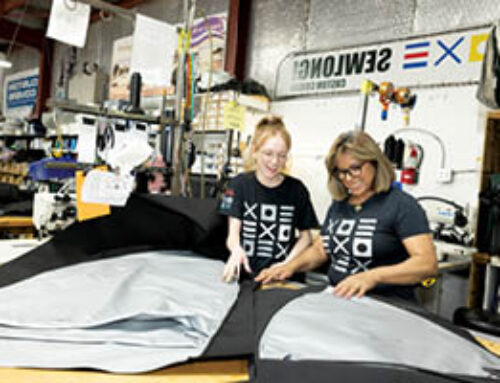
When I add 1/4-inch or 1/2-inch foam to the fabric, I prefer to stitch it on, as opposed to gluing it on. Stitching allows the foam to float between the cushion and the fabric (Image 4).
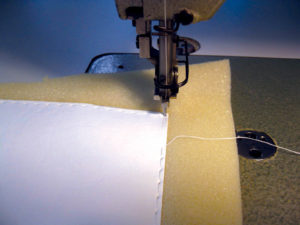
Image 4
Use a long stitch when applying the foam. The smaller the stitch, the less stretch you will get out of the fabric, which can make an already tight helm-seat skin even more difficult to fit. Remember to transfer any marks you have made on the fabric to the foam before you sew them together, or else the marks will be lost.
When you top-stitch a seam, remember that the closer you stitch to the original seam, the easier it is to do sharp corners (Image 5). Keep this in mind when planning the project as a whole. You will want to keep the same spacing on all the pieces. I use the foot as my guide for placing the top stitch.
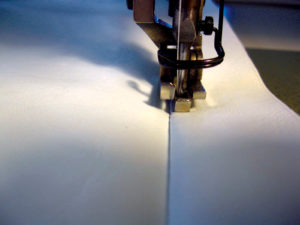
Image 5
Your customers will generally scrutinize the top stitching before they look at anything else. Doing a fine job on the stitching speaks volumes about the quality of the work you have done, even though the customer can’t see behind the staples.
When designing some crazy graphics on a cushion or sunpad, it is easy to sew yourself into a corner. Be mindful of this when you are in the early stages of designing (Images 6 and 7). Always try to give yourself a way out by always having an escape seam—that one last seam that will tie the whole piece together, and yet gets you to the edge of the cushion.
Not all designs will give you the escape route option. Those types of jobs should not be attempted until you have had some time behind the machine. Some graphics require a great deal of time, so be sure your customer is aware of the additional cost.
Carol Racine is owner of Racine Design in Jacksonville, Fla.
 TEXTILES.ORG


