TEXTILES.ORG
 How to eliminate vertical darts
Every canvas maker has a “thing” that bugs them. For me, it’s vertical darts. Whether they are on a cockpit cover along the curved windshield or around the bow of a boat’s mooring cover, vertical darts are not appealing to me. Not to mention that vertical darts require a lot of extra sewing time when they are repeated around a curved shape.
One of the reasons I love this business is that we can all have a “thing.” By that, I mean a way of doing our craft that is unique to us. My competitors have certain styles they like to produce and I have mine. It’s fun to walk among the boats down at the marina and guess who fabricated this one and who fabricated that one. After a while, you can even spot the work of different canvas shops at a distance. While canvas must be functional, it certainly holds a great deal of artistic value as well.
In this article, I’ll use our classroom model to walk through the steps of eliminating vertical darts by using clean, seldom-ever-noticed horizontal darts instead. Once you have learned the principles of horizontal darts, you can apply those same principles to anything with a curve!
Photo 1: Fit top to aft
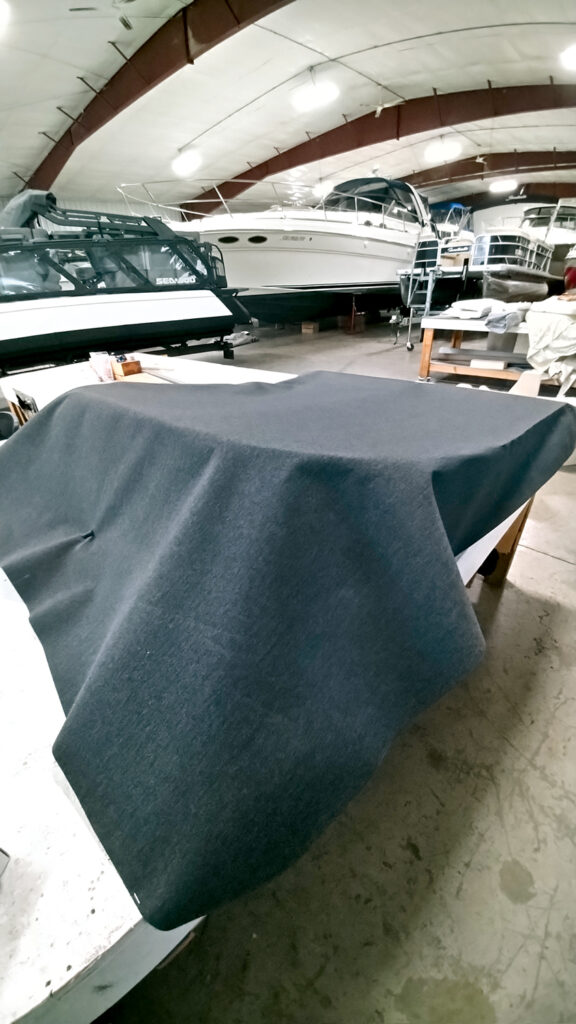
Secure the fabric blanket that you have prepared to the center fastener at each end, forward and aft, pulling canvas taut. Fit (position and mark) everything from the top of the windshield to the transom as you would any cover. Pin or staple any darts, and mark for reinforcements and tent pole locations. During this stage, ignore any excess material that is forward of the top of the windshield.
Photo 2: Mark aft
Once the cover is fit from the top of the windshield to the aft, gather the excess material forward of the windshield and pull it forward. While doing so, mark the top edge of the windshield onto the fabric using a water-soluble pencil. At this point, you are done fitting the aft section.
Photo 3: Lift, lay, secure
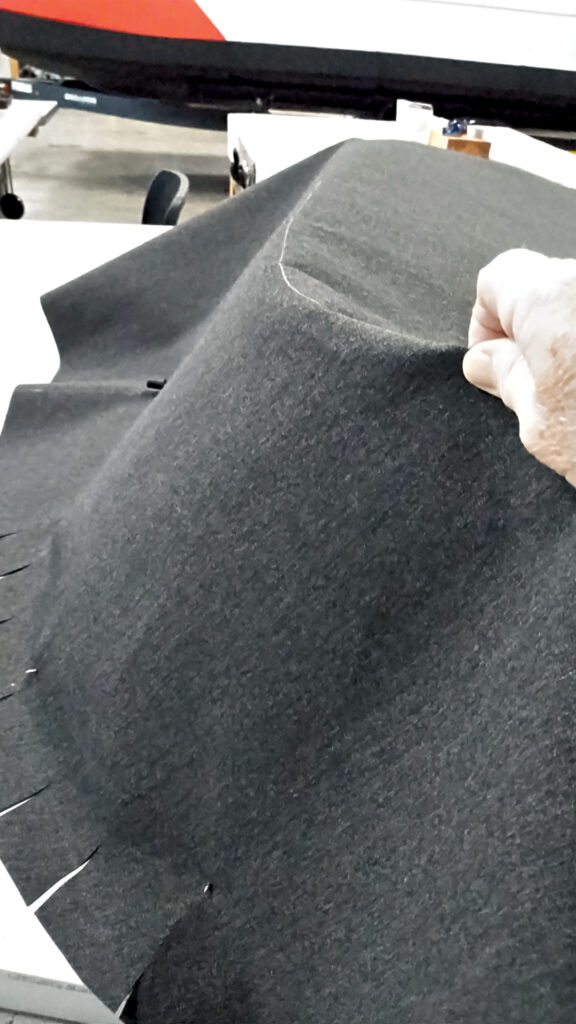
Moving to the forward section, lift and position the canvas so that it naturally lies flat around the windshield’s curved section. Secure fabric to fasteners at the bottom edge while lifting and laying the fabric into position.
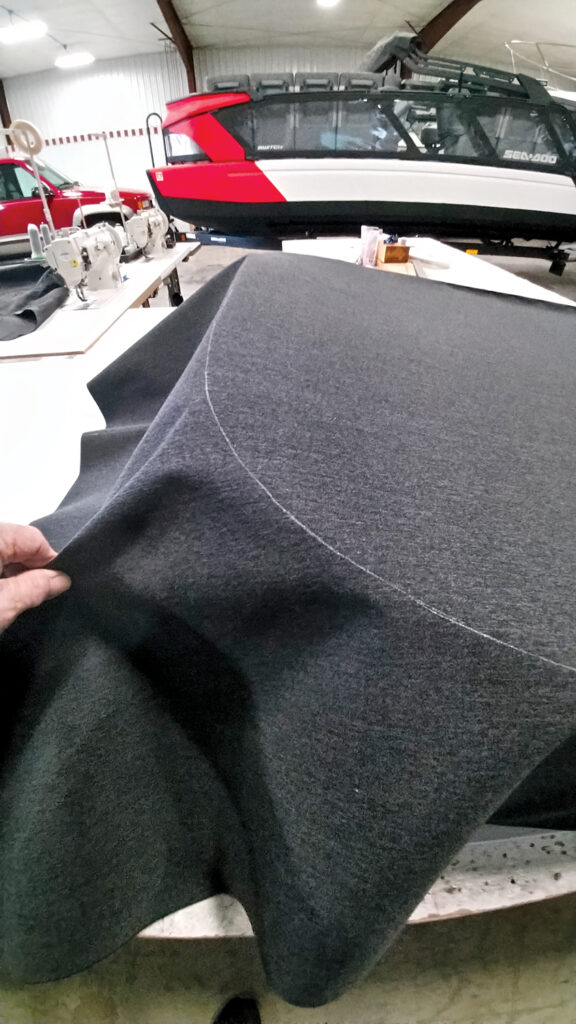
Photo 4: Create dart
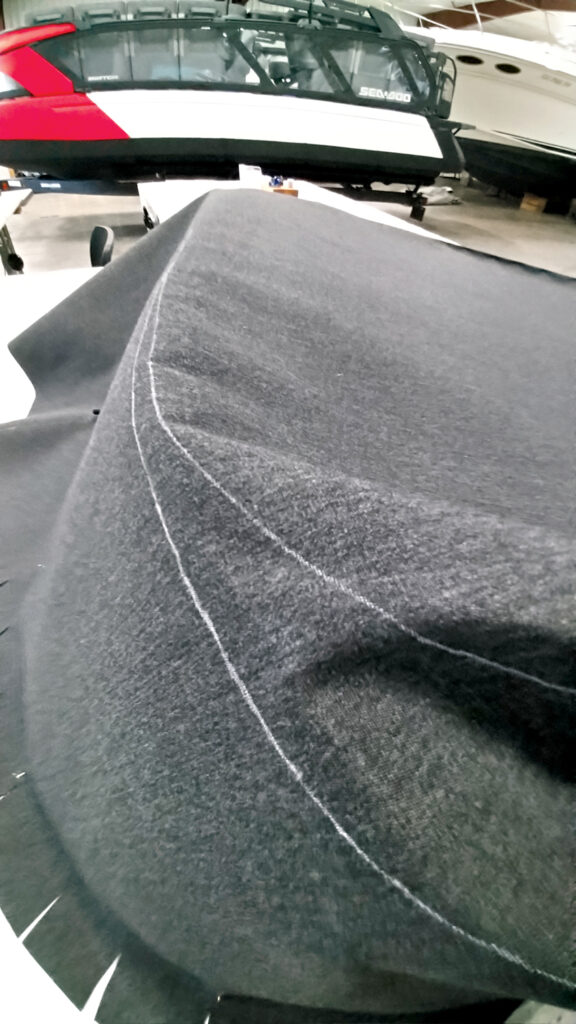
Once the fabric has been smoothly positioned on the windshield, pull fabric rearward and mark the top edge of the windshield once again, onto the fabric using a water-soluble pencil. You have now created two dart lines. The excess fabric between the two lines will be removed and sewn into a dart a little later.
Photo 5: Pin dart

The next step is to pin the dart across the top of the windshield. At some point along the curve, you’ll determine the best position to turn the horizontal dart into one of only two vertical darts. Every boat is different. Therefore, use your discretion as to where this transition is placed. Once the pinning is complete, make reference marks across the dart for sewing alignment purposes.
Photo 6: Sew darts
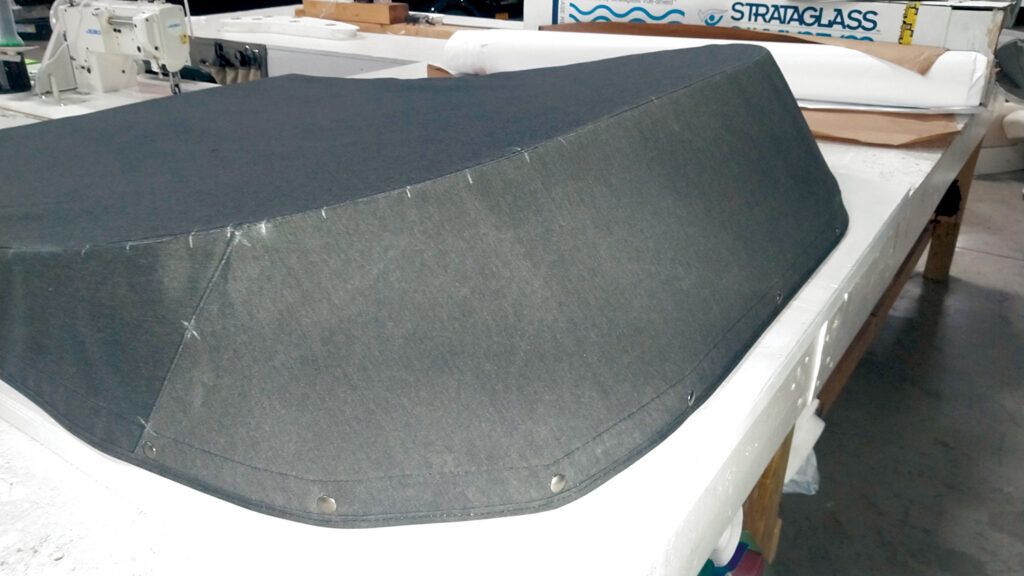
While in layout stage, remove the pins and cut away excess fabric portions between the two dart lines. If needed, reinforce the areas that may be prone to wear along the top of the windshield and other areas throughout the cover.
Sew all darts. Finish with reinforcement and binding around the edges. Once the sewing is finished, check if your dart alignment marks are still aligned. If they are, you’ve done everything correctly. On my small example cover, I estimate that I was able to eliminate four vertical darts. Eliminating these darts is not only attractive, it reduces fabrication time.
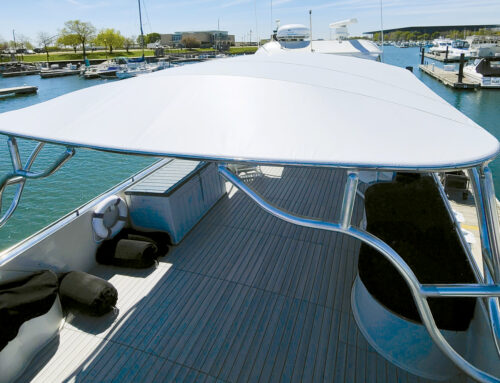
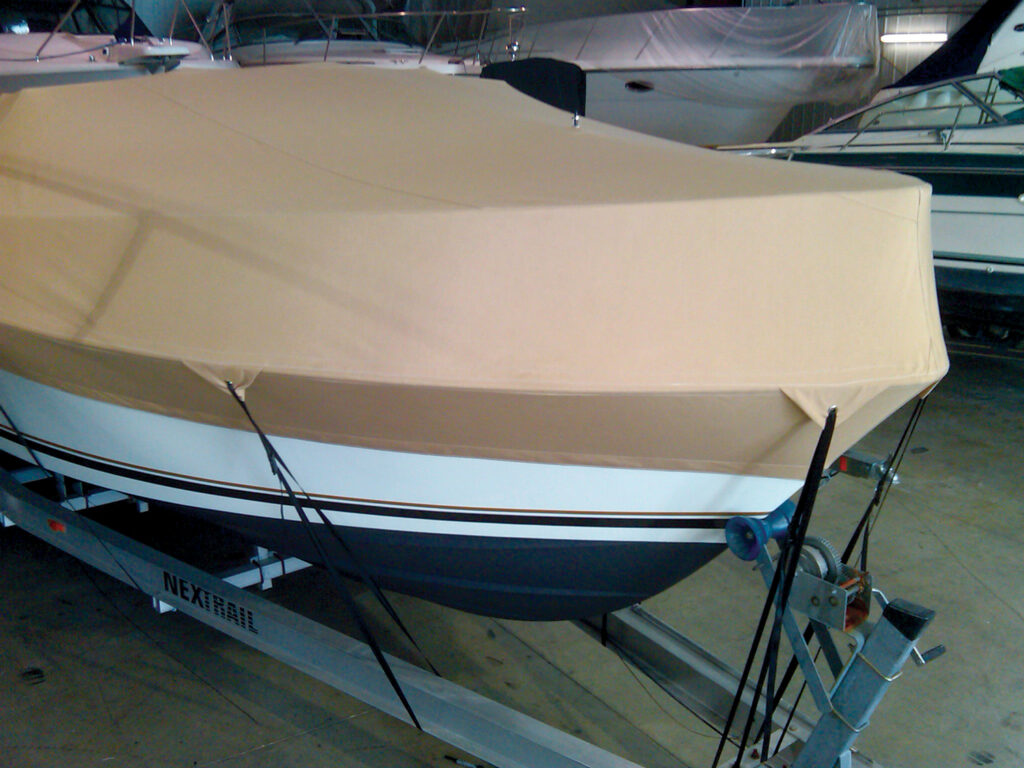
Photo 7: Expand on this technique
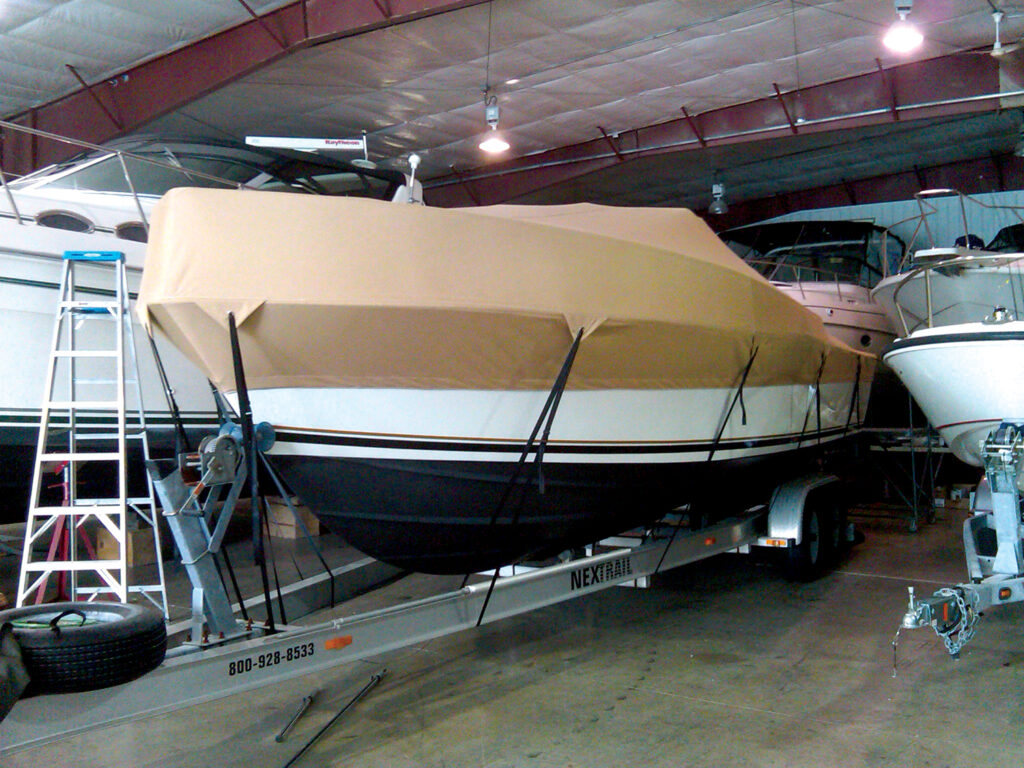
Now, let’s take the above technique even farther. You don’t see any vertical darts in this full-size travel cover. On this project, we have two horizontal darts on the port side and two on the starboard side. Can you see where the horizontal darts are?
By using the same methods as our miniature cockpit cover, we marked a horizontal dart along the top of the bow rail. We also marked a second horizontal dart along the rub rail while the fabric was positioned properly between the bow rail and the rub rail. The only vertical dart is at the bow (nose) of the boat where the two sides meet.
For a cleaner look that requires less work than vertical darts, jump into the world of horizontal darts if you aren’t already doing so. You’ll be amazed at how many applications you’ll find to use them.
Russ Griffin is co-owner of Northcoast Marine Specialties LLC, which operates a training facility in the art of canvas making in Port Clinton, Ohio.