TEXTILES.ORG
 Tailor-fitting a wrinkle-free front panel
When my father started our boat canvas business in the early 1970s, he had no one to ask how to do things or how to improve the fit of a front panel. So we developed a fabric-fitting technique that allows you to immediately see the problematic areas when working with windows and where you have to change the zipper line in order to get a fantastic-looking, wrinkle-free front panel.
Here in Germany and generally in the whole European market, normal roll clear is used for 95% of the projects. Pressed sheets like Strataglass® are uncommon, and marine-grade polycarbonate or acrylic are not available at all. Despite this, it is possible to achieve the same wrinkle-free look of an enclosure with cheap roll clear.
Patterning
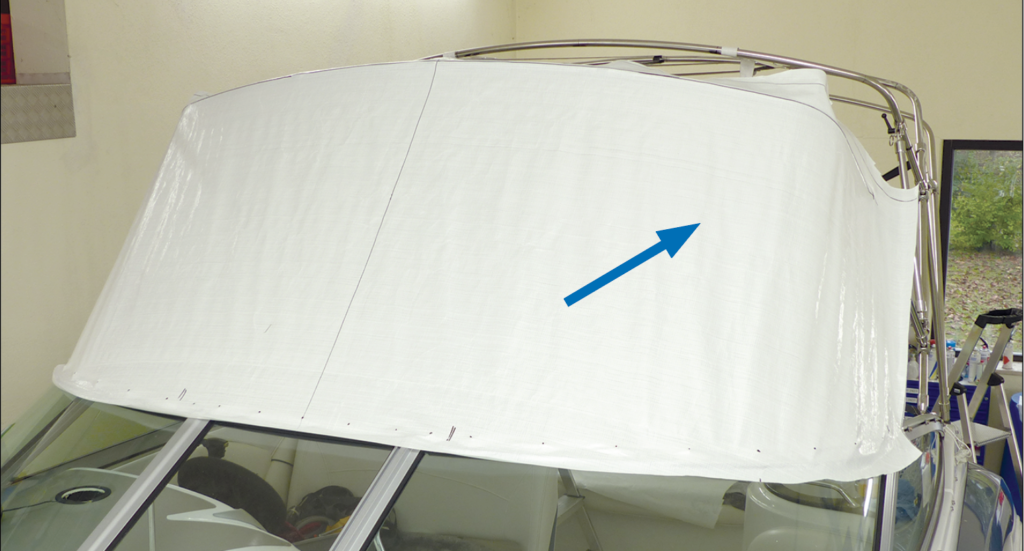
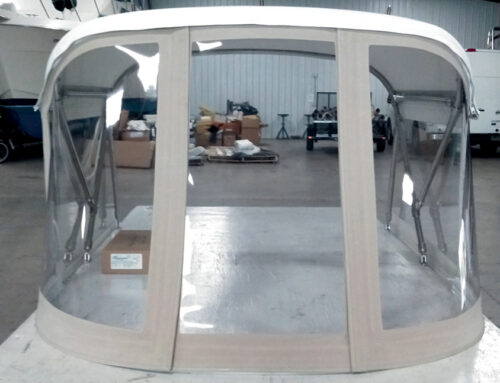
Just take a piece of cheap plastic and pattern as you usually do. Ignore small wrinkles, as we will get rid of them in the next steps (Photo 1).
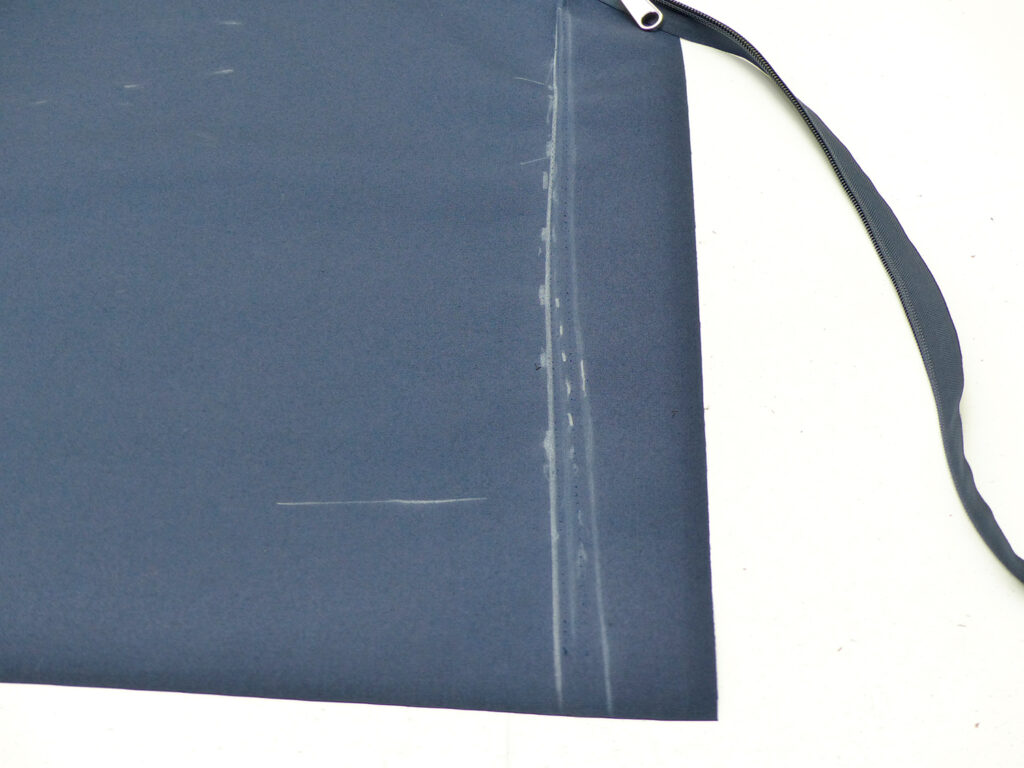
Pins and zippers
Transfer the zipper line onto the fabric and cut the fabric, leaving an additional 2 inches (5 cm) of extra fabric at both the top and bottom. On the top, the additional fabric will be folded over and will act as a reserve in case you have to release the fabric. The extra fabric at the windshield area will be necessary for sticking it to the windshield and will be a reserve when you have to tension the fabric upward.
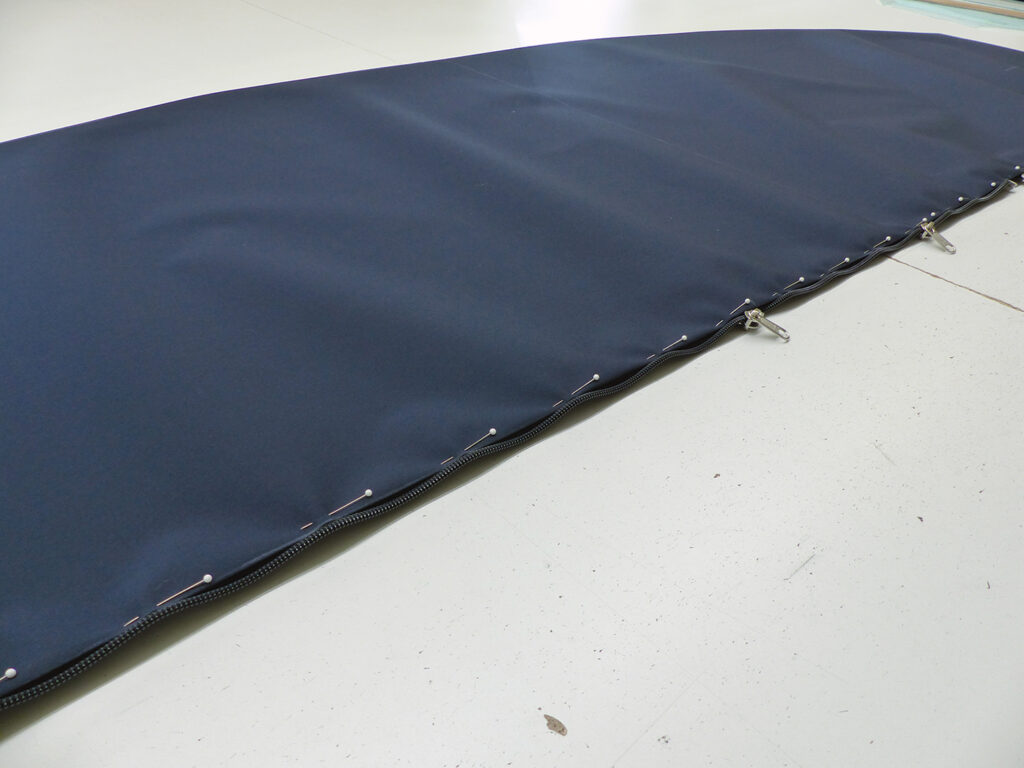
Mark the beginning of the zippers and pin the zippers to the fabric (Photo 2). Please note: the small loops of the zipper between the pins are intentional and are absolutely necessary. For a perfect fit, you need the correct zipper line, but the loops will help tension the fabric sideways. When sewing the zippers, this slack will be sewn at the same spot and will not be noticeable in the final product.
Fit and mark corrections
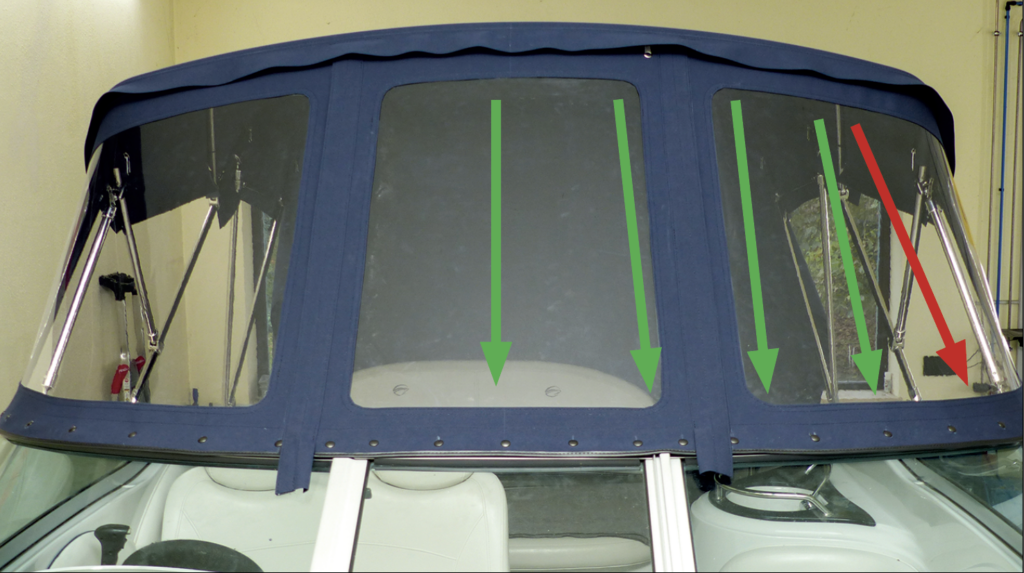
This first fitting is the most important step of all. Zip in the panel and stick it to the windshield using double-sided carpet tape. It is absolutely crucial to start in the middle and carefully tension the middle part downward in order to see the areas of the panel where the zipper line is incorrect. If you have an even tension in the fabric with no wrinkles and creases, then this part of the zipper is fine.
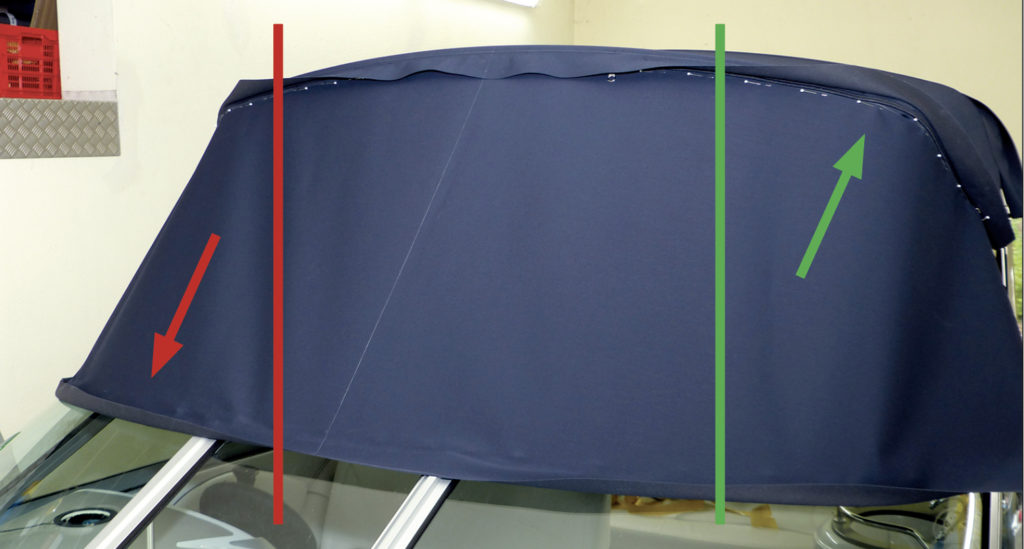
If possible, flip the overlap backward to be able to see the zippers. In Photo 3, you can see a crease on the starboard side (red line) indicating that you need to release the tension and fold over less fabric on the top. On the port side it is the exact opposite, and you will need to fold more over.
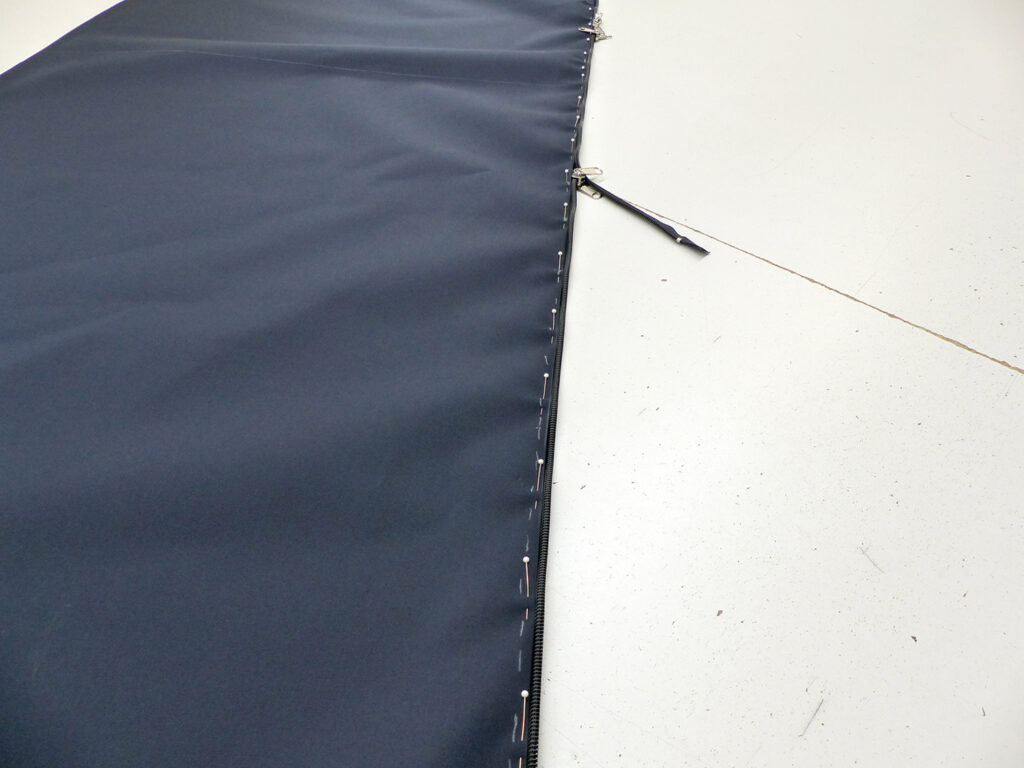
You can use your fingers to pull the fabric upward to see how much fabric has to be folded over. On the starboard side, opening the zipper is the easiest way to see how much fabric has to be used for releasing. Use the chalk pencil to mark the amount needed (Photo 4). You will adjust the zipper line later on the cutting table to that mark.
Repeat the steps
You might have to repeat these steps several times depending on how complicated the shape of the windshield and frame are and how good your initial pattern was (Photo 5).
Don’t be afraid to experiment with how much you can stretch the canvas. Even a coated and dimensionally stable fabric like Sunbrella® Plus, which is what we use for our enclosures, can be forced into a 3D shape.
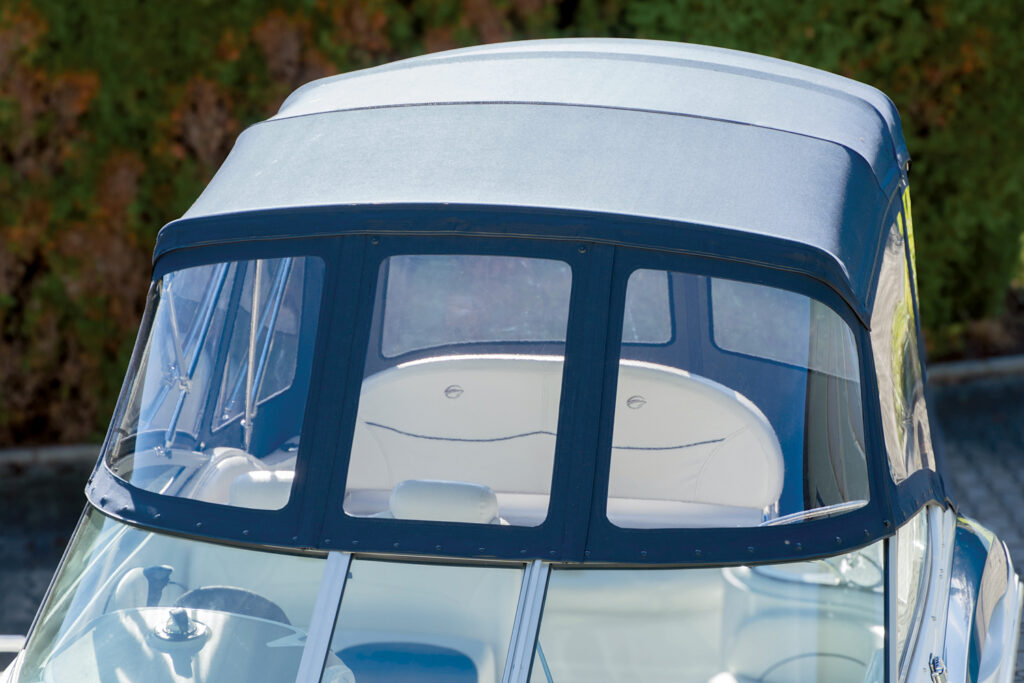
With this method, you are able to master the most complicated shapes and are able to see exactly what the final result of your panel will look like. Even if you can’t use our method for fabric fitting, you will be able to see what has gone wrong with every other wrinkled panel and where the zipper line needs to be corrected. A wrinkle in the panel translates directly into a wrinkle in the window material (Photo 6).

At Bootssattlerei Hallier we use normal 0.75 mm (30-gauge) roll clear made by Renolit, so having a perfect fit is absolutely necessary to create windows that look like glass. Our work has to be much more precise compared to using polycarbonate or acrylic.
Final step: 3D shaping
How and where you put your snaps into the fabric is as important as having the correct zipper line on the top of your panel. Every zipper will add slack both vertically and horizontally, and also, your roll clear has to be stretched so it doesn’t show wrinkles in hot climates.
As always, start in the middle of the panel and pull it as much as you can over the snap (Photo 7). Hold it, mark it (we use a blunt pencil for this) and then move up the spot for the snap an additional 1 to 2 mm (1⁄32 to 1⁄16 inch) more.
Working both sides equally, you will notice that you can pull and stretch the fabric even more at the zippers. It is really important that the zippers are tensioned downward as much as possible; otherwise you will run into problems in the curve of the windshield.
At the curve of the windshield, change the angle you are pulling (red arrow) so that you are also stretching the zippers sideways. If this is done correctly, the original chalk marks for your snaps at the curve probably won’t be in the same spots as where you will now have to insert the snaps. Just forget those original marks and put the snaps in the fabric where they need to be, not where you thought they would be.
The reinforced area for the snaps will wrap around the curve of the windshield and the whole panel will be pulled inside. That is absolutely correct and intentional. It’s the reason you will now have a wrinkle-free window with cheap roll clear that can rival any pressed sheets or even polycarbonate and acrylic materials.
Björn Hallier, owner of Bootssattlerei Hallier in Bad Abbach, Germany, has won numerous MFA Fabrication Excellence Awards including a 2024 Award of Excellence and an Outstanding Achievement Award in the Powerboat–Soft Enclosures category.