TEXTILES.ORG
 Fabric-fitting perfect windshields

Every fabricator seems to have issues fitting windshields, myself included. Over the past 20 years, I’ve developed some techniques to help make perfect windshields and I’d like to share them with you. Using one of our canvas training facility’s classroom models, we created a windshield for this article.
Let’s start with the material you are going to use for patterning. While you may get an excellent pattern using patterning plastic, sometimes that great-fitting pattern does not bring the same result after being transferred to the finish fabric. This is because plastic sheeting is directionally stable and woven fabric is not. To emulate the stretch, a technique known as hollowing is used when patterning in plastic. The hollowing technique seems time consuming and complex compared to fabric-fitting.
Fabric stretch
Fabric has stretch! As you unroll woven fabric from the roll, the length is known as the warp. The stretch in fabric usually follows the warp direction, or “up the roll” as they say. The direction from side to side is called the weft. Most often, there is little to no stretch in this direction. To measure the stretch of the warp, I stapled and stretched woven acrylic fabric. For every yard, it gained 5⁄16 inches in length. We are fabric-fitters and most often we use a popular woven acrylic as our fabric of choice. I believe that the “stretch” of the fabric is one of the biggest challenges when mastering the art of fitting windshields with the finish fabric.
Dealing with fabric stretch
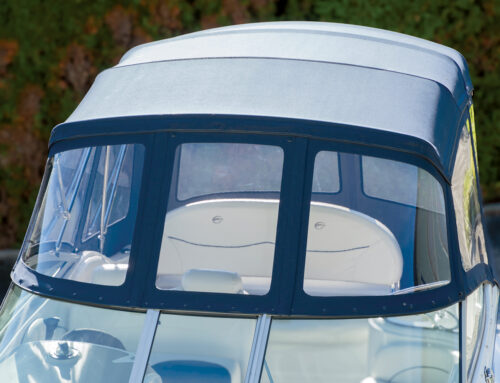
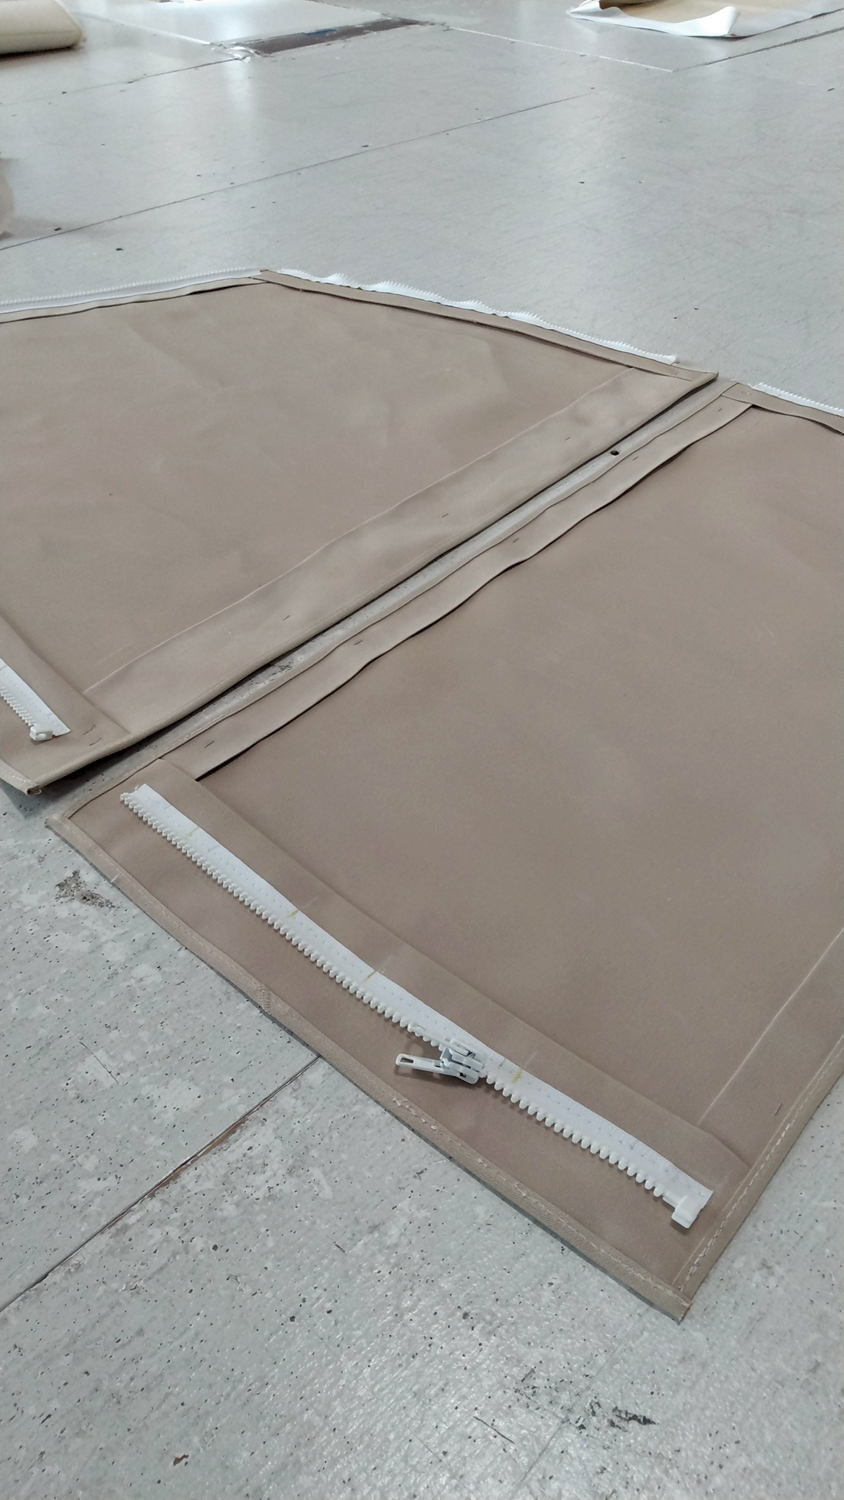
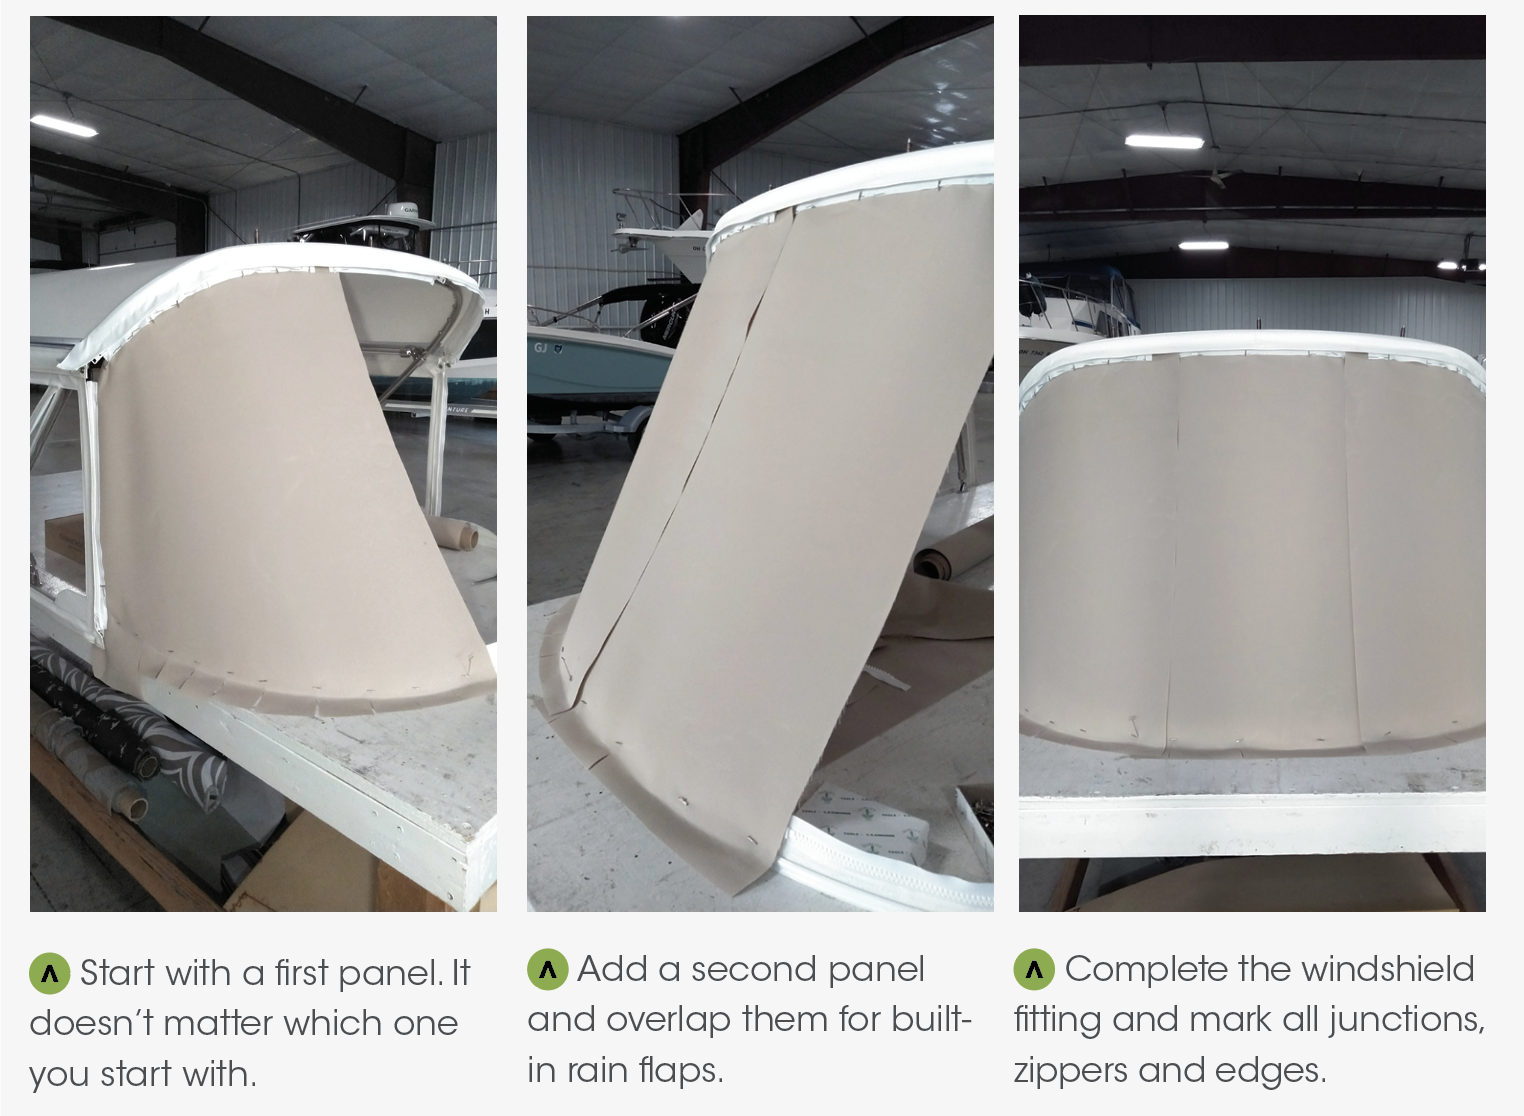
From a fabricator’s viewpoint, fabric-fitters often fabric-pattern windshields by turning the fabric sideways. This approach allows you to pattern multiple window panels with a single bolt of fabric and uses less fabric in most cases. However, the stretch (warp) of the material is now left to right versus up and down. Even though the upper and lower edges may be tight and stretched, this sideways direction of the warp can create excess material in the middle of the fabric of a corner windshield panel. When fitting a windshield corner, I prefer the warp direction of the fabric to run vertically. Although I may need to fit the windshield panels individually, the lack of stretch from side to side provides much better results. This method also allows me to overlap window sections, providing built-in zipper flaps (Photo 2).
Vertical wrinkle causes
You may have experienced a vertical wrinkle in the radius of the corner-windshield panel. Several things can cause this, including:
Fabric direction (warp versus weft). Wrinkles are caused by excess material or uneven stretch between the fasteners. Let’s start by fitting the panel vertically with the warp running up and down. This will eliminate side-to-side stretching of the fabric and minimize excess, reducing wrinkles.
Bimini frame shape versus windshield frame shape. A tubing radius of less than 8 inches may cause wrinkles as the fabric must transition from a small radius to the large curvature of the windshield frame and vice versa. During the fitting process, use more pins in the radius when pinning to the upper zipper. Use a larger bend radius for the tube, about 8 inches to 10 inches. This will also help to eliminate wrinkles.
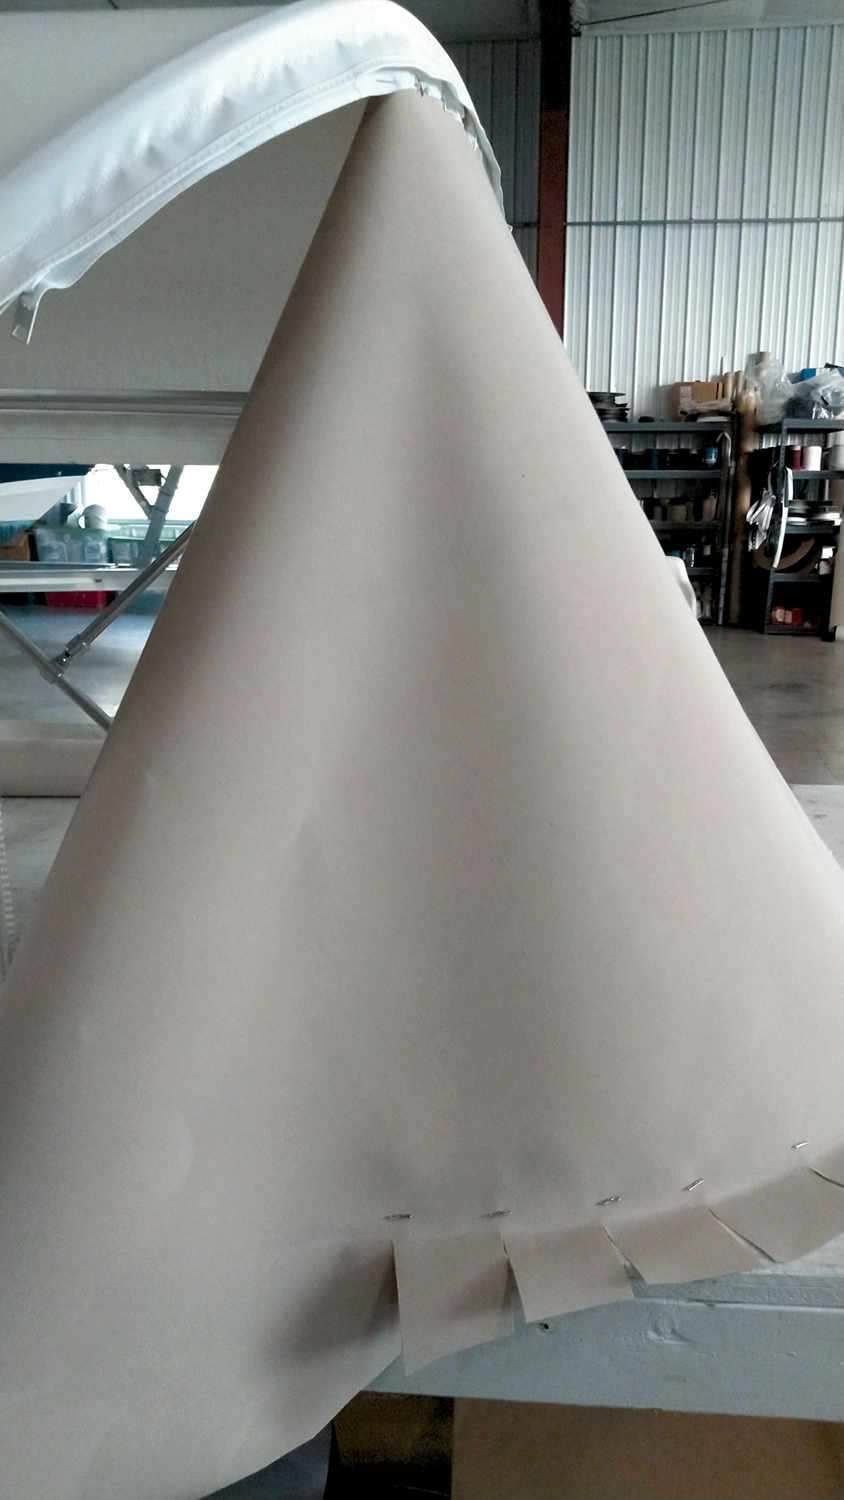
Fastener types and location. Individual fasteners along the bottom of the panel that are spaced far apart will cause the fabric to be stretched to the fasteners, but not in between them. This creates what we call hard wrinkles. Allow for closer-spaced fasteners in the radius to reduce hard wrinkles (Photo 3). Also consider using a zippered track system when possible, as the zipper provides a consistent attachment point with every tooth along the entire edge of the fabric (See Sidebar below).
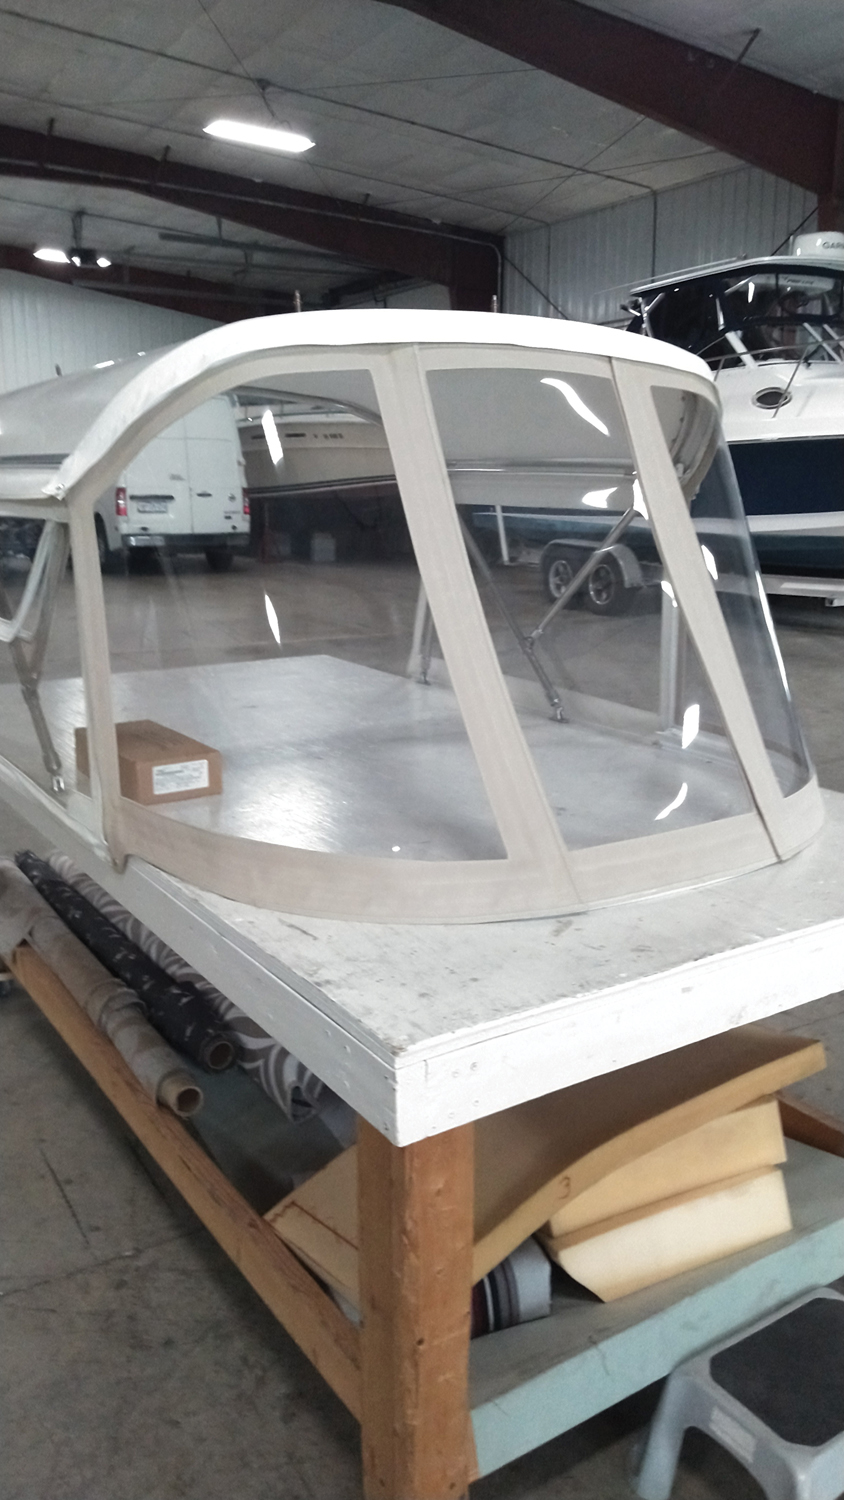
Glass versus fabric wrinkles
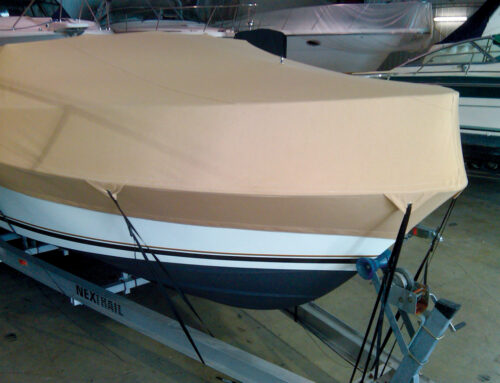
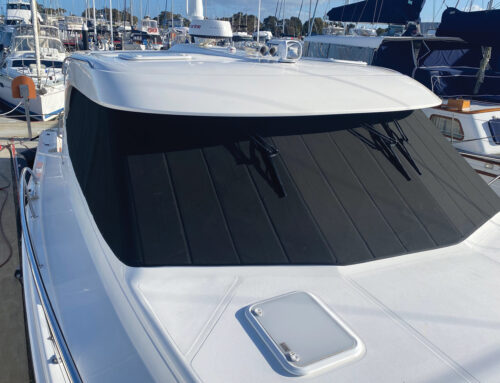
Simple rules! If the fabric is wrinkle-free, the glass will be wrinkle-free. If the fabric is wrinkled, the glass will be wrinkled (Photo 4). One misconception is that the glass brand name, thickness or type will affect the outcome. This is only true when comparing PVC (soft glass) to polycarbonate or acrylic (semi-rigid) or 30+ mil PVC to less than 30 mil PVC. For our demonstration, we used some partial pieces of Strataglass 40 mil that we had lying around. However, we could have used 30 mil extruded roll-glass and achieved the same results. We also used Sunbrella® 60-inch marine fabric, and the project took 6 hours 45 minutes from start to finish. So why does our wrinkle-free rule always hold up? It is because we build the windshield with the fabric’s stretch incorporated (or dealt with) into the panel. No surprises!
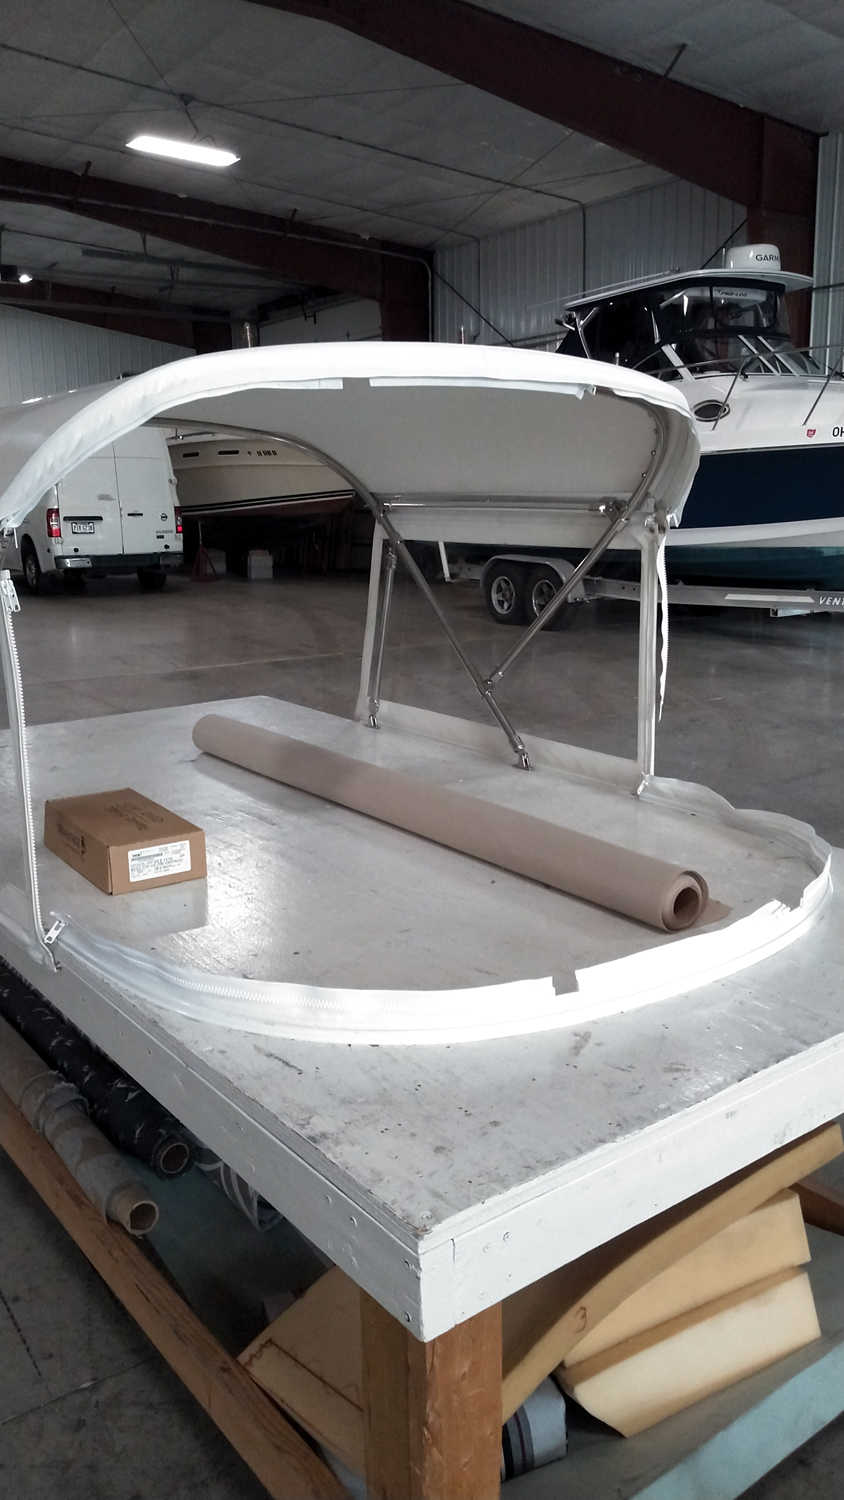
Always staple fabric panels
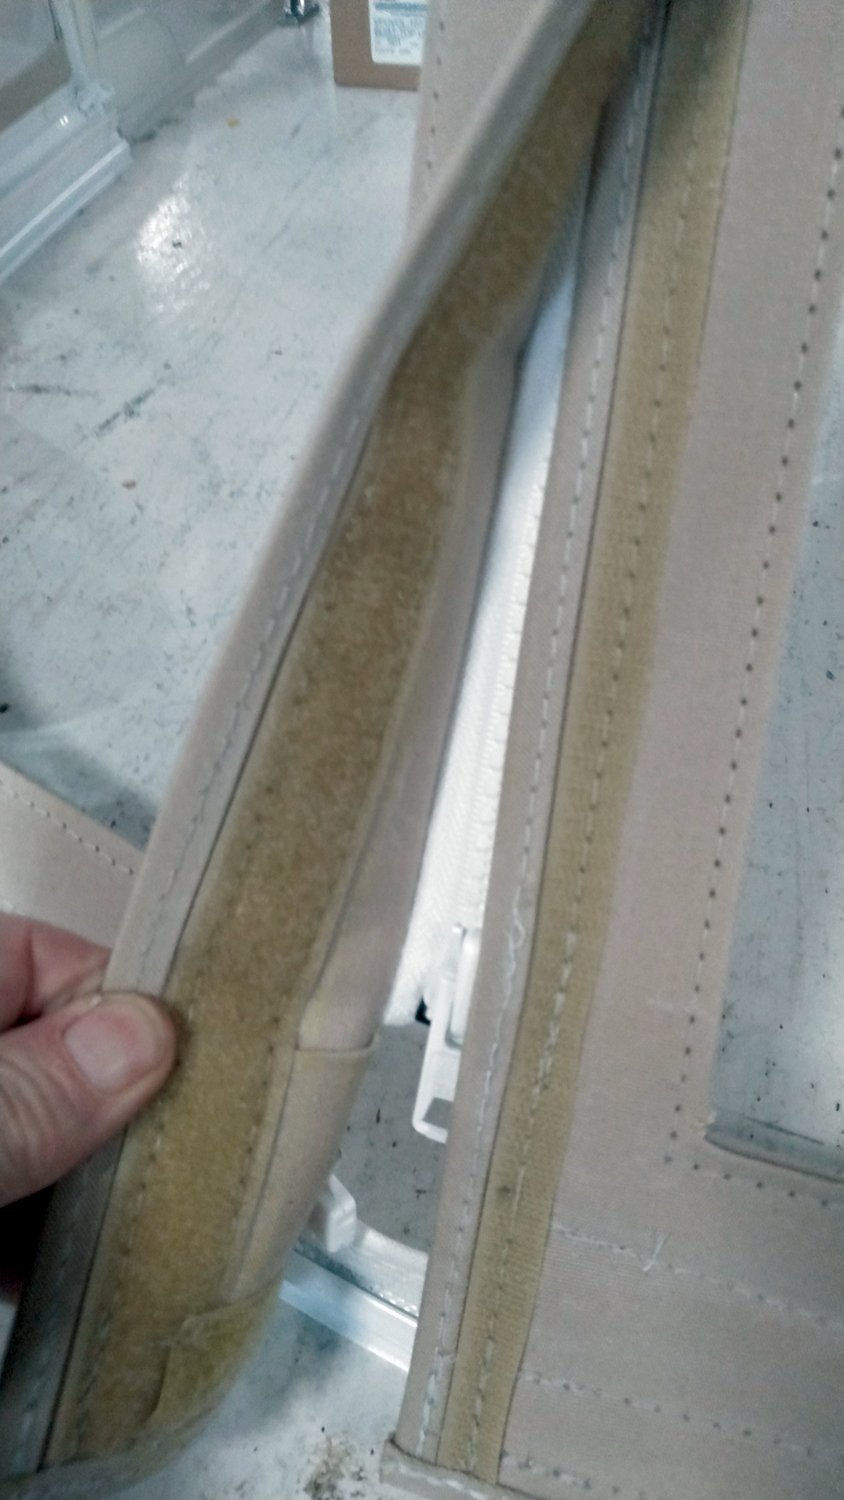
As we move from fitting into layout and sewing stages, I cannot stress enough the importance of stapling the fabric panels to the table, making them wrinkle-free and stretched just as they were on the boat. This is especially important when adding borders to the panels, as it guarantees that the panel and the borders are equally flat. We sew the panels to completion before inserting the glass to reduce the risk of scratching the glass (Photo 5). All zippers, Velcro®, binding and weather stripping are attached before glass insertion.
I hope these tips help you in your journey to great success in the canvas trade! For more information, visit canvastraining.com. The topic covered in this article is part of the Bimini Enclosure Workshop.
Russ Griffin is co-owner and instructor at Northcoast Marine Specialties LLC. Northcoast operates a canvas training facility in Port Clinton, Ohio.
SIDEBAR: Fitting windshield corners
Another technique I use when fitting a windshield corner is known as “catch-up the fasteners.” When facing the windshield from the forward deck, the pins at the top edge of the panel are one-for-one equal with the fasteners we have secured to along the bottom edge of the panel. However, as you transition from the front of the windshield (forward deck) to the side (standing on the gunnel), you see that the fasten points along the bottom edge are not equal to the pin position above it from a side-view perspective. In this case, continue to attach the canvas along the bottom until that one-to-one perspective is achieved once again.