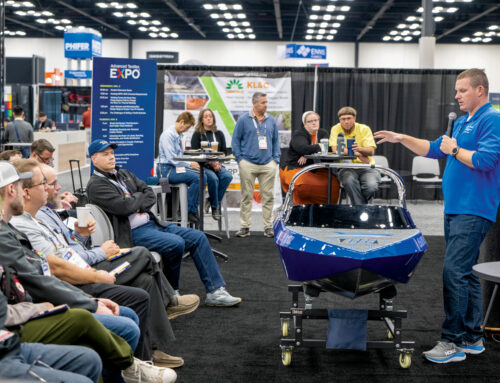
TEXTILES.ORG
 Dodger, bimini and enclosure fabrication
The big three—a dodger, bimini and enclosure combination on a Hylas 54 sailing yacht—combine a multitude of skill sets. It is one of the most challenging of all canvas projects to pull off correctly. In this article, we will examine the order of fabrication, techniques unique to this combination and pitfalls to avoid when fabricating these structures.
On many of these sailing yachts we can, if need be, make the entire pattern in one trip to the boat, assuming the wind cooperates or the boat is inside.
However, our preferred number of trips to the boat is four for jobs like these. We install all frames and pattern the dodger on the first trip. On the next trip, we install the dodger and pattern the bimini and forward connector at the same time. On trip three, the bimini and clear connector get installed and the final three sides get patterned. On the final trip, we install the enclosure and go over particulars and canvas care with our customer. We feel the four-trip process yields better results and is easier on the brain.
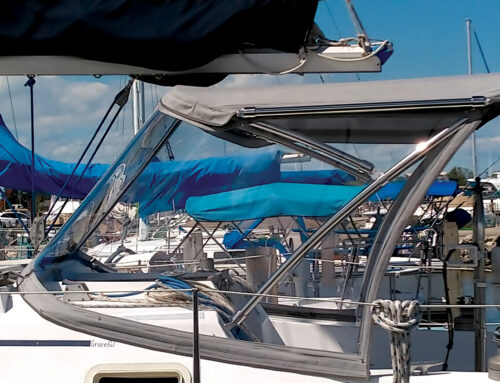
 Photos 1-2: On this project, the bimini overlaps the dodger. This necessitates moving the clear connector to the forward bow of the dodger to get a pleasing angle. Having this fixed point allowed us to alter our sequencing to eliminate a trip. We patterned the dodger and bimini at the same time. We patterned the connector with the other three sides.
 Photos 3-5: After our dodger and bimini are installed, we zip all our enclosure and connector patterns onto our bimini and prepare to stick and mark all the bottom edges.
Photo 6: Our aft pattern is fitted with cutouts around support poles that need to pass through the enclosure to the outside.
Photo 7: We prefer to sew on our zippers or stick zippers to our patterns with seam tape. We do not like to use “t” pins because they create non-uniform gaps that do not let zippers lie flat to the pattern. Zippers must lie flat to the pattern and meet our predetermined start and stop marks on an enclosure panel to look correct. Stretching or scrunching a zipper when installing it on a finished panel to meet start/stop marks creates waves in the clears. This is especially important to remember on the connector-to-dodger zipper to avoid getting waves in the clear windows.
Photos 8-9: At Hood Canvas we use custom visor angles that allow us to stitch zippers to our patterns. In addition, we use darts in our patterns to correct minor variations where the pattern will not lie flat. Darts do not appear in the final product.
 Photos 10-11: Pay attention to details; be neat and tidy with all stitching as high-end customers look for this. We make sure our stitch is balanced on both sides with the correct tension. On this customer’s yacht, the forward connector between the dodger and the bimini attaches to the forward bow of the dodger. Notice that the angle of the connector window and the angle of the dodger forward window are about the same. This is an important design detail no matter what the configuration is. However, most connectors are set farther back on the dodger.
Finally, consider zipper placement and the direction the zip opens. We think about the way our customers get in and out of these structures. Our customers will not be happy if they have to detach a zipper to get in, instead of just zipping the canvas away and flopping it back. They will be unhappy every time they get in or out of their boat. By being thoughtful about zipper placement, we make it easy for them and ensure happy customers.
Mark Hood, MFC, and his wife, Deb, own and operate Hood Marine Canvas Training in Merrimac, Mass.
www.hoodcanvas.com, www.facebook.com/marinecanvastraining.