TEXTILES.ORG
 PVC Tracks: bending and installation
by Kyle Van Damme, MFC
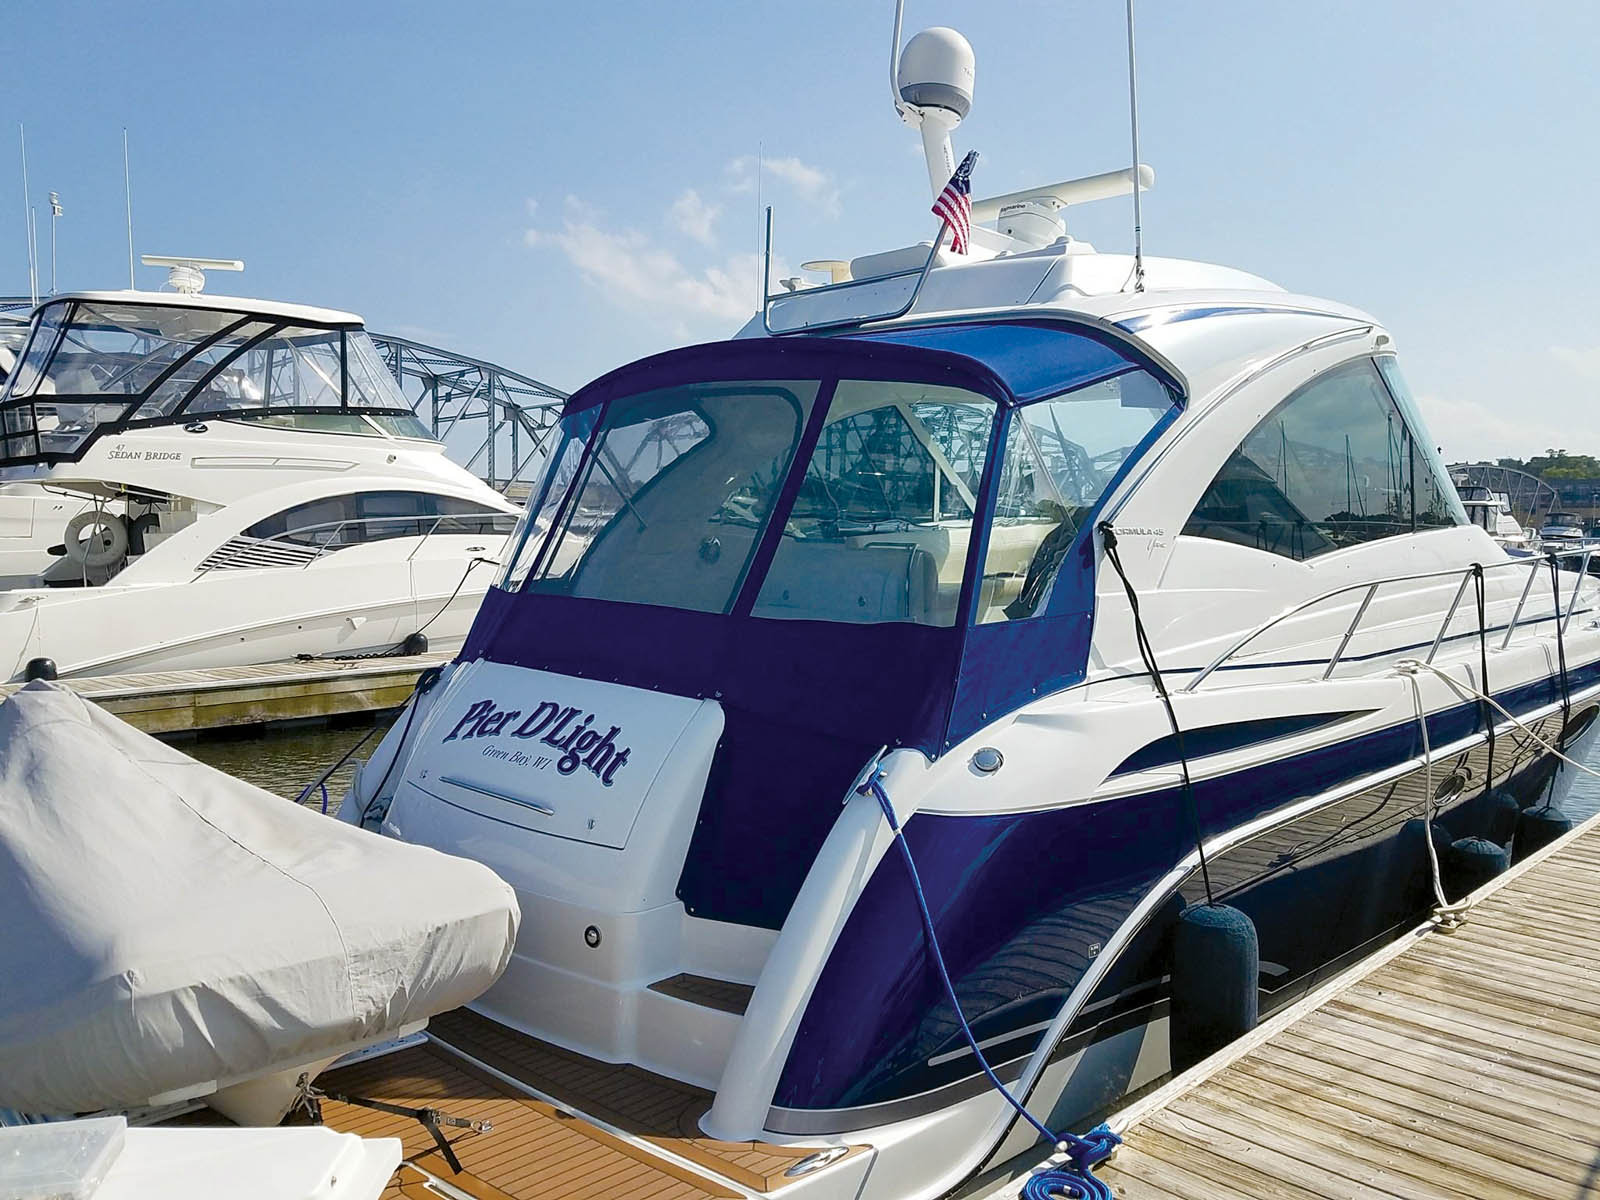
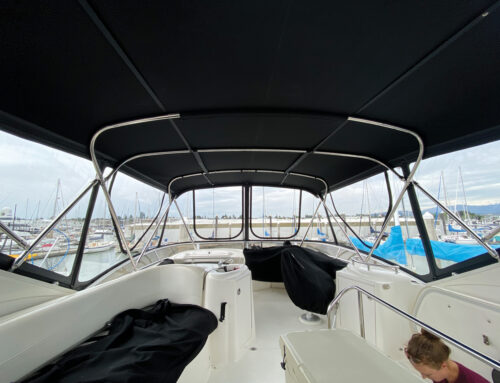
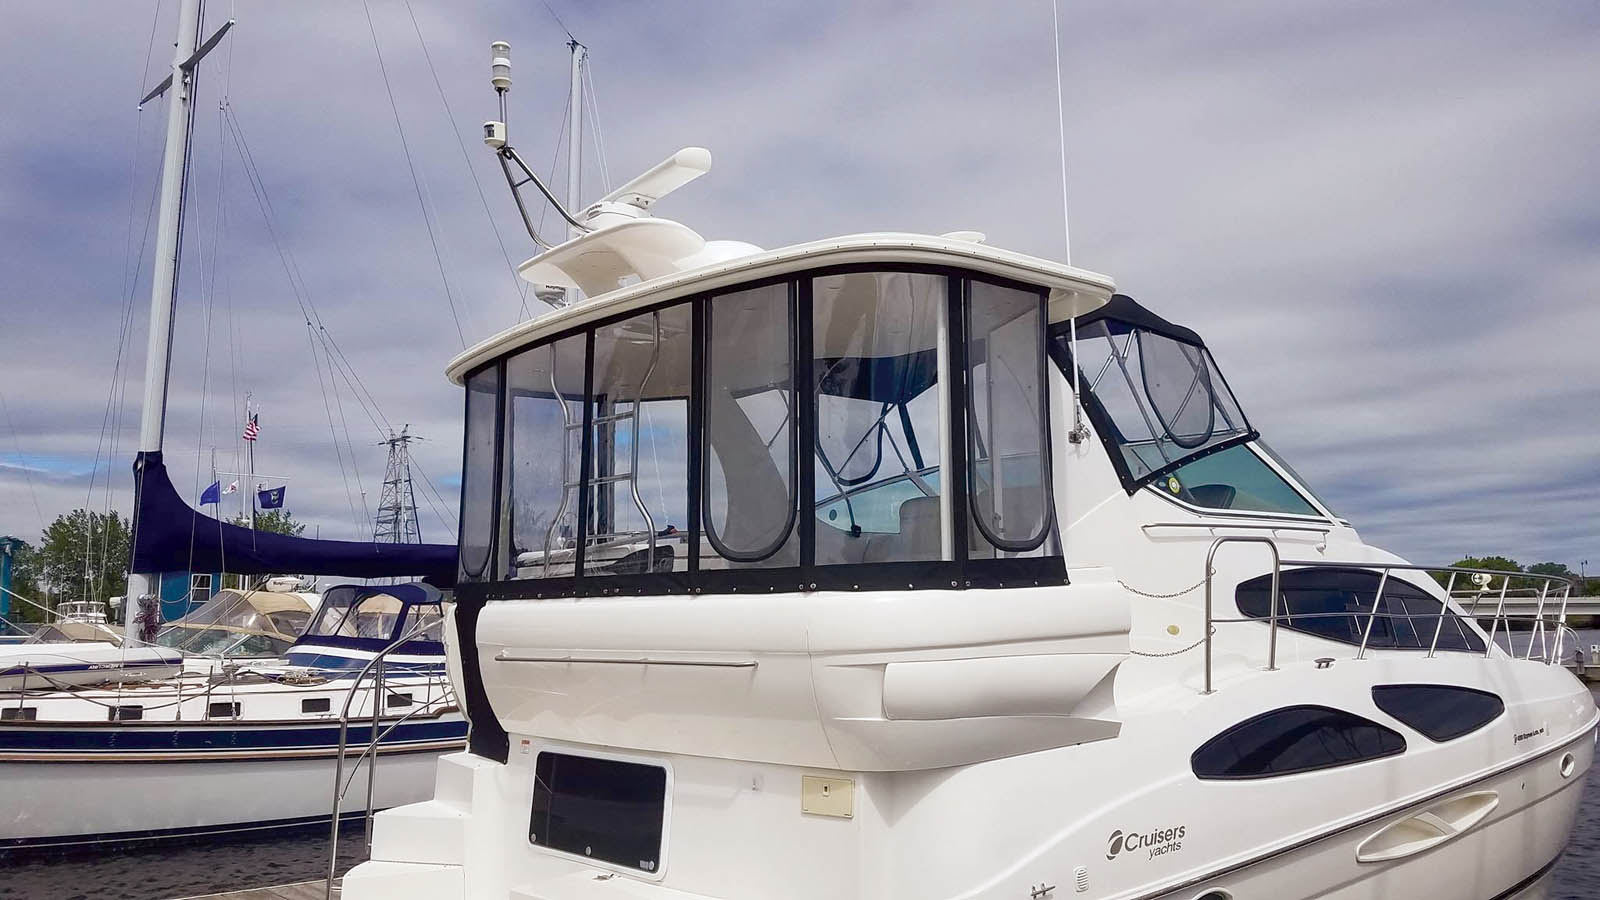
Using a track and keder welt combo to fasten an enclosure to a boat gives your project a sleek and seamless look. It sets your job apart from competitors, is an excellent upsell, and creates a professional and modern appearance. It’s one thing to create a new enclosure on a boat that has existing tracks, but it’s an entirely different ball game when you need to install new tracks or replace old tracks on a boat. This article will take you through the steps required to add new tracks to a boat.
There are many track materials to use including PVC, aluminum and stainless steel. For this article, I will focus on the most common choice, PVC tracks, and we’ll assume there are no current tracks on the boat and that tracks were not installed previously. I will discuss traditional tracks commonly used on arches, focusing mainly on Costa Track® and Flex-A-Rail products.
Step One: Prep the area
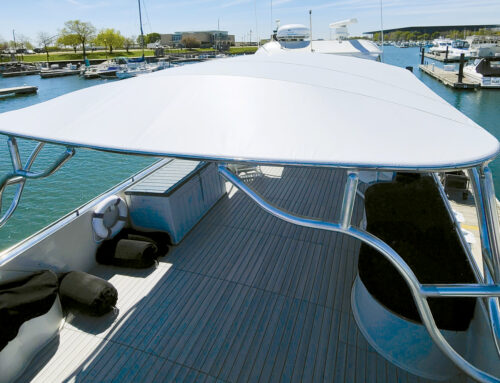
It’s critical to prep the area you are going to mount your track to. Not taking these measures would be like building a new house on a 200-year-old crumbling foundation; it can be done, but it just isn’t right. In most cases you will be installing your PVC track onto the boat’s arch, hardtop or windshield. We’ll concentrate on the arch, which can be either fiberglass or metal and then painted to match the boat.
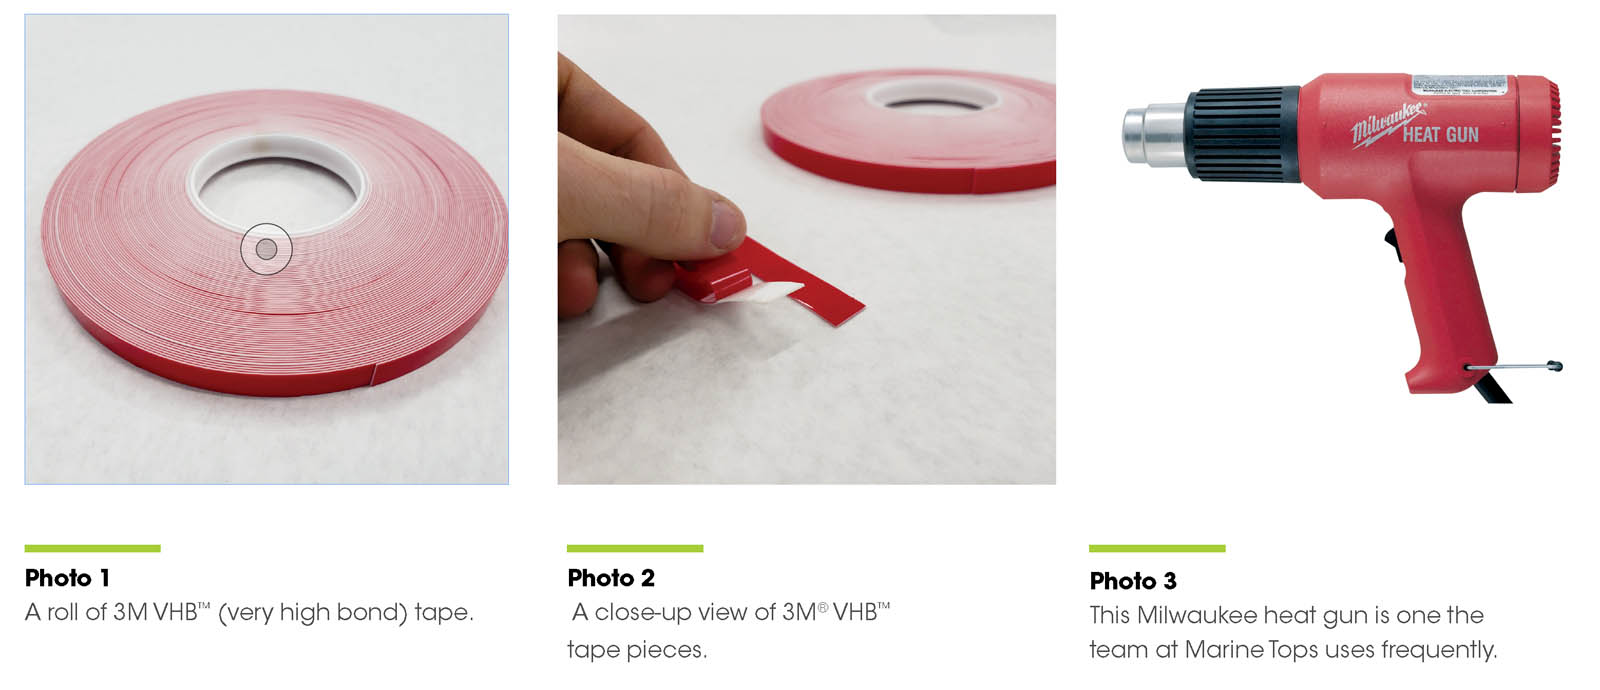
Clean the area where the track will be installed as well as the PVC track you will be using. At Marine Tops, we typically use rubbing alcohol, which removes any residue from cleaning products that can prevent the tape from sticking well to the boat and prepares the area for our VHB (very high bond) tape.
Step Two: Tape the track
Taping the track is a pretty simple process. Using 3M™ VHB™ two-sided tape, first install the tape onto the piece of track. Start at one end of the track and slowly work the tape onto the bottom of the track while pulling on the tape to ensure it does not bunch up. Rub the tape in firmly to make sure you have a good bond to the track.
Step Three: Heat form the track
Heat forming allows the track to take the shape required by the mounting surface. We use two methods for this: a heat gun or a heat blanket. A heat gun is essentially a high-powered hair dryer that targets a small area with intense heat. A heat blanket is a mat you wrap around the PVC to heat it. It was developed for heating PVC tubing for applications like plumbing, but it works very well for heat forming track too.
• Heat gun method
Focus on 18- to 24-inch sections at a time. Start in the center of the arch and work outward. The two-sided 3M VHB tape is already adhered to the track, so start peeling the tape off in about two-foot sections, carefully sticking it to the arch. In most cases, you will not need to heat form the track until you reach the shoulder of the arch.
Once you get to the shoulder, the real fun begins. If you are using a heat gun, evenly distribute heat across a two-foot section of the PVC track that will encompass the entire radius of the shoulder bend. This may take a few minutes of constant and even heating. Make strokes back and forth with the tip of the heat gun about 8–12 inches away from the track. Make sure you are applying heat from the top and both sides as evenly as possible. Try to avoid giving too much heat to the bottom where the VHB tape is located. The residual heat that will inevitably heat up the tape is not a concern and will actually strengthen the bond of the tape to the arch.
After a few minutes, the track will start to bend just from the weight of the extra stock sticking out past the shoulder bend. The PVC material will become soft and pliable, but it will also be very hot to the touch. Wearing gloves, carefully place the track by hand as you would like it to contour to the arch. Once you have placed the track around the shoulder bend, continue to set the rest of the track down the remainder of the arch. Cut the track to the desired length and place the final portion of it to the arch. Allow the track to cool and harden before moving on to the next step!
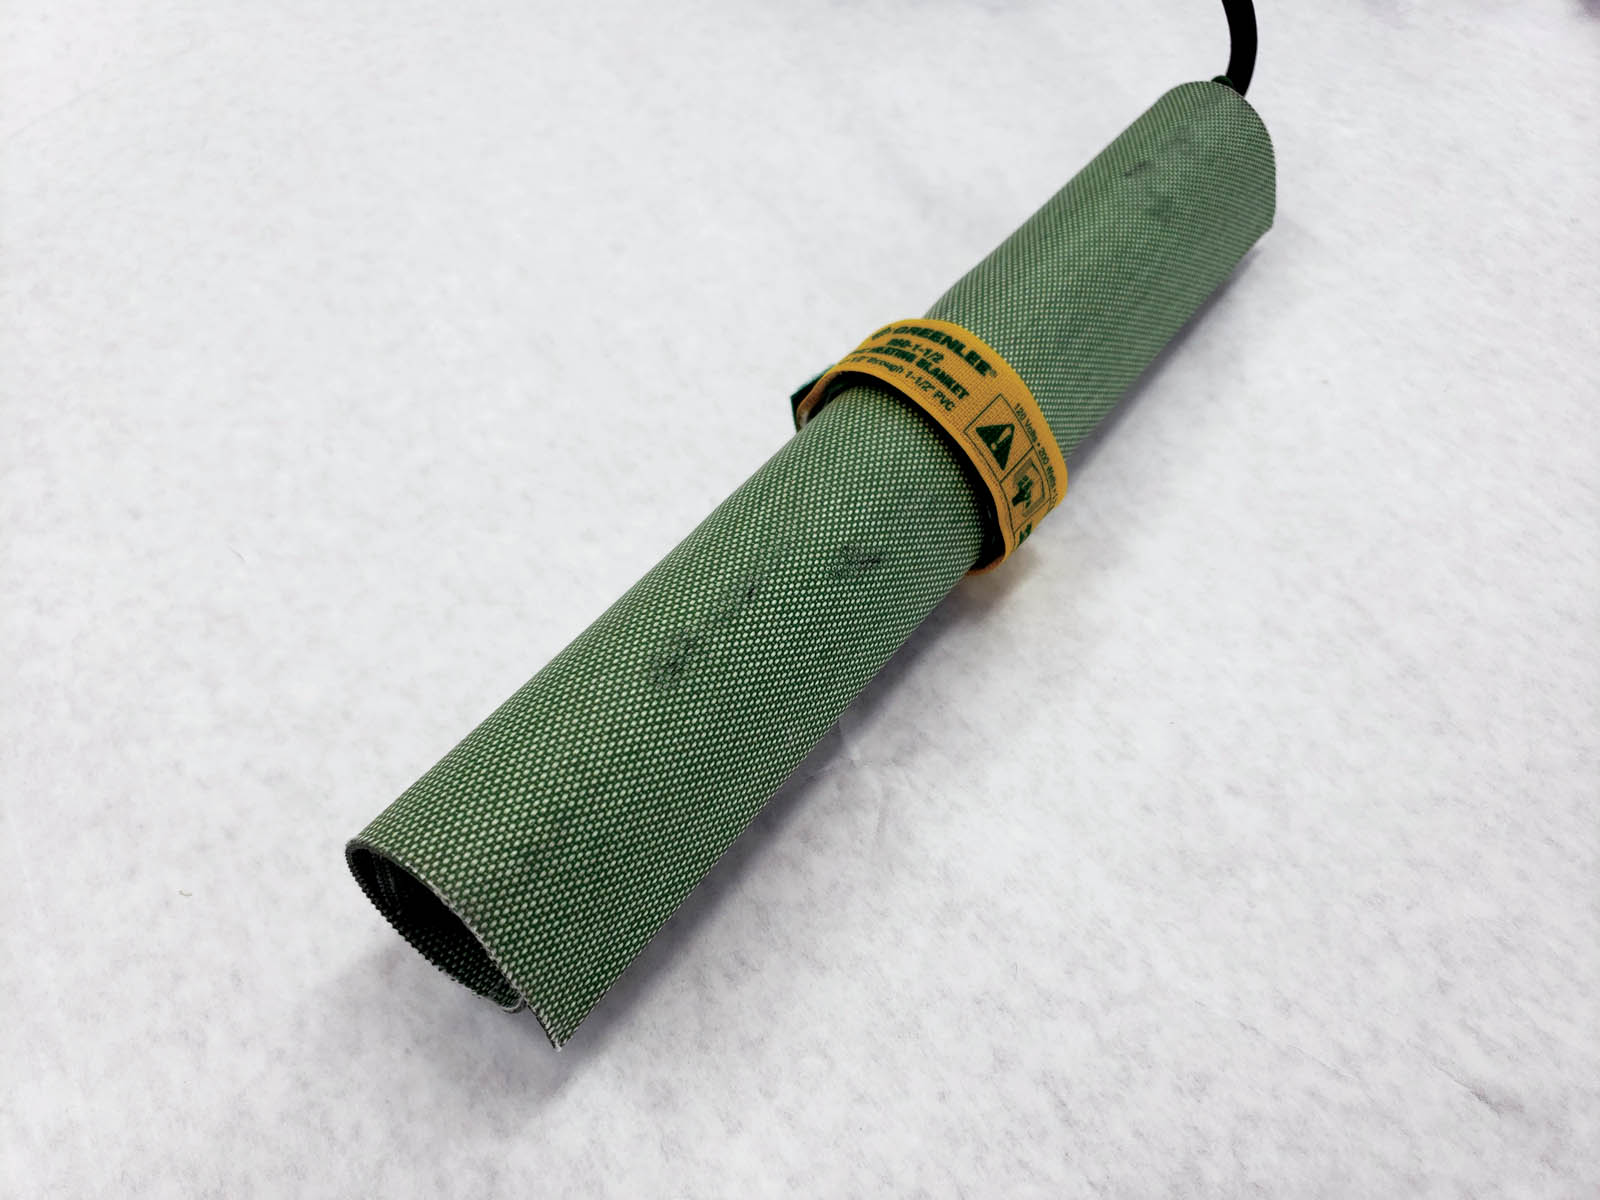
• Heat blanket method
The process is similar using a heat blanket. Wrap the heat blanket around the area where you would like to achieve the shoulder bend and plug the device in. As the blanket heats up the track, slowly slide it farther and farther away from the center down the piece of track to continue heating. Do this as you are forming and placing the PVC track to the arch.
Step Four: Drill or tap the holes
If you are using Costa Track, you will have predrilled holes already set for you to drill into the arch. If you are using Flex-A-Rail, decide where you want to have screws installed to fasten the track to the arch. I suggest no more than 6-inch spacing between screws and doubling up (3-inch spacing) around the shoulder radius. We use a 1/8-inch drill bit to drill into the arch.
Step Five: Fasten the track
If you are working with a fiberglass arch, you can use a sheet metal style screw to fasten the track to the arch. For a metal arch, plan to tap the holes you have drilled and use a machine screw to fasten the track to the arch. In some cases, you can tap a fiberglass arch if you prefer that method and can use self-tapping sheet metal screws in a metal arch. This method is risky and should be done with caution. Pay attention to what type of metal you are fastening into and ensure you are using a screw that will not cause corrosion due to dissimilar metals. This is especially true for saltwater applications. If you are mounting into fiberglass, use a stainless steel screw.
Step Six: Close or open the track
After installing your track to the arch, inspect the areas you have heated to see if the track has opened or closed at all. If so, use a heat gun to reheat that small portion of track and reform it to the correct opening shape. If you need to open up the track, slide a piece of keder welt into the track and work the keder welt around to achieve the correct form. If you need to close up the gap, heat the area and use a protected hand or a smooth tool to press the track back into shape.
Finish work
Once the track has been fastened and properly shaped, it is always a best practice to run a bead of caulk to seal the track on the outer side. There are various caulks that work well, but we typically use a 3M product.
Although tracking an enclosure can seem like a daunting task, hopefully this article has helped you begin gaining the knowledge and confidence to add this method to your marine canvas playbook.
Kyle Van Damme is a third-generation owner of Marine Tops Unlimited, based in Omro, Wis. He is an active member in the MFA and other canvas organizations. In his free time, he coaches track and field at a Division 3 university and enjoys spending time on his boat with family and friends.