TEXTILES.ORG
 Pontoon enclosure process honed to perfection
Here at Paul’s Custom Canvas Inc., we have seen our fair share of pontoon boats over the years. Some of the first were a few pieces of wood bolted to two pontoons with basic seating and a rail to keep you from falling in the water. They had a 75-horsepower motor that almost got the boat on plane. Things have certainly changed. Modern pontoon boats can give the nicest runabout boats a run for their money in luxury and power.
Change is the only constant
We started fabricating pontoon enclosures back in the early 1980s using round tubing for the front bimini frame. After some debate about whether pontoon boats would stick around, we bought a 1-inch square tubing bender so we could match the back bimini frame. In the early 2000s we upgraded to a 1 and 1/4-inch square tubing bender, and now we are trying to decide if we should order black 1 and 1/4-inch square tubing to match the newer black frames from the factory.
Start with questions
In Denver, Colo., we have a unique situation where almost all of the boats are trailered. We require customers to bring the boat to our shop for us to work on, which means we are able to work on most boats inside.
Our first step for a pontoon enclosure is to meet with customers and determine what they are looking for and how they plan to use the enclosure. Will they keep it up all summer in a slip? Up while camping overnight? Up only for rainy weather?
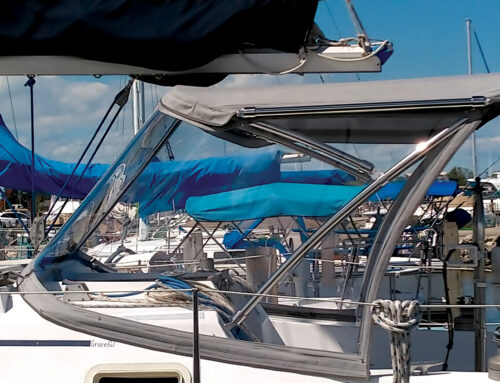
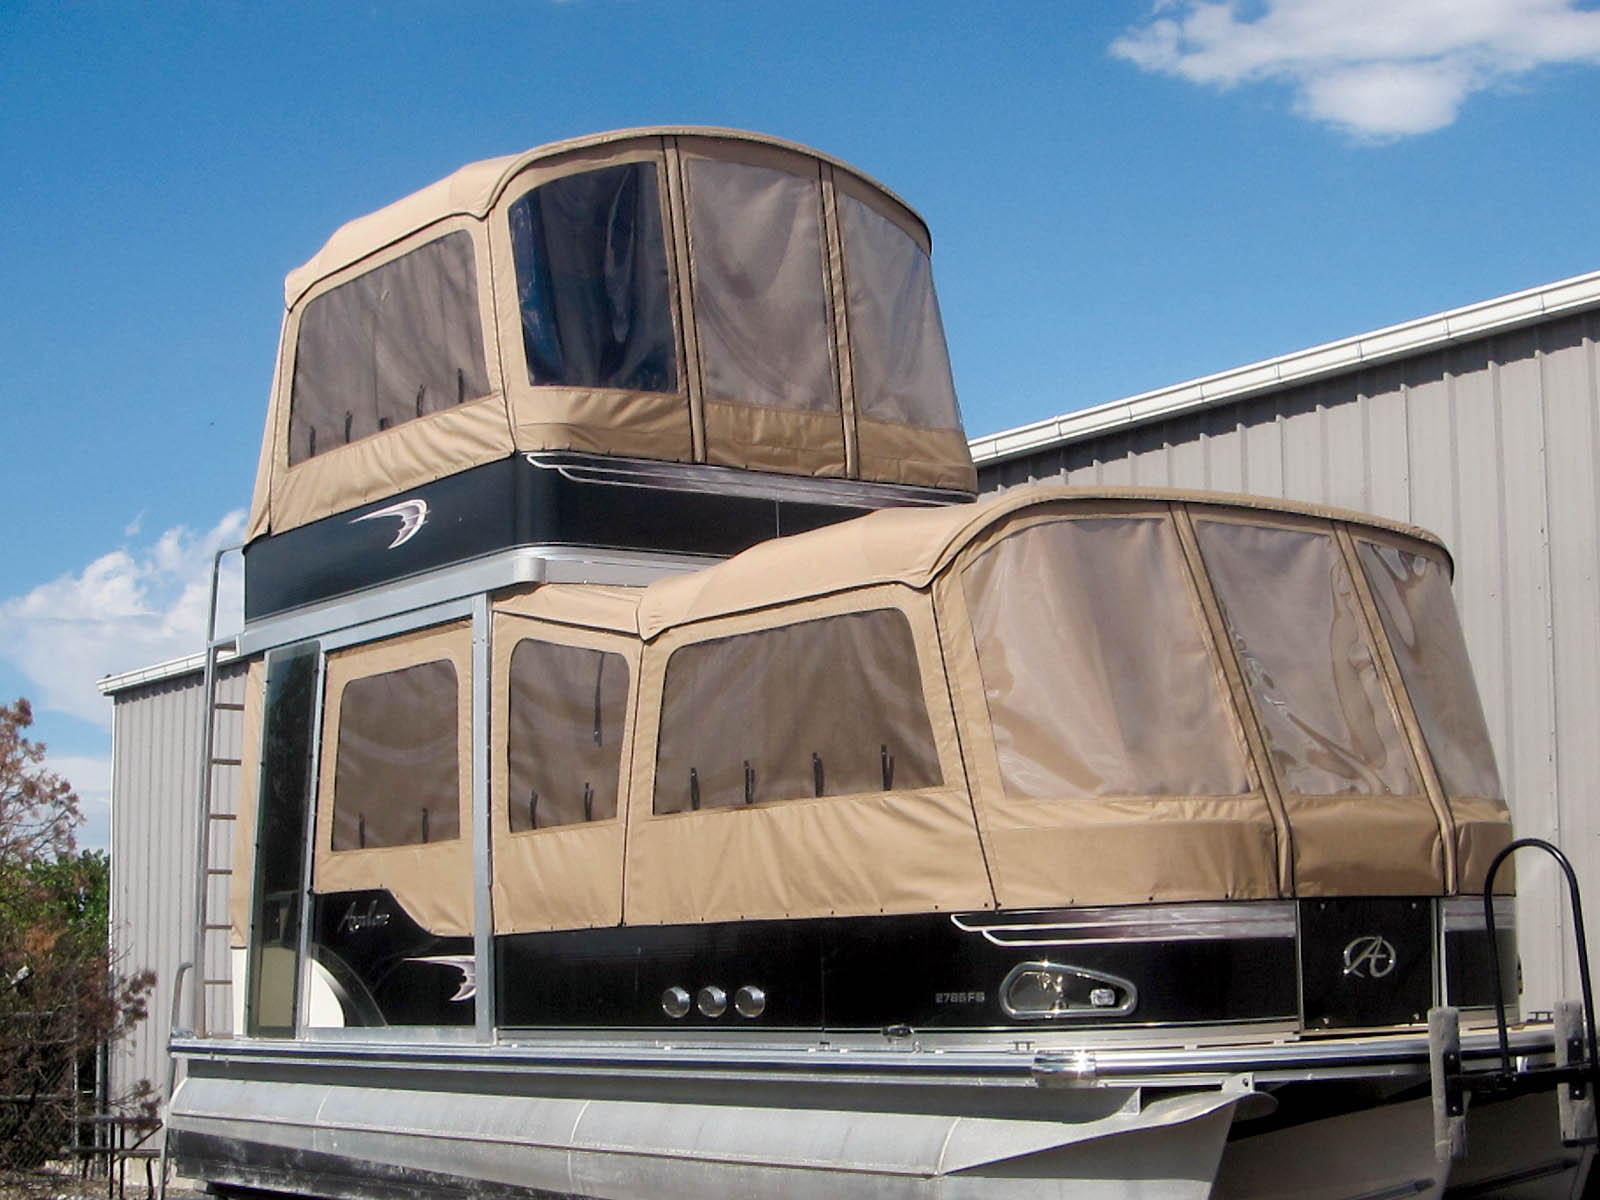
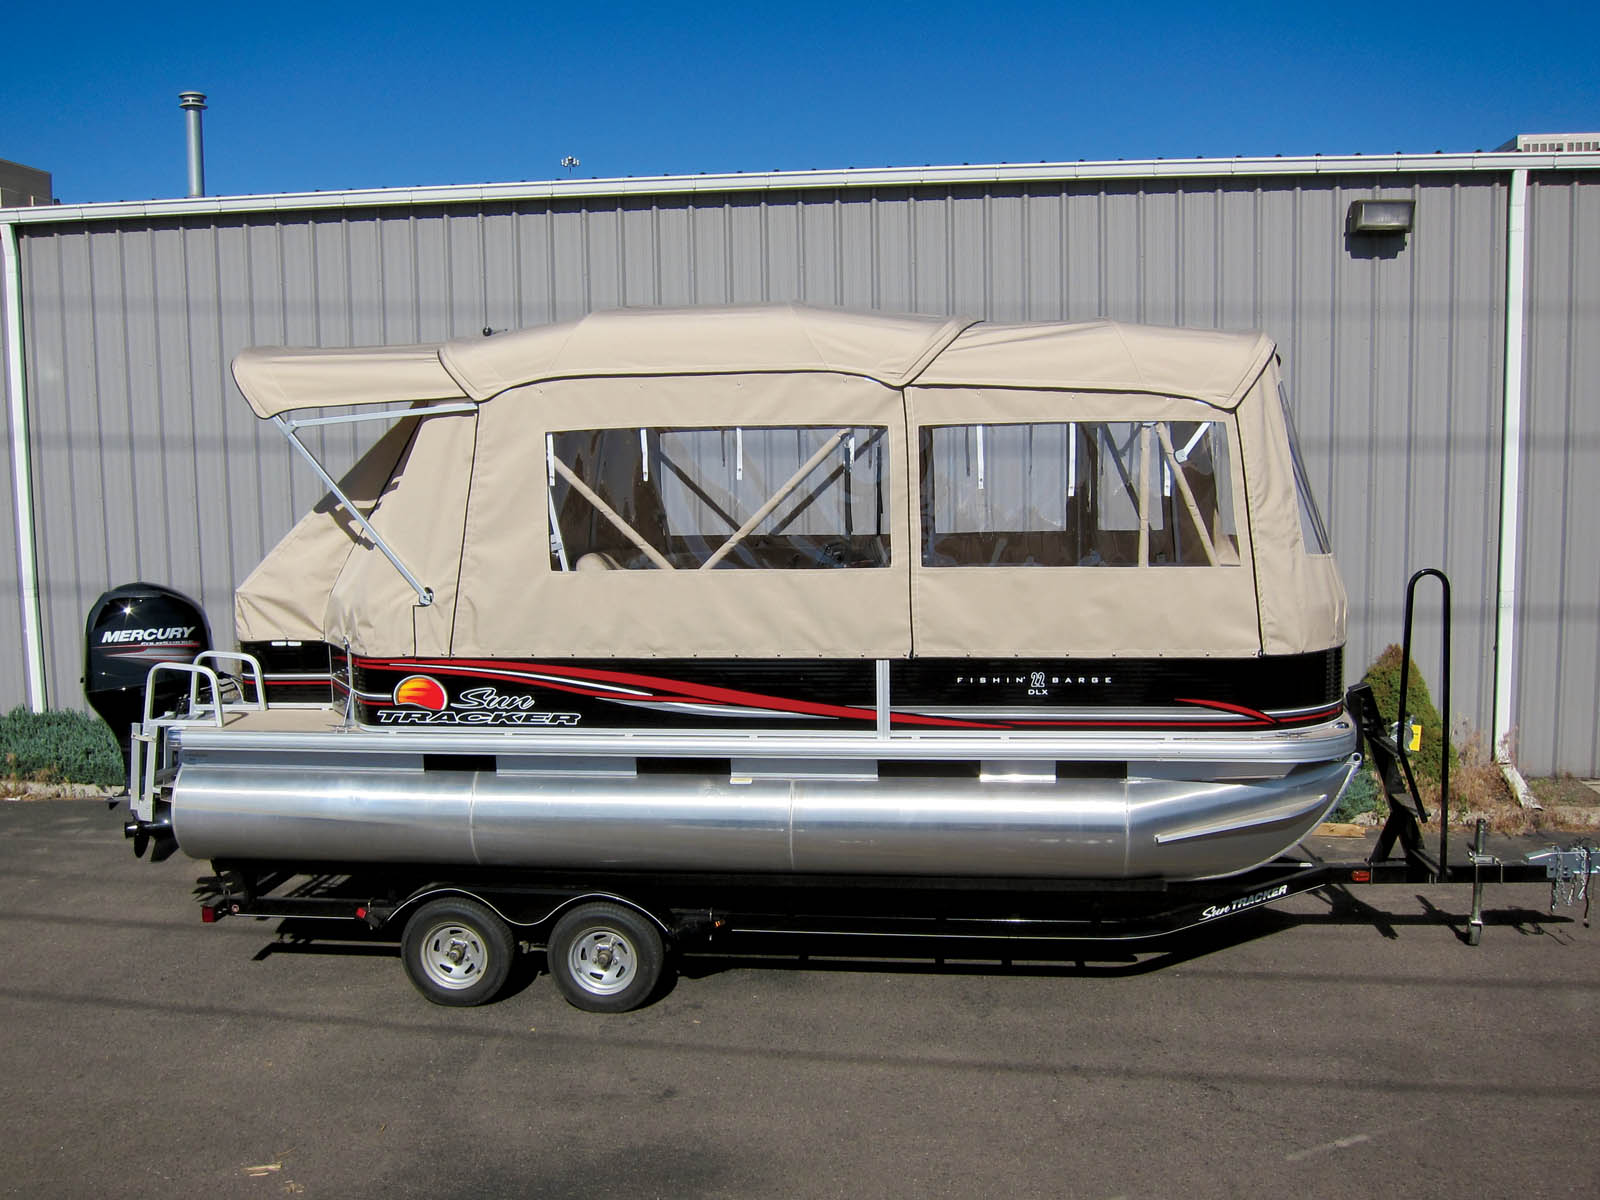
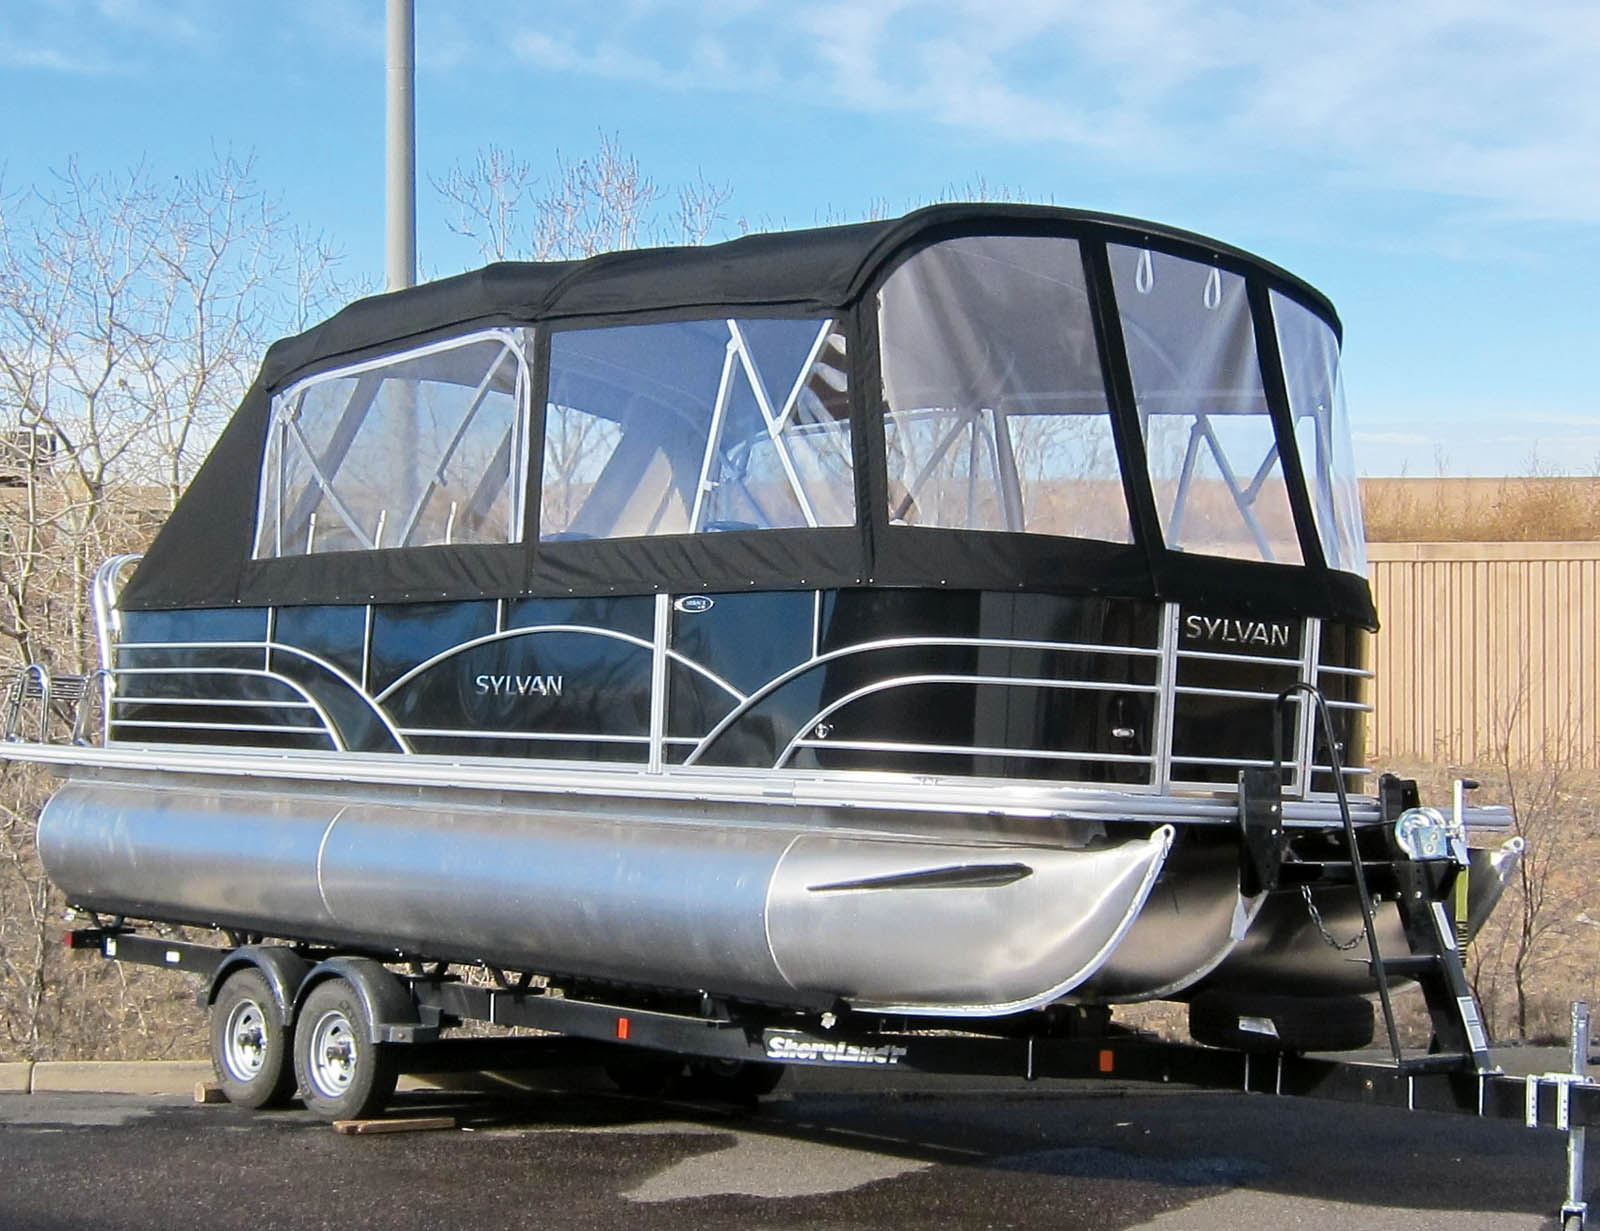
We discuss how and where the front bimini will mount and how the back bimini top and front bimini top will zip together. What will the enclosure panels look like? Where will there be clear vinyl for the windows? We discuss the location of extra zippers in the enclosure panels for doors—always in the front, back and port side. We will highlight the options that we have available and discuss material, blackout curtains and screens. Most of the pontoons we work on are looking for shade from the sun, and our enclosures are just for protection from the weather and are made with only the clear vinyl windows.
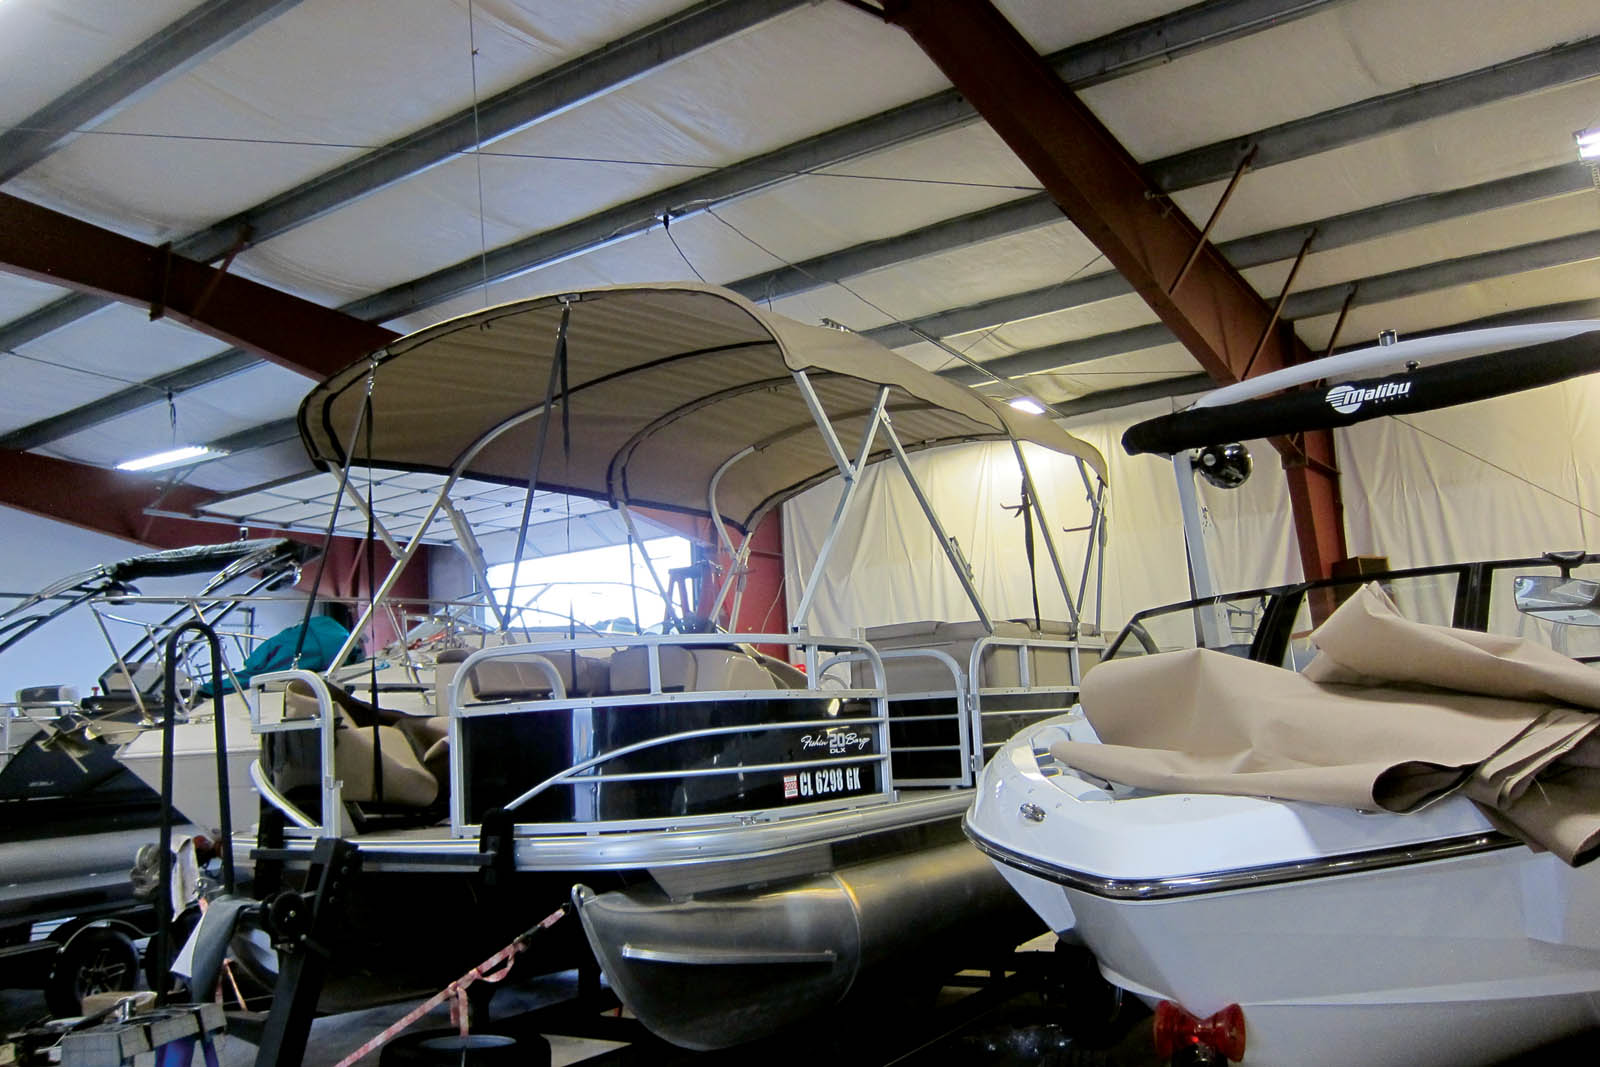
Use dictates materials
Because most of the tops and enclosures we work on are being stored away, we use materials that are easily stored and design the bimini frame to collapse and store on the boat. We mainly use Sunbrella®; however, we do use other materials to try to match the factory back top if required. Our clear vinyl is .030 rolled double polished. Some of the panels can be 8 feet tall and 16 feet wide. We will roll the panels for better storage on the boat. Another challenge we face is the Denver climate. At 5,280 feet above sea level, the sun’s UV rays are extremely damaging. We use SolarFix® polytetra fluoroethylene (PTFE) thread for all our projects.
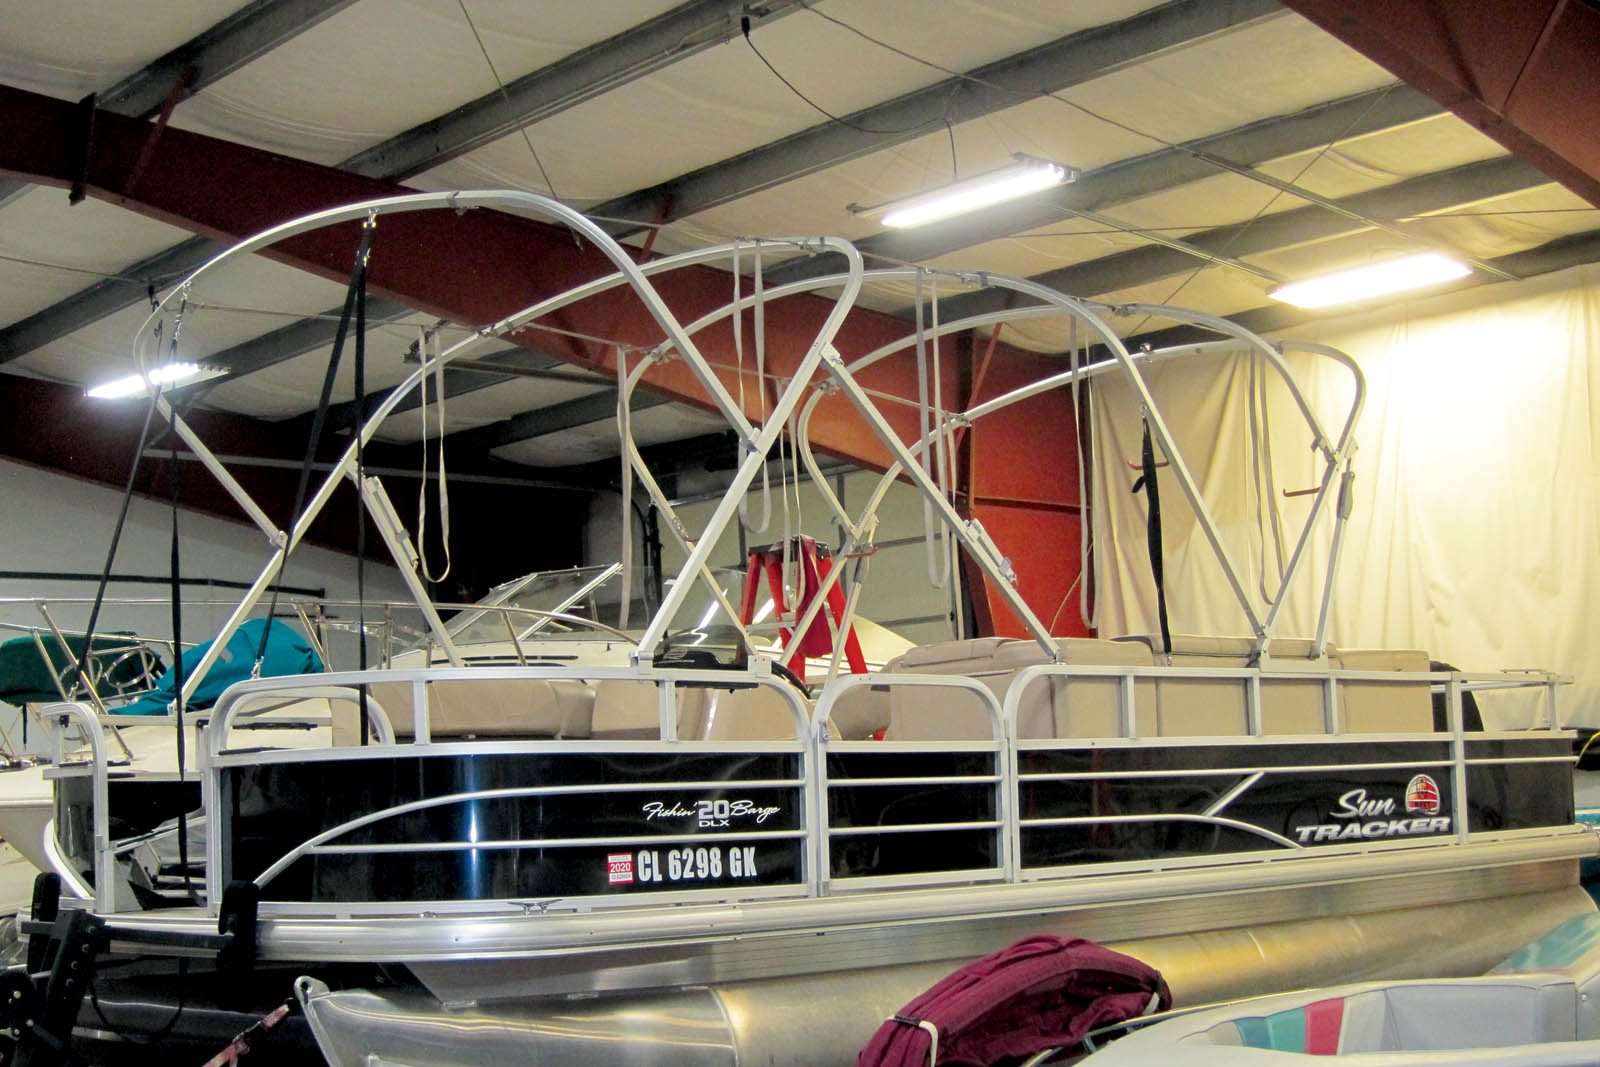
Fabrication process: Bimini first
Most of the pontoon boats already have a back bimini frame, and the frame is usually in good shape. This allows us to reuse the back frame and fabricate a new front frame. We will set up the frames using webbing straps and pre-tension the straps for the best fit.
Like most canvas shops, we start by making pattern templates. We use 70-pound Kraft paper instead of plastic. As technology has advanced, we are finding new ways to make templates. We use Prodim’s Proliner and an Eastman® table to template and cut most of the projects we work on. This has been a tremendous time-saver for us, especially on pontoon enclosures and covers. Using the Proliner for the tops instead of a paper template saves us about two hours of pattern time. Cutting out the templates with the Eastman cutting table has reduced the cutting time from 1½ hours to about 25 minutes.
Whether you pattern the tops digitally or manually, be sure to check and mark for the stern light. Some bimini frames also have built-in cabin lights. We always use zipper pockets for all our bimini tops. We cut the middle bimini pockets 5 feet long so we can utilize a full 60-inch zipper. We design our bimini tops with a tail on the corners to allow the enclosure panels to tuck up under the corners to keep weather out.
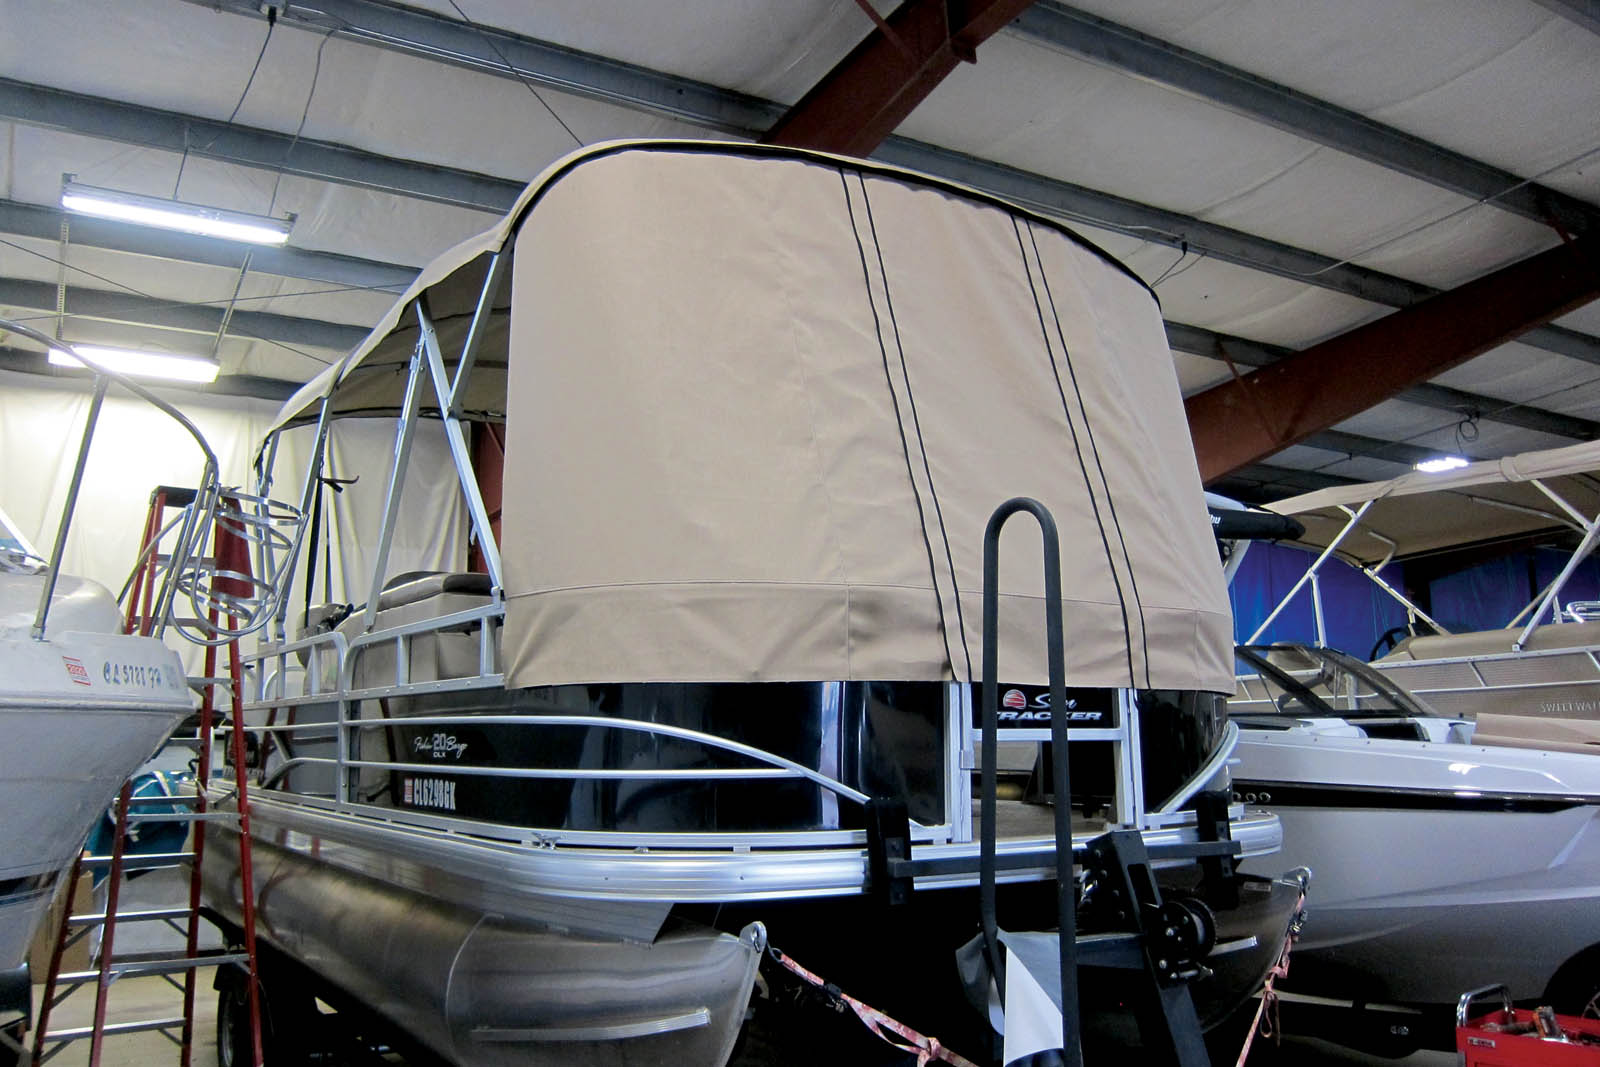
Next step: Enclosure panels
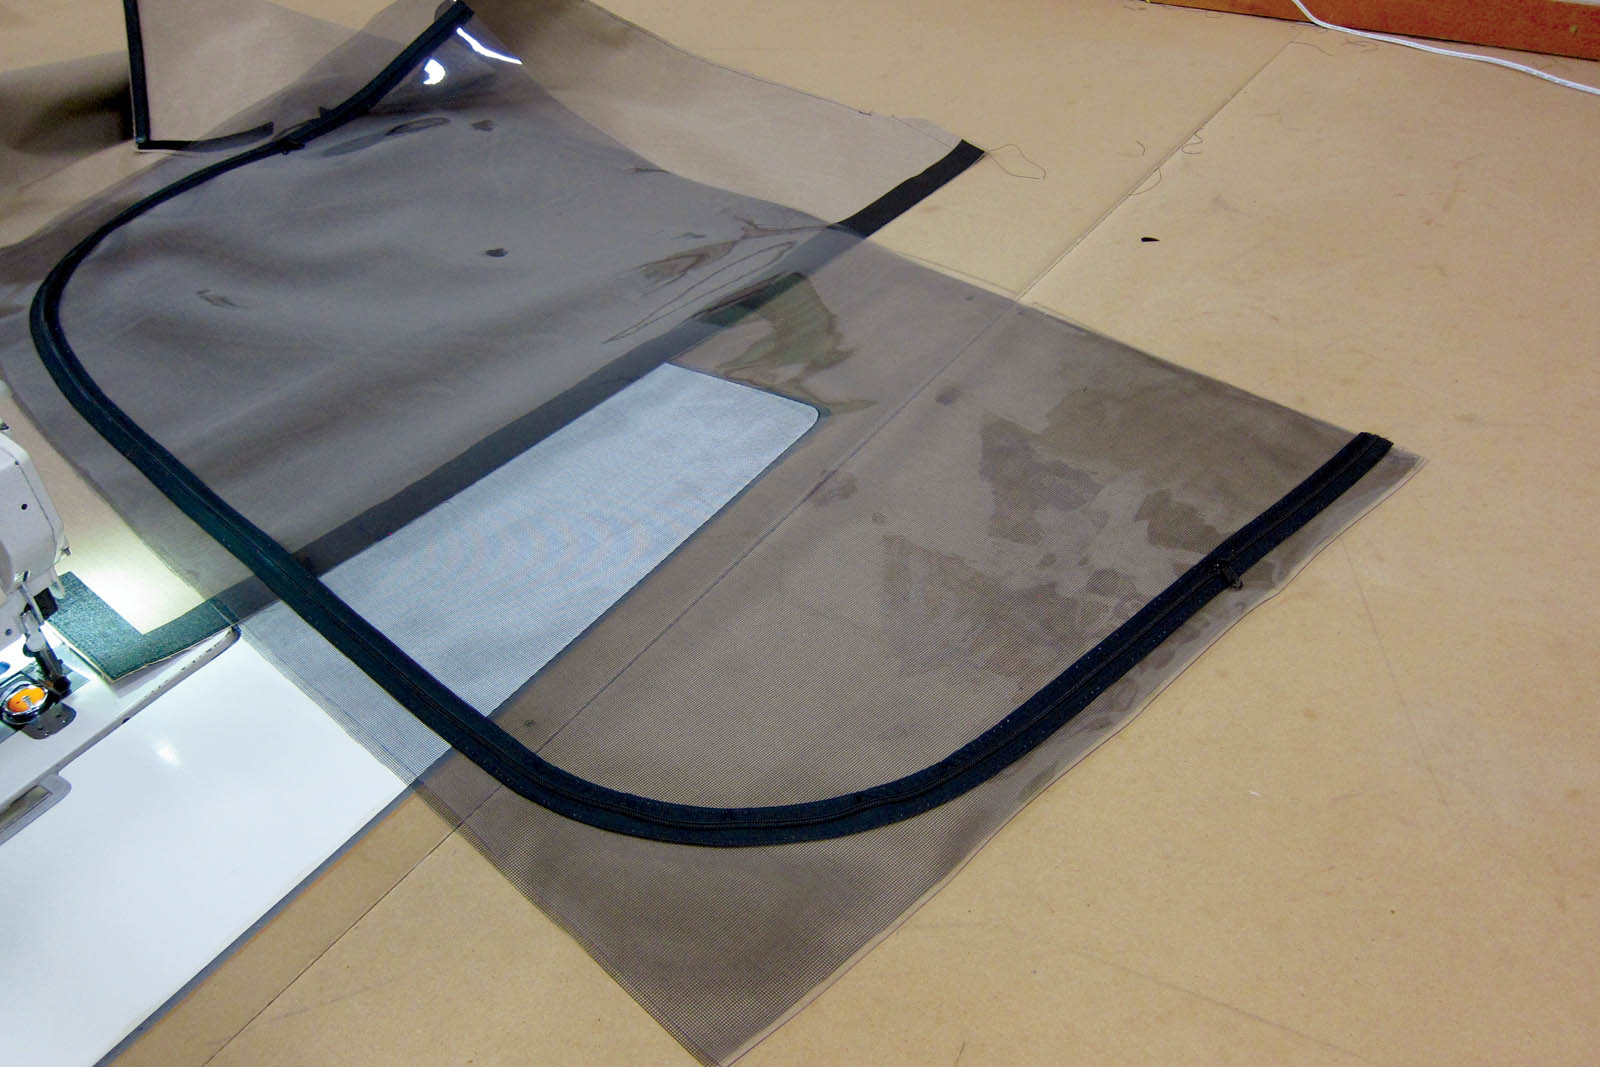
After installing the bimini tops on the boat, we Proline for the enclosure panels. On the boat, we mark the top part of the couches to make sure the windows are not too low. We mark where the enclosure panels will separate and mark for any extra zippers for doors. On the computer we mark where the windows will be, draw in the line for the U-zippers and determine the size for blackouts. We make our U-zippers a horseshoe zipper or upside-down U. This allows customers to open only part of the window if they want some ventilation and still keep the weather out.
The fitting and sewing process
Having the boat at our shop allows us to test fit everything. We cut all the enclosure panels as a blank panel, a little big, with the window already drawn in. We also cut the clear vinyl and blackout for each panel. We start the fitting process with the front center panel, then work our way to the back, alternating the left and right sides, finishing with the aft panel. We trim the panel and set the precut clear vinyl, screen and blackout with the panel.
The sewing process starts with sewing on the facing for the snaps and zippers for the connecting panels, sewing in the clear vinyl, flipping over the panel and trimming 1 and 1/2 inches from the sewing line, turning the edges under and sewing on the edge of the fold. When we make screen windows, we first sew in the zipper in the clear vinyl, sew the screen to the clear vinyl, then sew the vinyl to the material, using the same finishing process of trimming and folding under the edge.
Since the enclosure panels are being stored away, they do not need the blackout to protect the clear vinyl from the sun. We make our blackouts with Velcro® on the inside. We sew on 1-inch hook Velcro as we sew in the vinyl window, and then use the same finishing process. When we sew on the edge of the fold, this will sew down the other half of the 1-inch hook Velcro. After the panel is sewn, we bring it back to the boat for the final install.
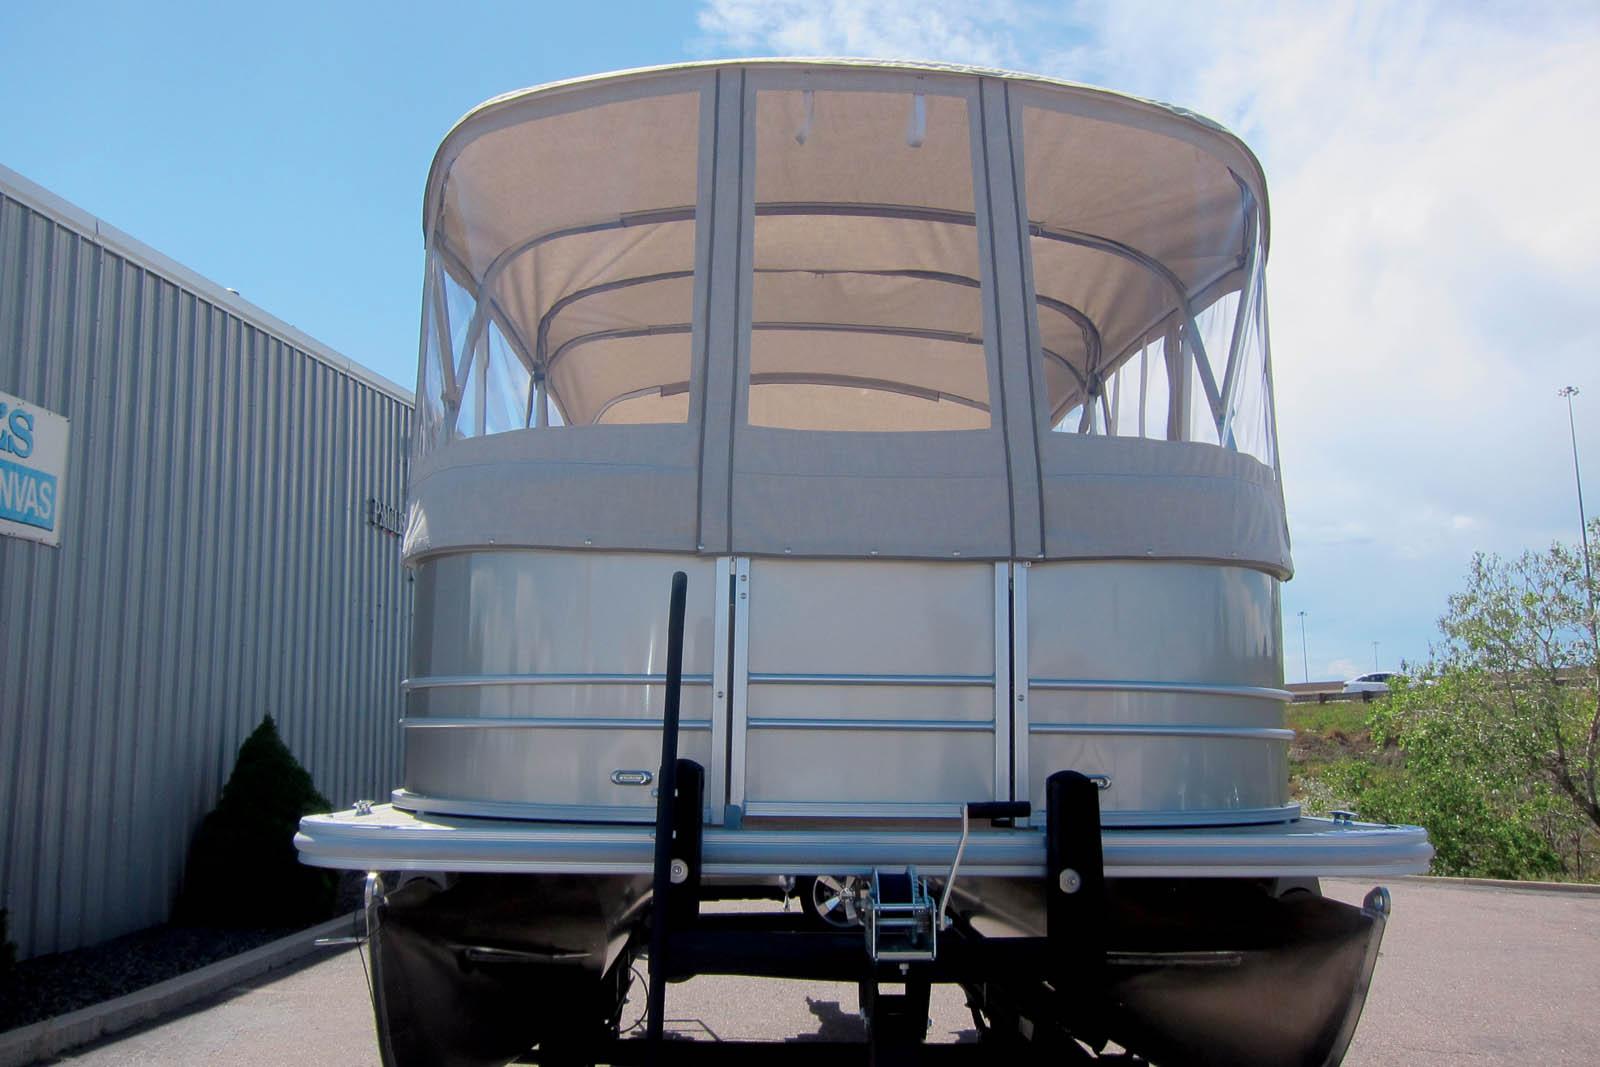
Set customers up for success
Once the enclosure is completed, we teach customers the best way to set up and take down their enclosure. We provide storage bags for the enclosure panels, as well as a soft material to put on the clear vinyl before rolling the panels to store on the boat. We make sure to help customers understand the best way to care and clean their enclosure to keep it looking as nice as possible for as long as possible.
Michael Charpentier has been working at Paul’s Custom Canvas Inc., located in Denver, Colo., for 22 years. He grew up in Denver and spent summers working for his dad, Paul Charpentier, at the shop. He has been working fulltime at the shop since 1999, and when Paul retired in 2016, Michael and his brother, Scott, became second-generation owners.