Make inside corners look good
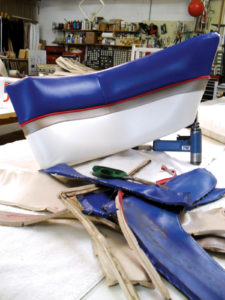
Proper preparation, a good pattern and a firm foam base will yield a wrinkle-free corner cushion.
The inside of a corner is one of the most difficult areas to get looking good. Here are a few tips for good-looking corners.
- To start, you must have a good foam base. Because of all the pulling and stretching required, soft foam will compress too much and not hold its shape.
- Old skins are very hard to get patterns off of. Due to the fact that old skins have been stretched beyond recognition, getting the new skins together correctly is very important. The hardest part of this step is to decide how to cut the new piece.
- When I lay out the old piece of fabric, I let it lay down naturally, without trying to force it to curve in any direction. I place weights down the center of the fabric and then lay a ruler on the edge of the fabric to flatten it out. I then make all the marks on that edge and then lay the ruler on the opposite edge, flatten that edge and make the marks.
- On the fabric edges that are to be stapled, I always add 2 inches, which allows enough fabric to get a good hold of when you need to start pulling.
- When sewing pieces together on an inside corner, be sure to match up your marks. If you allow the marks to slide out of place, you will end up with wrinkles. If you have to pull one piece a lot more than the other to get your marks to line up, you may end up with less-than-perfect results. At that point, it may be wiser to cut one of those pieces over. Or at least check your match marks to see if they were put in the wrong place.
- If your cushion has a stretcher in it, be sure to include match up marks, as well.
- Most importantly, make sure you are using the right fabric for the job. Something heavy and stiff may not be suitable to use in these types of upholstery jobs.
Corners: Start to finish

You can see the distortion on the pieces from being stretched.
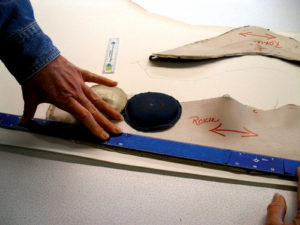 Position the old piece on the new fabric, and lay a ruler on the edge of the old fabric to flatten it out. Be sure that the fabric does not shift under the weights. Then do the same thing to the other sides of the piece.
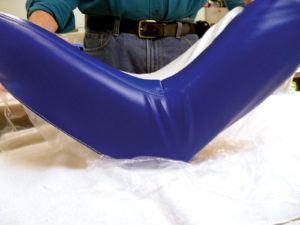
 I have matched up the marks on each side of the curve and stapled in place at those marks.
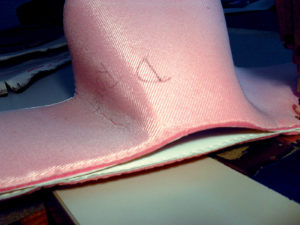
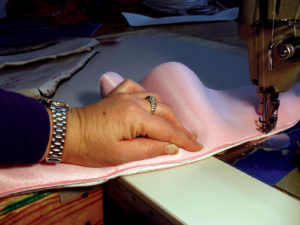 What appeared to be excess material easily flattens out for sewing.
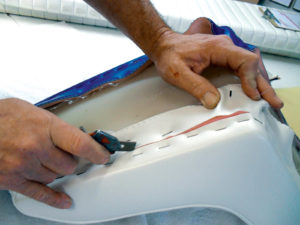
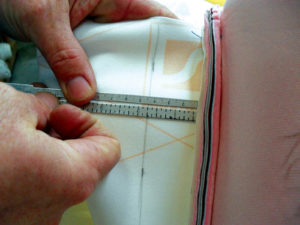 Determine the depth at which you would like to staple on the stretcher. Draw a line on the stretcher at that depth.
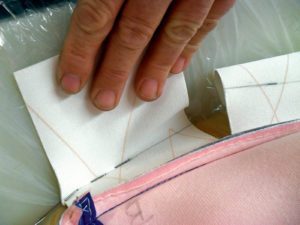 Make relief cuts in the stretcher to make the curve. Staple into place along the line.
 Trim off the excess.
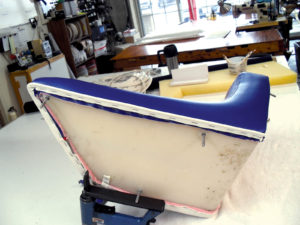
 Add the next piece of foam and begin the fitting.
 Work the corners and ends, and temporarily staple these places.
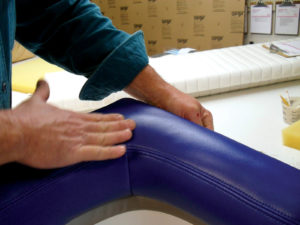 Continue to pull and smooth out the wrinkles. You may have to use some serious elbow grease to get the desired results.
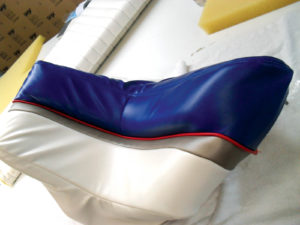
 Once you get the new fabric in place, staple it down. We like to trim off the excess so we are not fighting it during installation on to the boat.
 Add cord or other necessary trim.
Carol Racine is owner of Racine Design in Jacksonville, Fla.
 TEXTILES.ORG