TEXTILES.ORG
 Bimini top fitting basics
When I was asked to write about making a bimini top in 1,000 words or less, I knew this would be a challenge, considering that I probably speak 1,000 words during each step of the process when I am teaching this in our workshops. So, I will provide an outline of steps with some tips to hopefully make things go more smoothly. Doing things in order is as important as the technique itself.
Step One: Frame prep and window line (Photos 1 and 2)
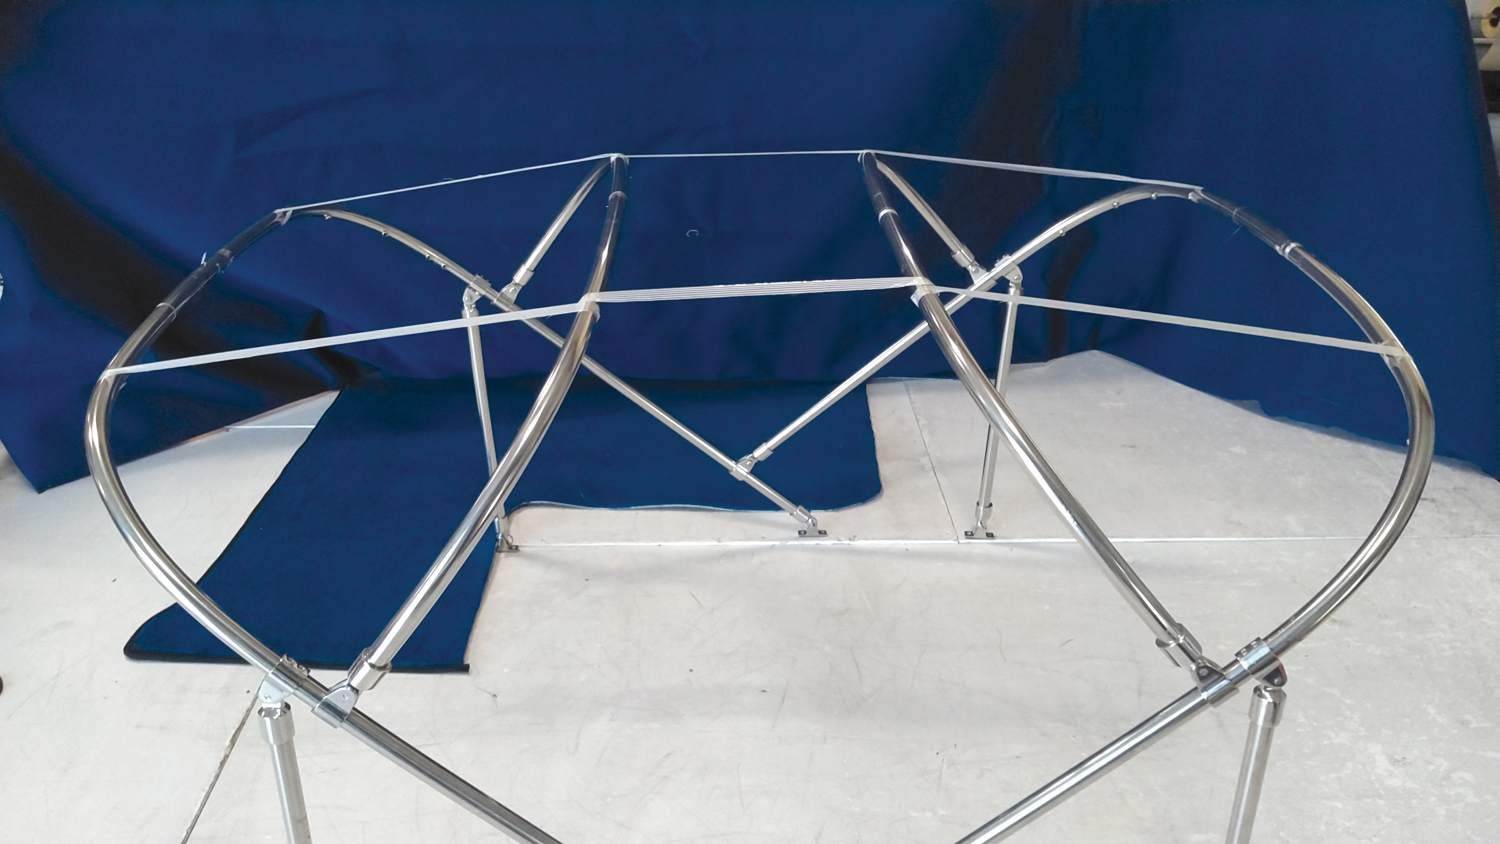
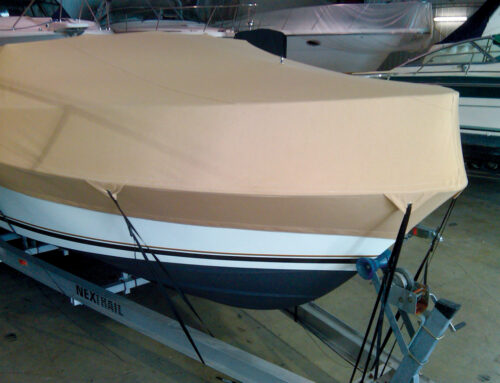
Whether you’re working on a boat or in the shop, secure and tape the frame so that it cannot move during the fitting process. Be sure to set mid-bows in their proper place for proper water runoff. The East Coast Method places the mid-bows approximately 3 inches higher than the forward and aft tubes. Diagonal tape will keep the frame from shaking side to side. Forward-to-aft directional taping should be done near the radius of the tubing, not in the center. Tape can also be used along the sides to show you where to trim the port and starboard edges. We call the side edges of the bimini the window line.
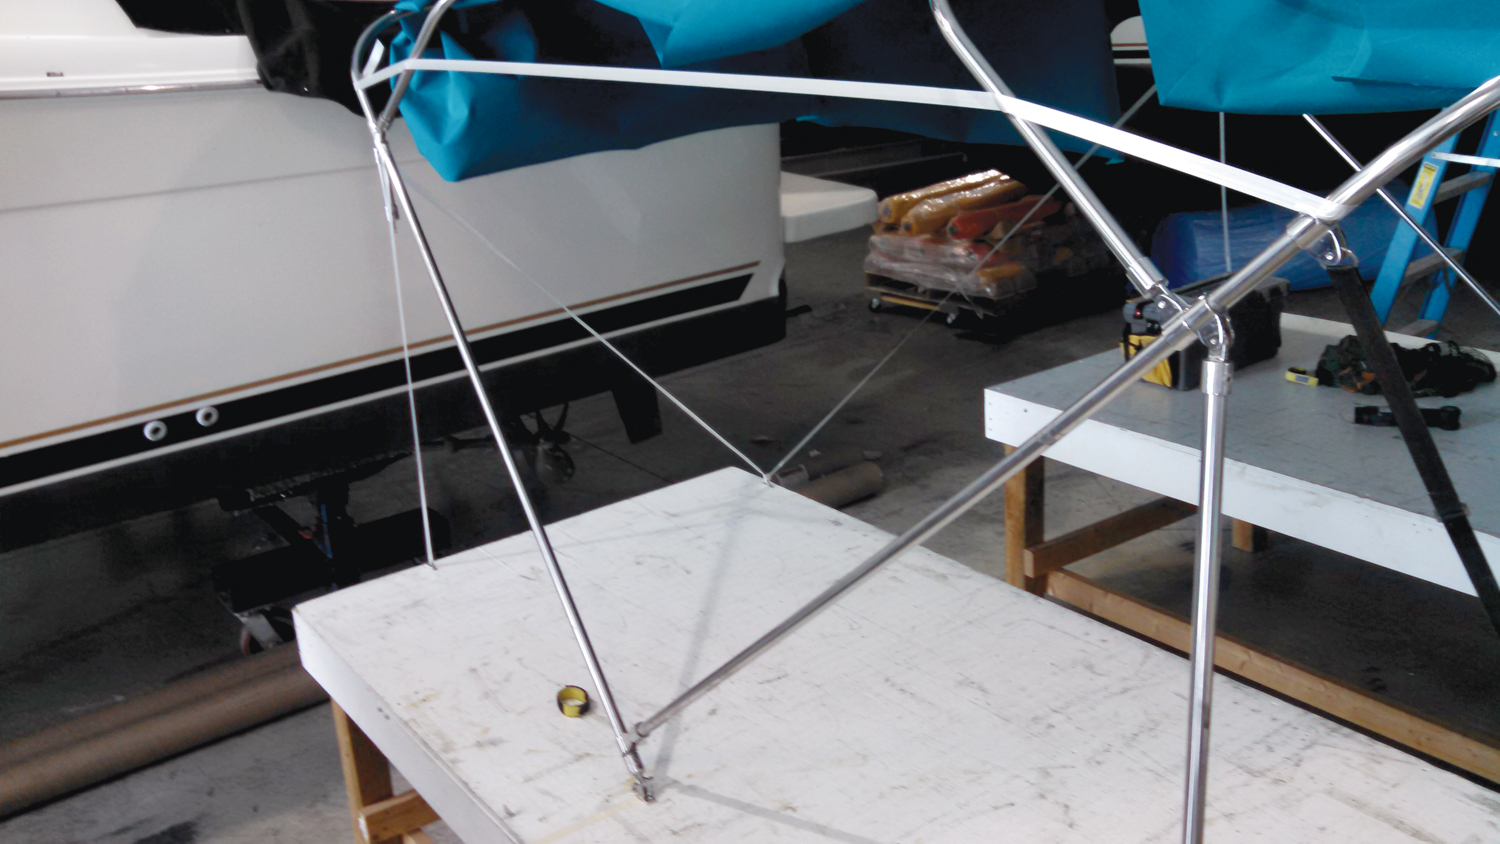
Step Two: Clamps (Photo 3)
Prepare a blank that has at least 20 inches of excess material on the forward and aft ends. This extra material will be used for all pockets and rain flaps. Clamp the bimini into place. Note that there will be excess material at the radius of the mid-bows because they are higher than the other tubes. When clamping, always start in the center of the bimini and work outward. You’ll want to use 18 to 20 clamps for each end of the bimini. Mark the forward-most tube along the front-dead-center of the tube. Mark the aft-most tube along the back-dead-center of the tube. Also, use the tape as a guide to mark the window line where the side edges of the bimini will be trimmed.
Step Three: Mark darts (Photo 4)
The excess fabric at the mid-bows will be taken up with a dart on each tube. When marking the mid-bow darts, get in the habit of working the fabric in sections, as follows:
- Aft to mid-bow: Pull the fabric forward over the aft mid-bow, and mark along the top-dead-center of the tube.
- Forward to mid-bow: Pull the canvas rearward over the forward mid-bow, and mark along the top-dead-center of the tube.
- Mark the center section of a four-bow bimini last by centering the fabric between the two mid-bows and pulling the fabric over them. Mark again along the top-dead-center of each midbow. Tip: Use clamps to hold the fabric in place when marking the center section. Mark the top-dead-center of the mid-bows across the entire bimini, as this mark becomes the sew-line for pockets. We call this line the crown line.
Step Four: Pocket creation and preparation (Photos 5 and 6)
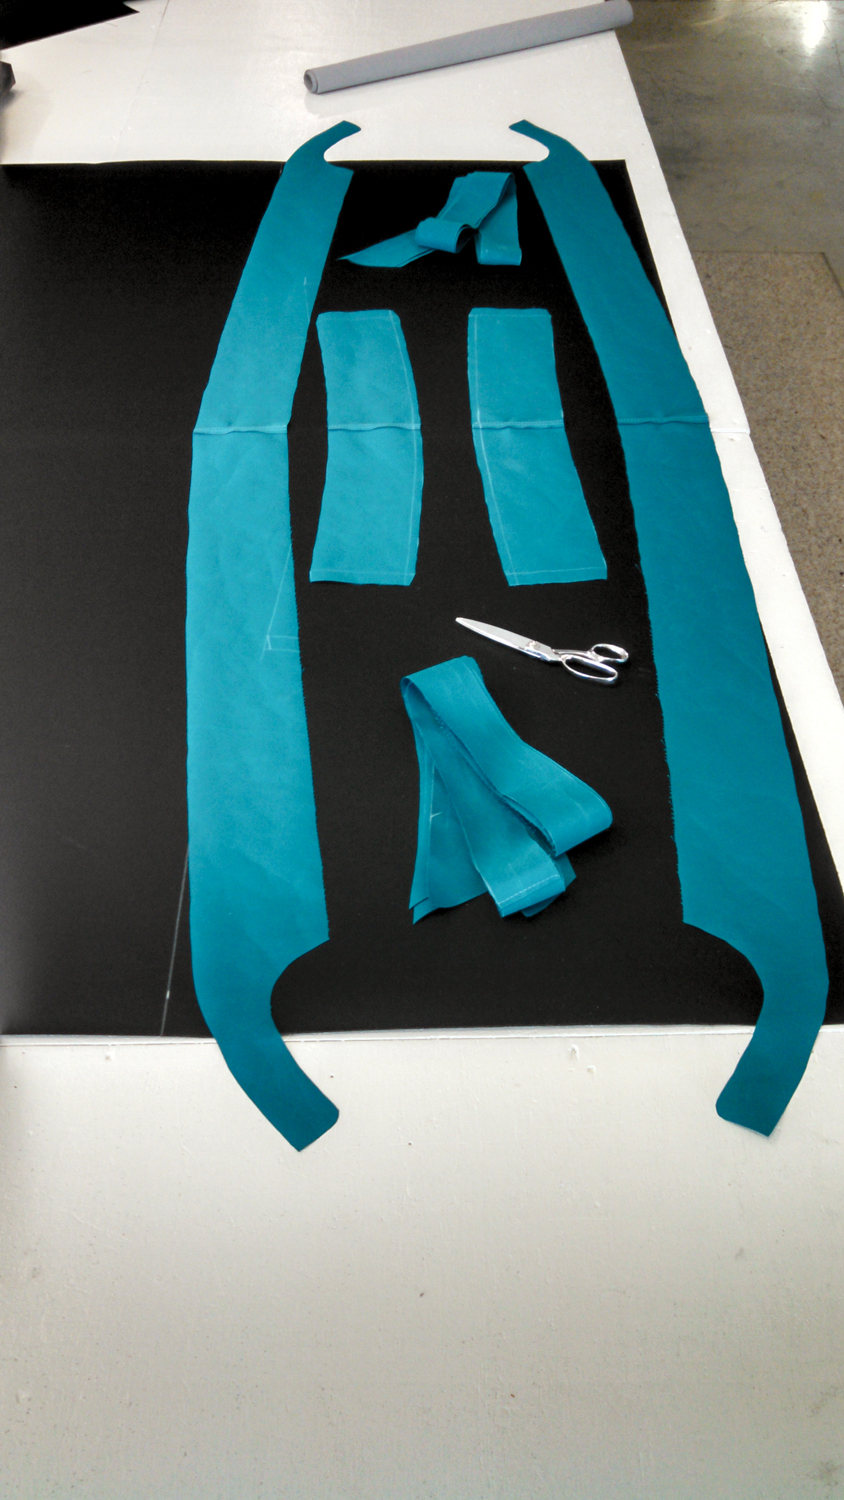
The shape of the bimini will determine the shape of your pockets and flaps. Add a ½-inch seam allowance to the back-dead-center line and the front-dead-center line, and trim off the 20 inches of excess fabric from each end. Before any sewing is performed, create tube pockets and rain flaps with the 20-inch piece of excess material trimmed off each end. All pockets are typically 6 inches wide, including a ½-inch seam allowance. After creating the pockets, lay them in place and hash-mark onto the bimini so that you can align things properly during the sewing stage. Then, reinforce and bind the edges that will be seen and sew zippers onto the pockets. For now, set pockets and flaps aside until the assembly stage.
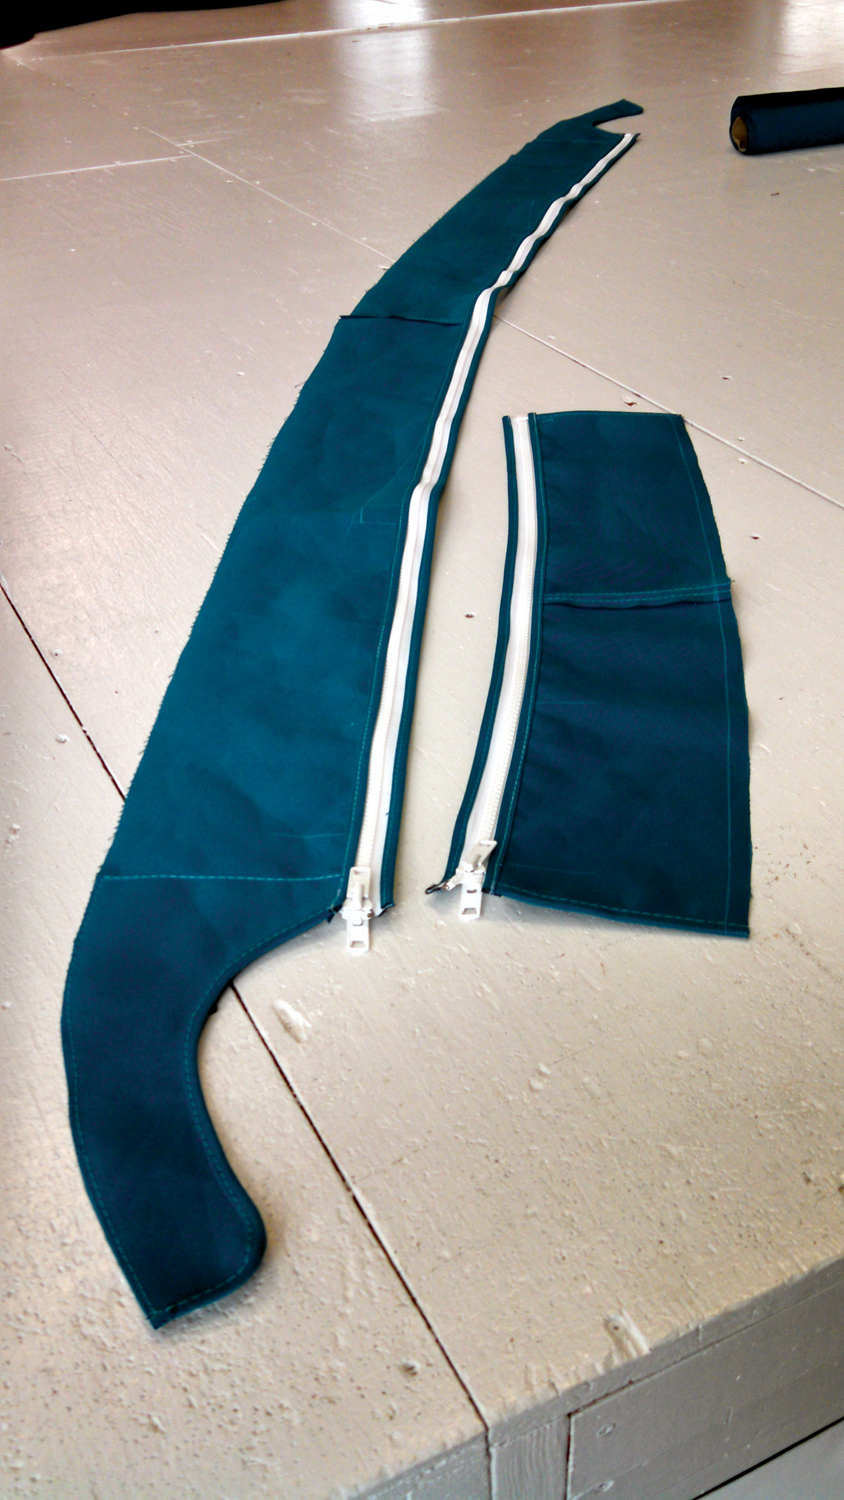
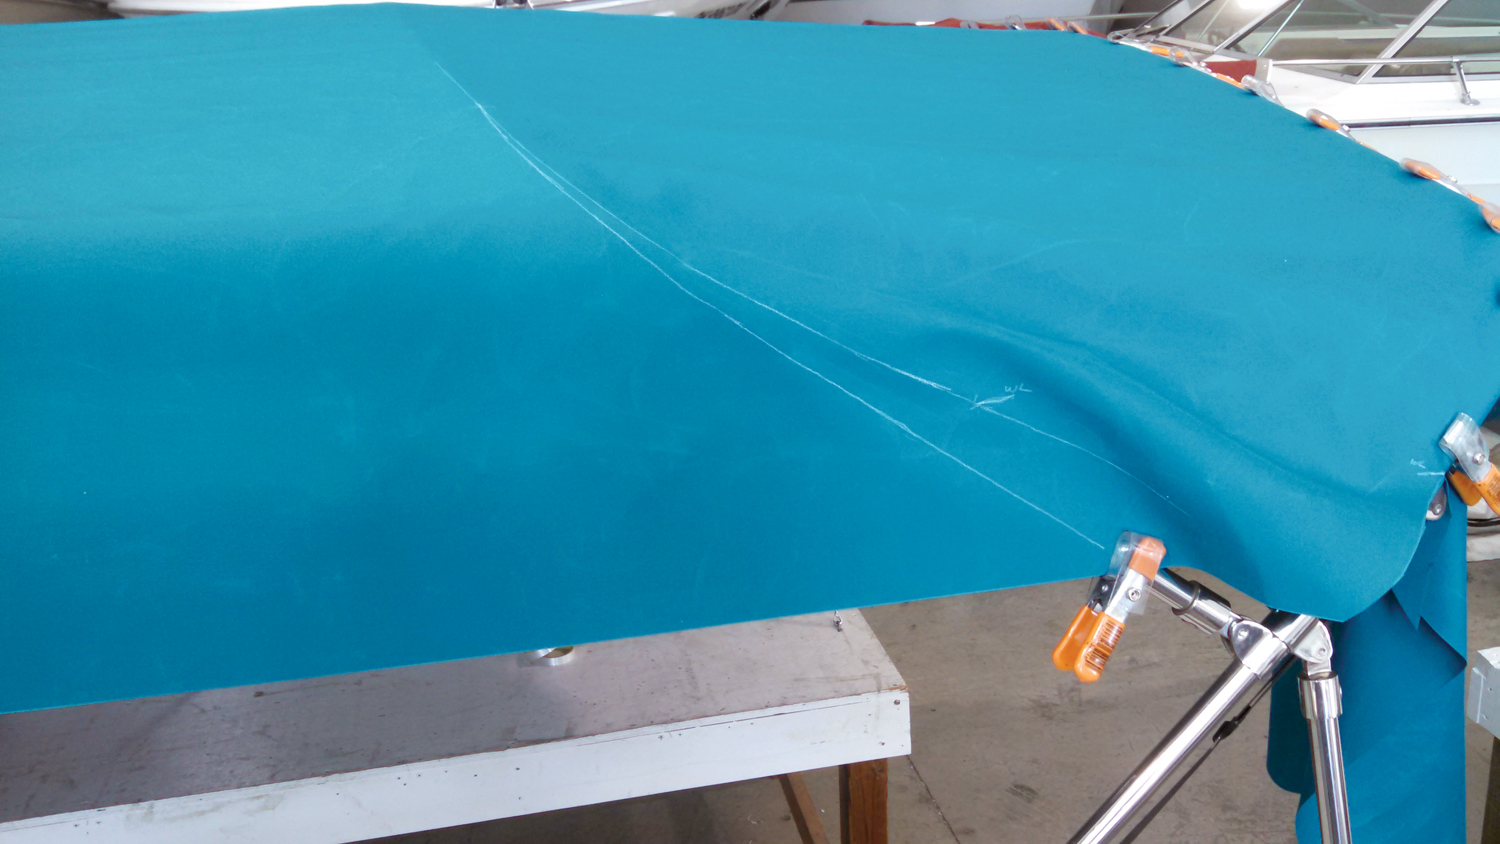
Step Five: Transfer and sew darts (Photos 7 and 8)
It is time to sew the mid-bow darts. Begin by transferring the mid-bow dart lines and crown line onto the underside of the bimini using tracing paper. Next, sew darts from the underside. Then, topstitch the darts from the topside. Tip: The seam allowance and stitch should always lie to the inside of the curve of the dart.

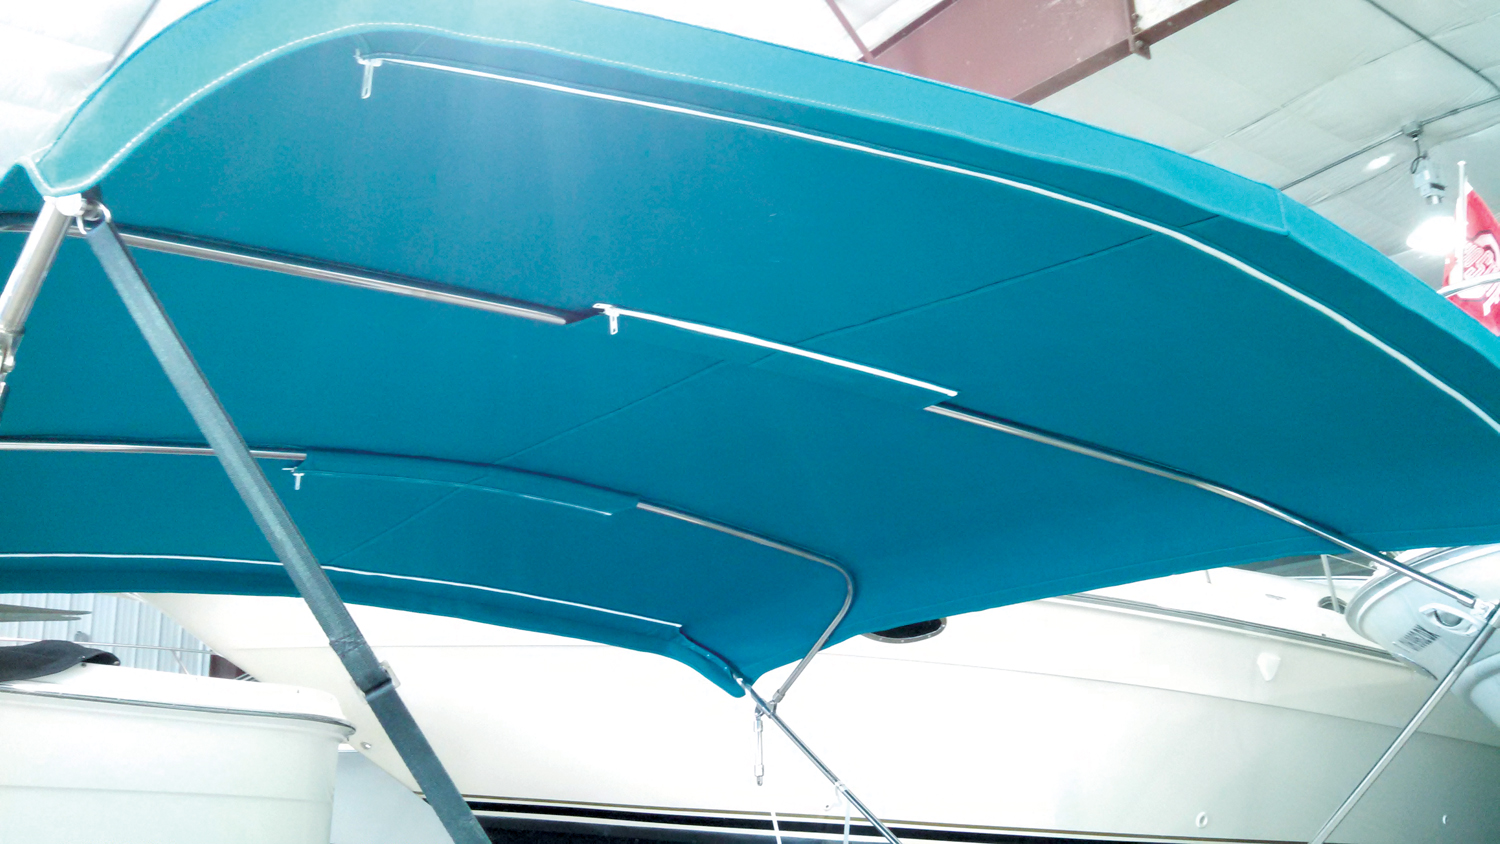
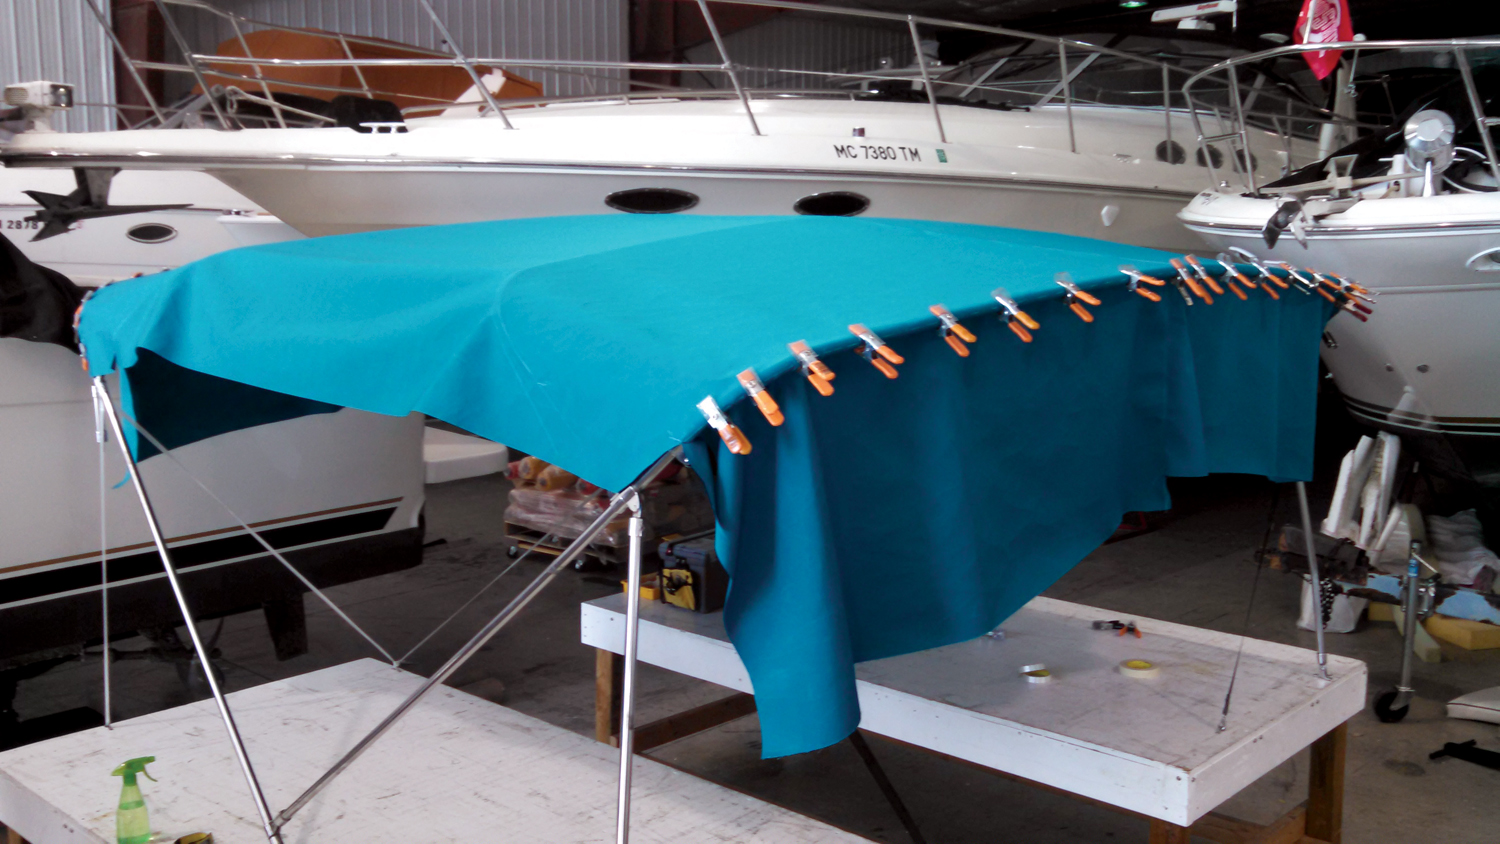
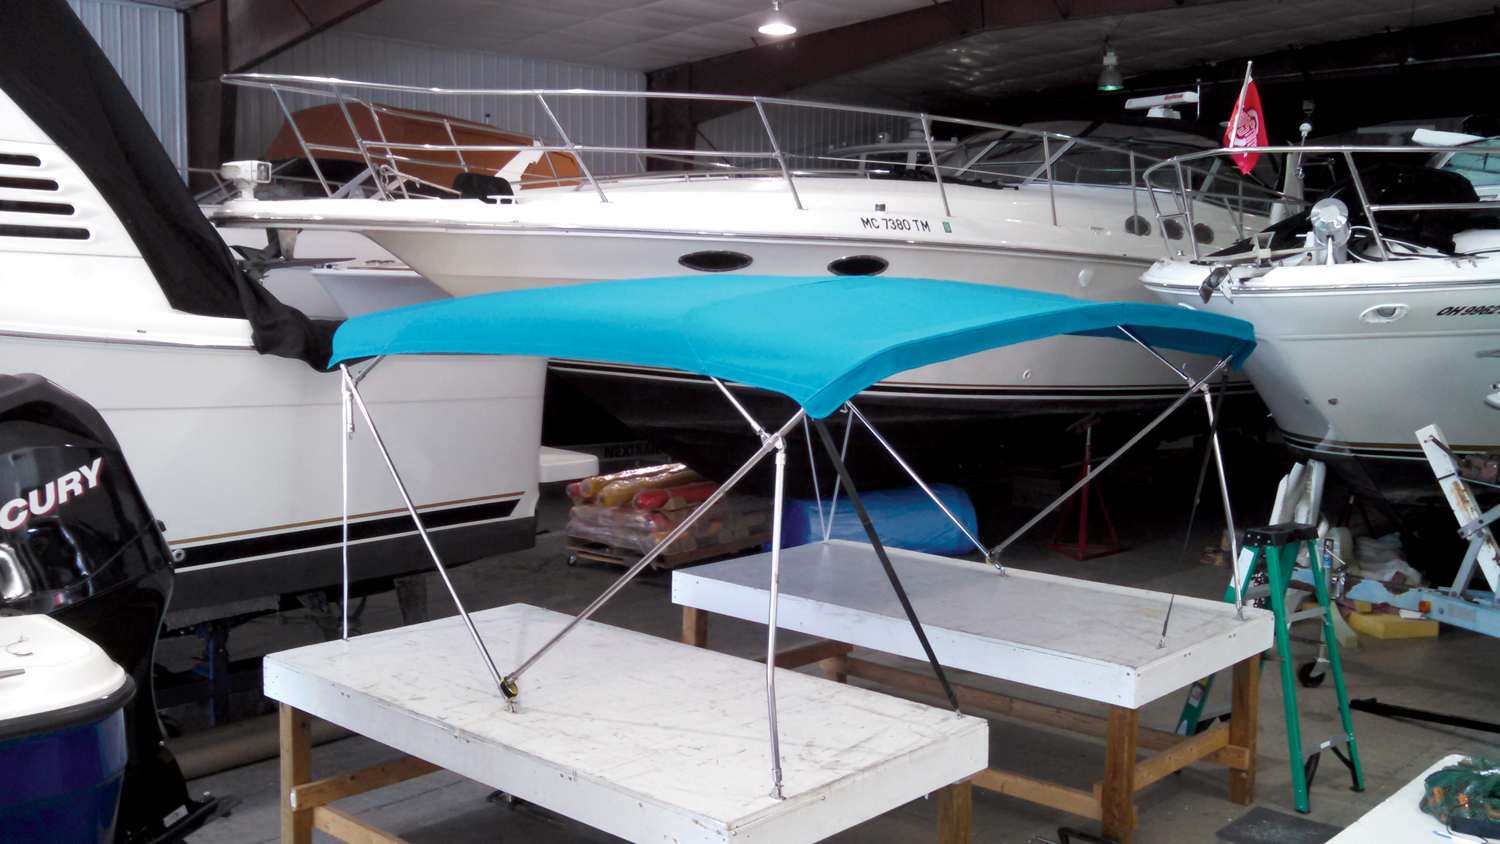
Step Six: Assembly time (Photo 9)

Once the darts are sewn, you can now trim along the window line (side edges) of the bimini. Sew reinforcement of your choice along the window line. Reinforcement can be 1½ to 2 inches in height. Sew aft and forward pockets, including rain flaps, to the ends of the bimini. Center and sew mid-bow pockets onto the bimini. Allow enough room for the pocket to wrap around the mid-bow tube. Typically, you’ll need 1½ inches of allowance for a 1-inch tube. Sew mid-bow pockets along the crown line.
Step Seven: Finish (Photo 10)
Clean off your marks and install! Depending on whether you made full pockets or sculpted pockets, you may need to add rivet-studs onto the framework for the end pockets to attach using snaps.
For step-by-step training in more detail, contact a professional training facility to access videos or hands-on workshops.
Russ Griffin is co-owner and instructor at Northcoast Marine Specialties LLC. Northcoast operates a canvas-making training school in Port Clinton, Ohio.
Materials
A typical 90-by-90-inch bimini with four bows will require 8 yards of fabric, 10 yards of binding, four to six zippers minimum, 180 inches of reinforcement.
Times
Average times for a four-bow, center seam, fabric-fit bimini top:
Position and tape the frame: 15 min.
Fitting/marking the bimini: 1 hour, max
Layout and pocket prep: 1 hour
Assembly/sewing/binding: 6 hours
Clean and install: 1 hour