TEXTILES.ORG
 Tools and tips for better cushions
At Custom Marine Canvas, we are always looking for ways to improve our work. After 38 years, we’re still finding new ways to do things. In this article, we share some of our favorite tools and tips for improving your cushions.

Zipper jig
Nothing is worse than making a pile of cushions and spending a long time getting the zipper sliders started. A machinist friend of ours made us a jig to help with that (Photo 1). It clamps to the edge of the table and is a real time saver. It works with tooth and coil zippers, sizes #5, #8 and #10.
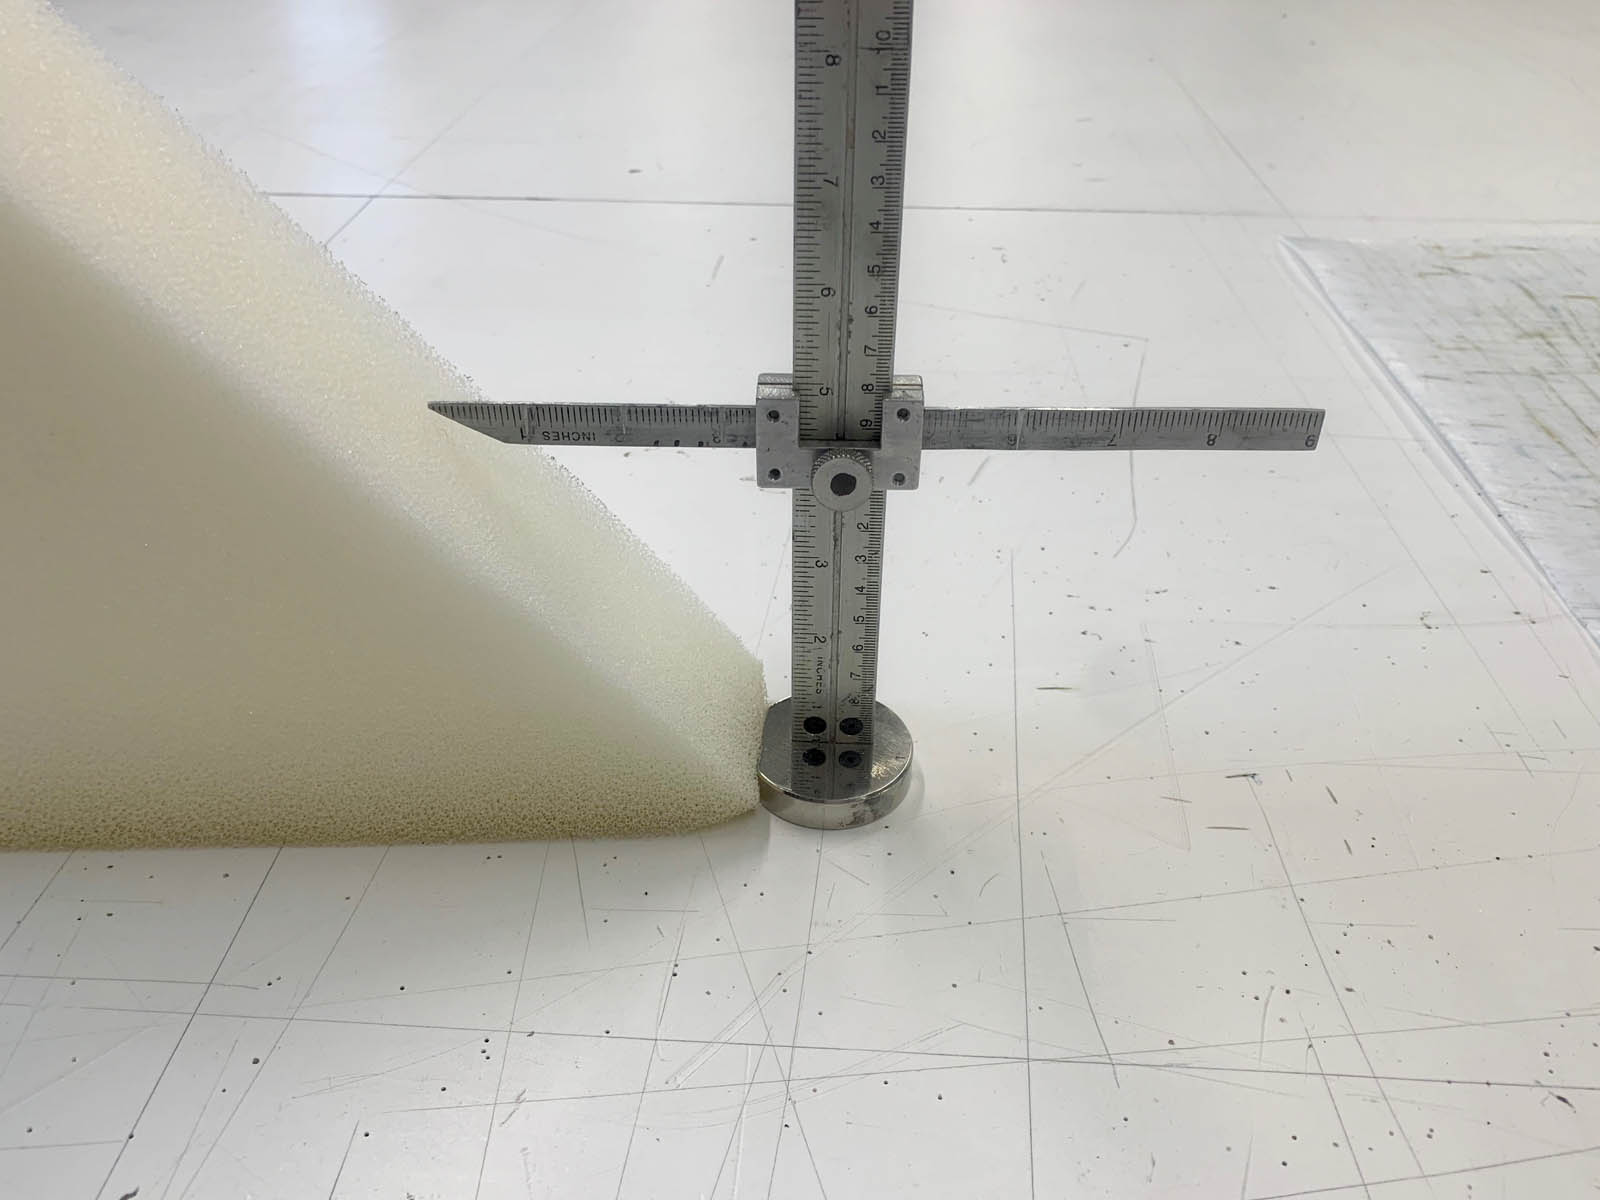
Measuring tool
The same machinist friend made us this “bevelometer,” an adjustable T square for measuring the bevels in a hull (Photo 2). The flat side of the base corresponds to the edge of the bracket where you read the horizontal ruler. You adjust the height of the horizontal ruler to the thickness of the foam you are using. Place the flat face of the base against the hull where the outboard edge of the bunk base meets it. Extend the ruler tip to the hull of the boat and read the value of the ruler.
If you are measuring in a dark corner, like a quarter berth, you can tighten the knob to secure the ruler and draw it out into the light to read it. Make tic marks on your pattern where you take a reading and write that reading directly on your pattern. Add the dimension you took to the traced line of the bottom of the cushion and make a mark. With a batten or long ruler on edge, connect those marks and draw that curve. That new line is the finished line of the top of the cushion (Photo 3).
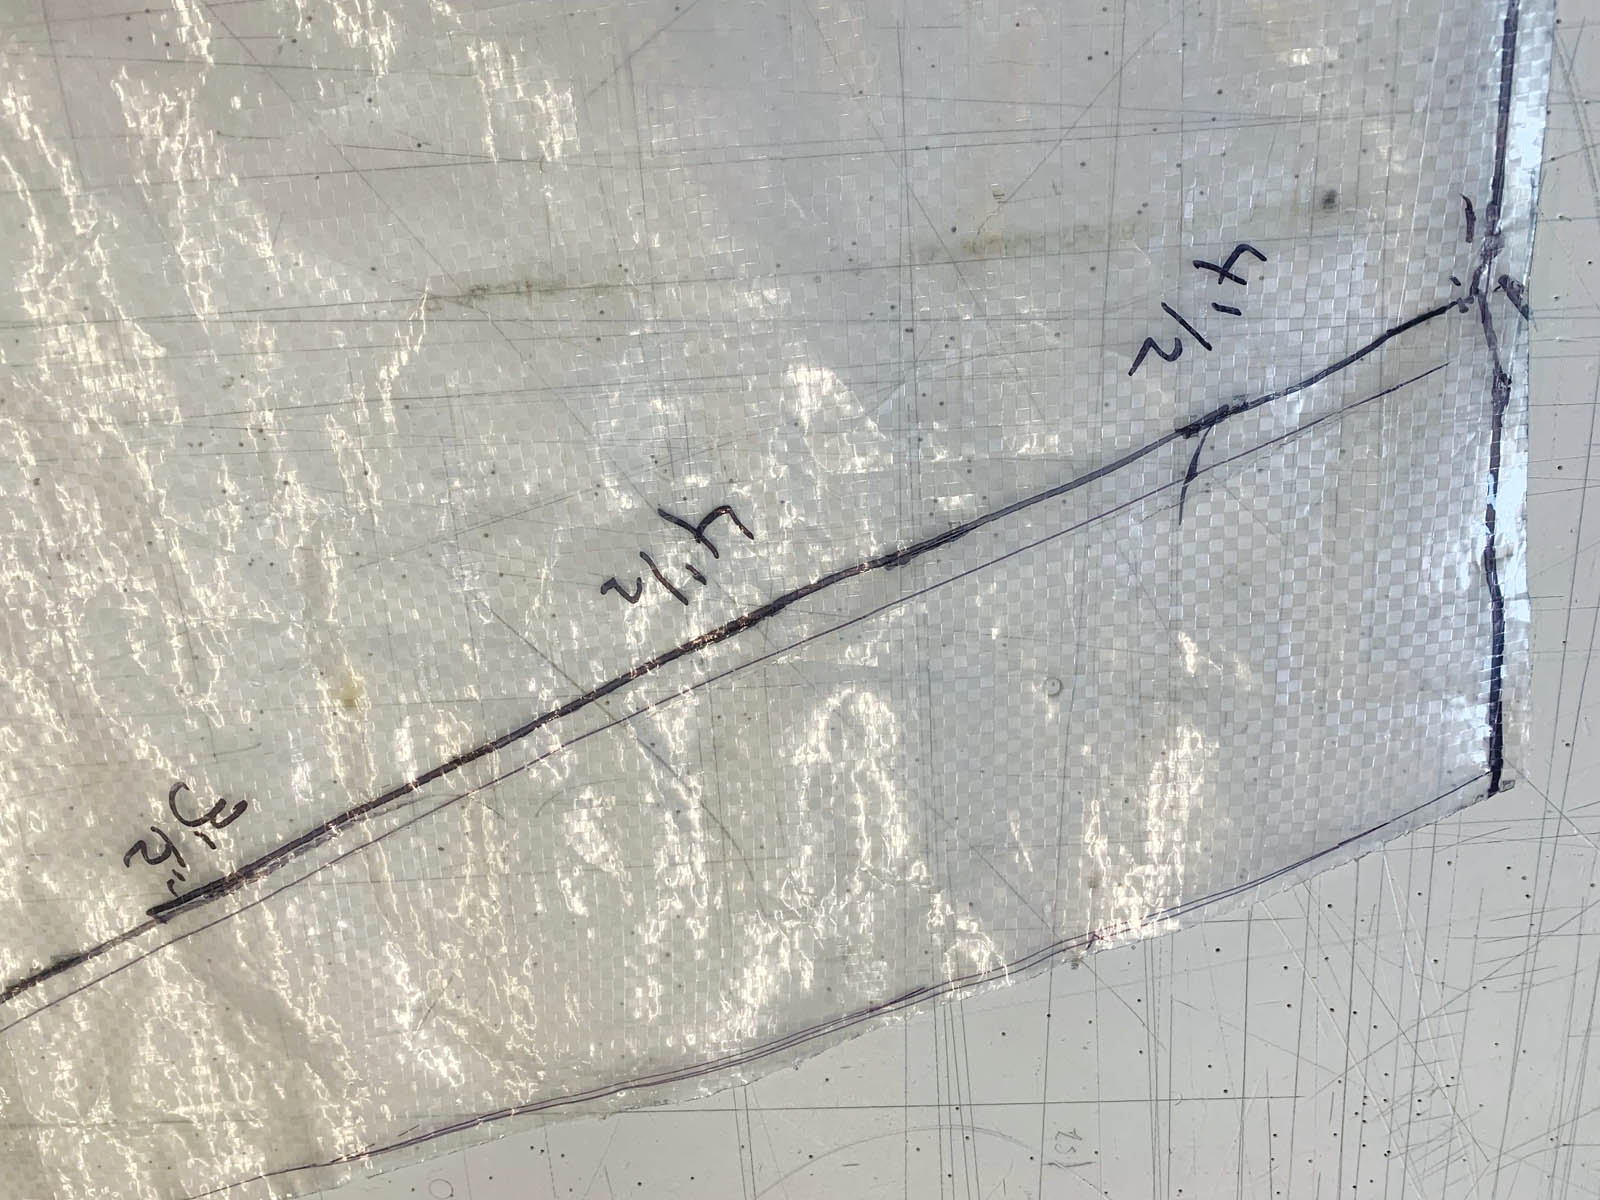
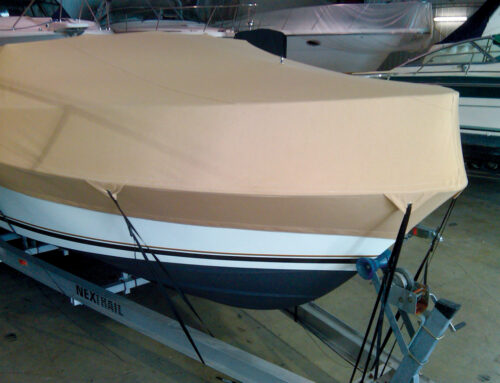
Cutting foam
When cutting the foam for a beveled cushion, trace the pattern for the cushion top on the foam (Photo 4). Cut the foam to the size of the top pattern. Line up the bottom pattern on the straight up and down edges of the cushion and trace the finished line of the bottom along the beveled edge. Using a Bosch foam saw, which is expensive but worth it, we use two people to cut the bevel: one guiding the blade on top and one guiding the blade underneath.
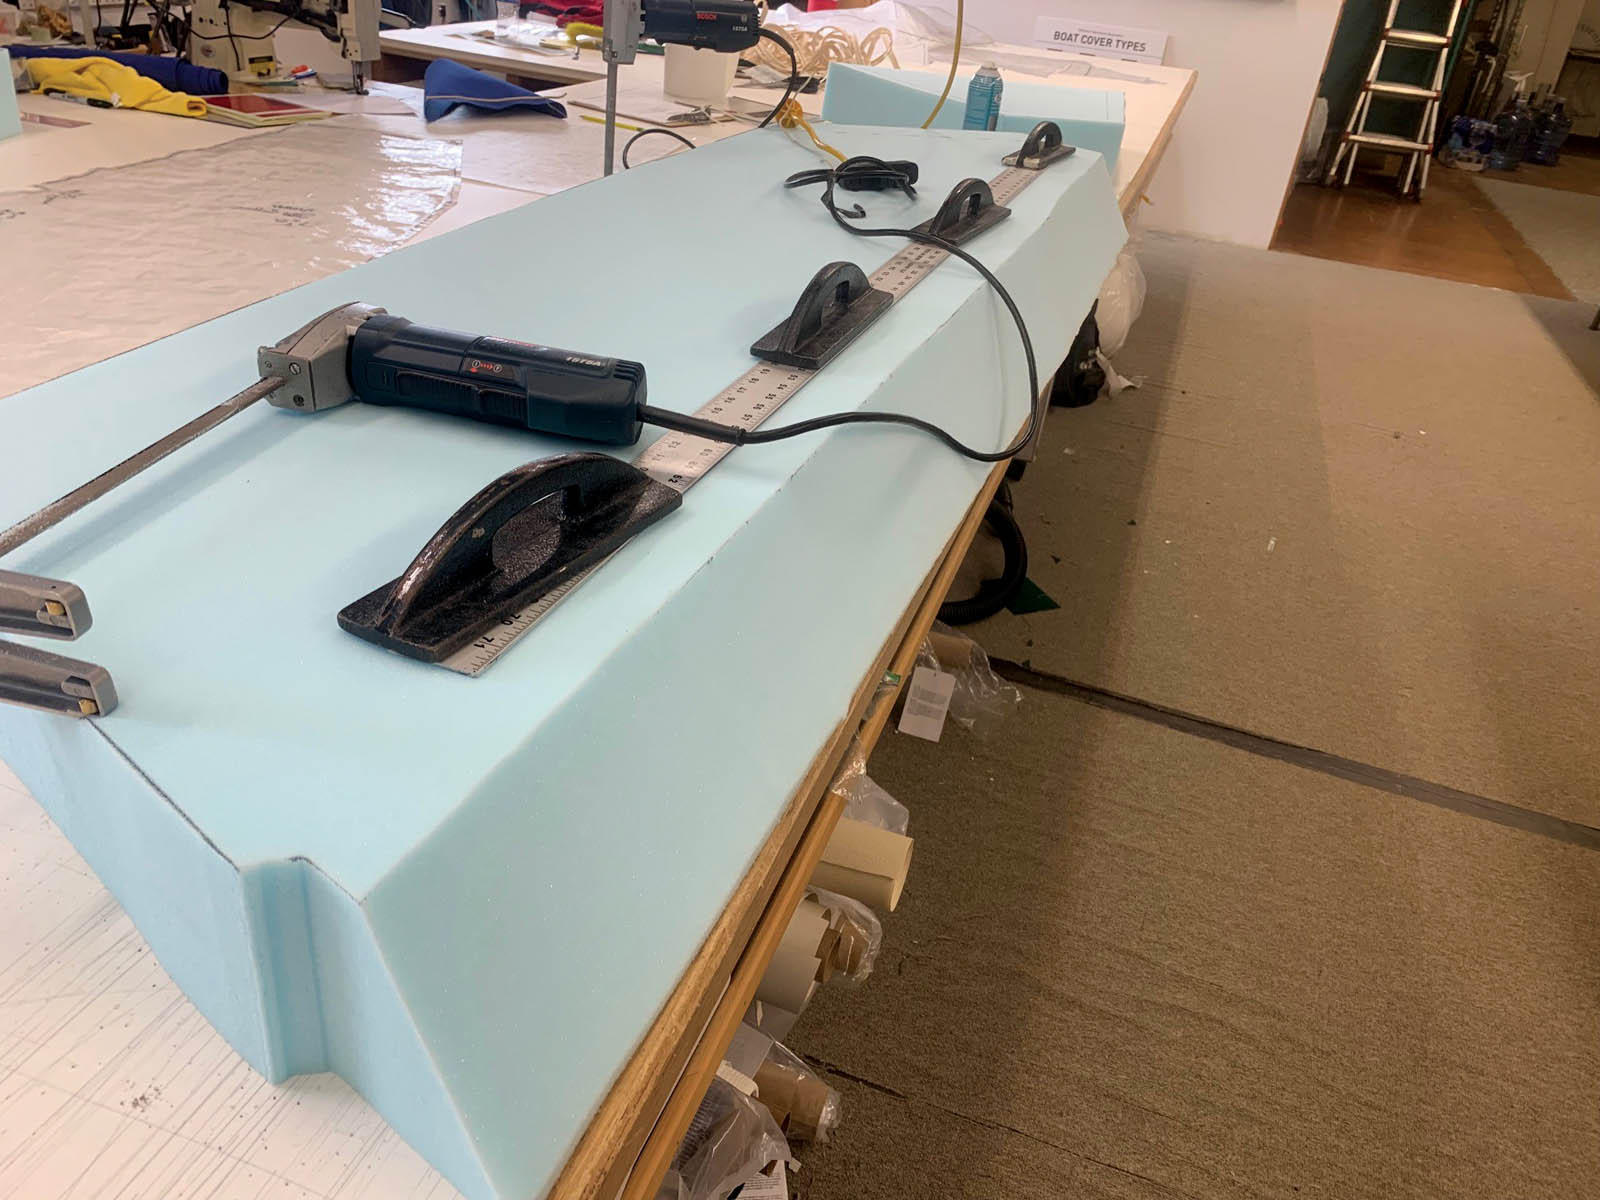
Another tip for cutting foam: Make strips of PVC board 3/8 inch thick by 4 inches wide by 6 feet long. They will look like flat skis. This is the same thickness as the foot of the foam saw. Put these under the foam on each side of your cut to ensure a perfect 90-degree cut. Spray silicone on the saw blade frequently to reduce drag.
Gluing foam
You can use an aerosol glue or gallons of glue (compressor glue) and a glue gun. The aerosol is best if you are not gluing a lot. The compressor and the glue gun are good for large jobs, such as laminating gel foam on base foam. Our local foam supplier has a slicing machine. We can take customers’ existing cushion foam, slice 1 or 2 inches off the top, and glue on a layer of gel foam. Customers get a lot more comfort without having to have new covers made.
We don’t use memory foam. It gets rock hard when it’s cold, and our sailing season here in Connecticut is May through October. The water is pretty cold just outside the boat!
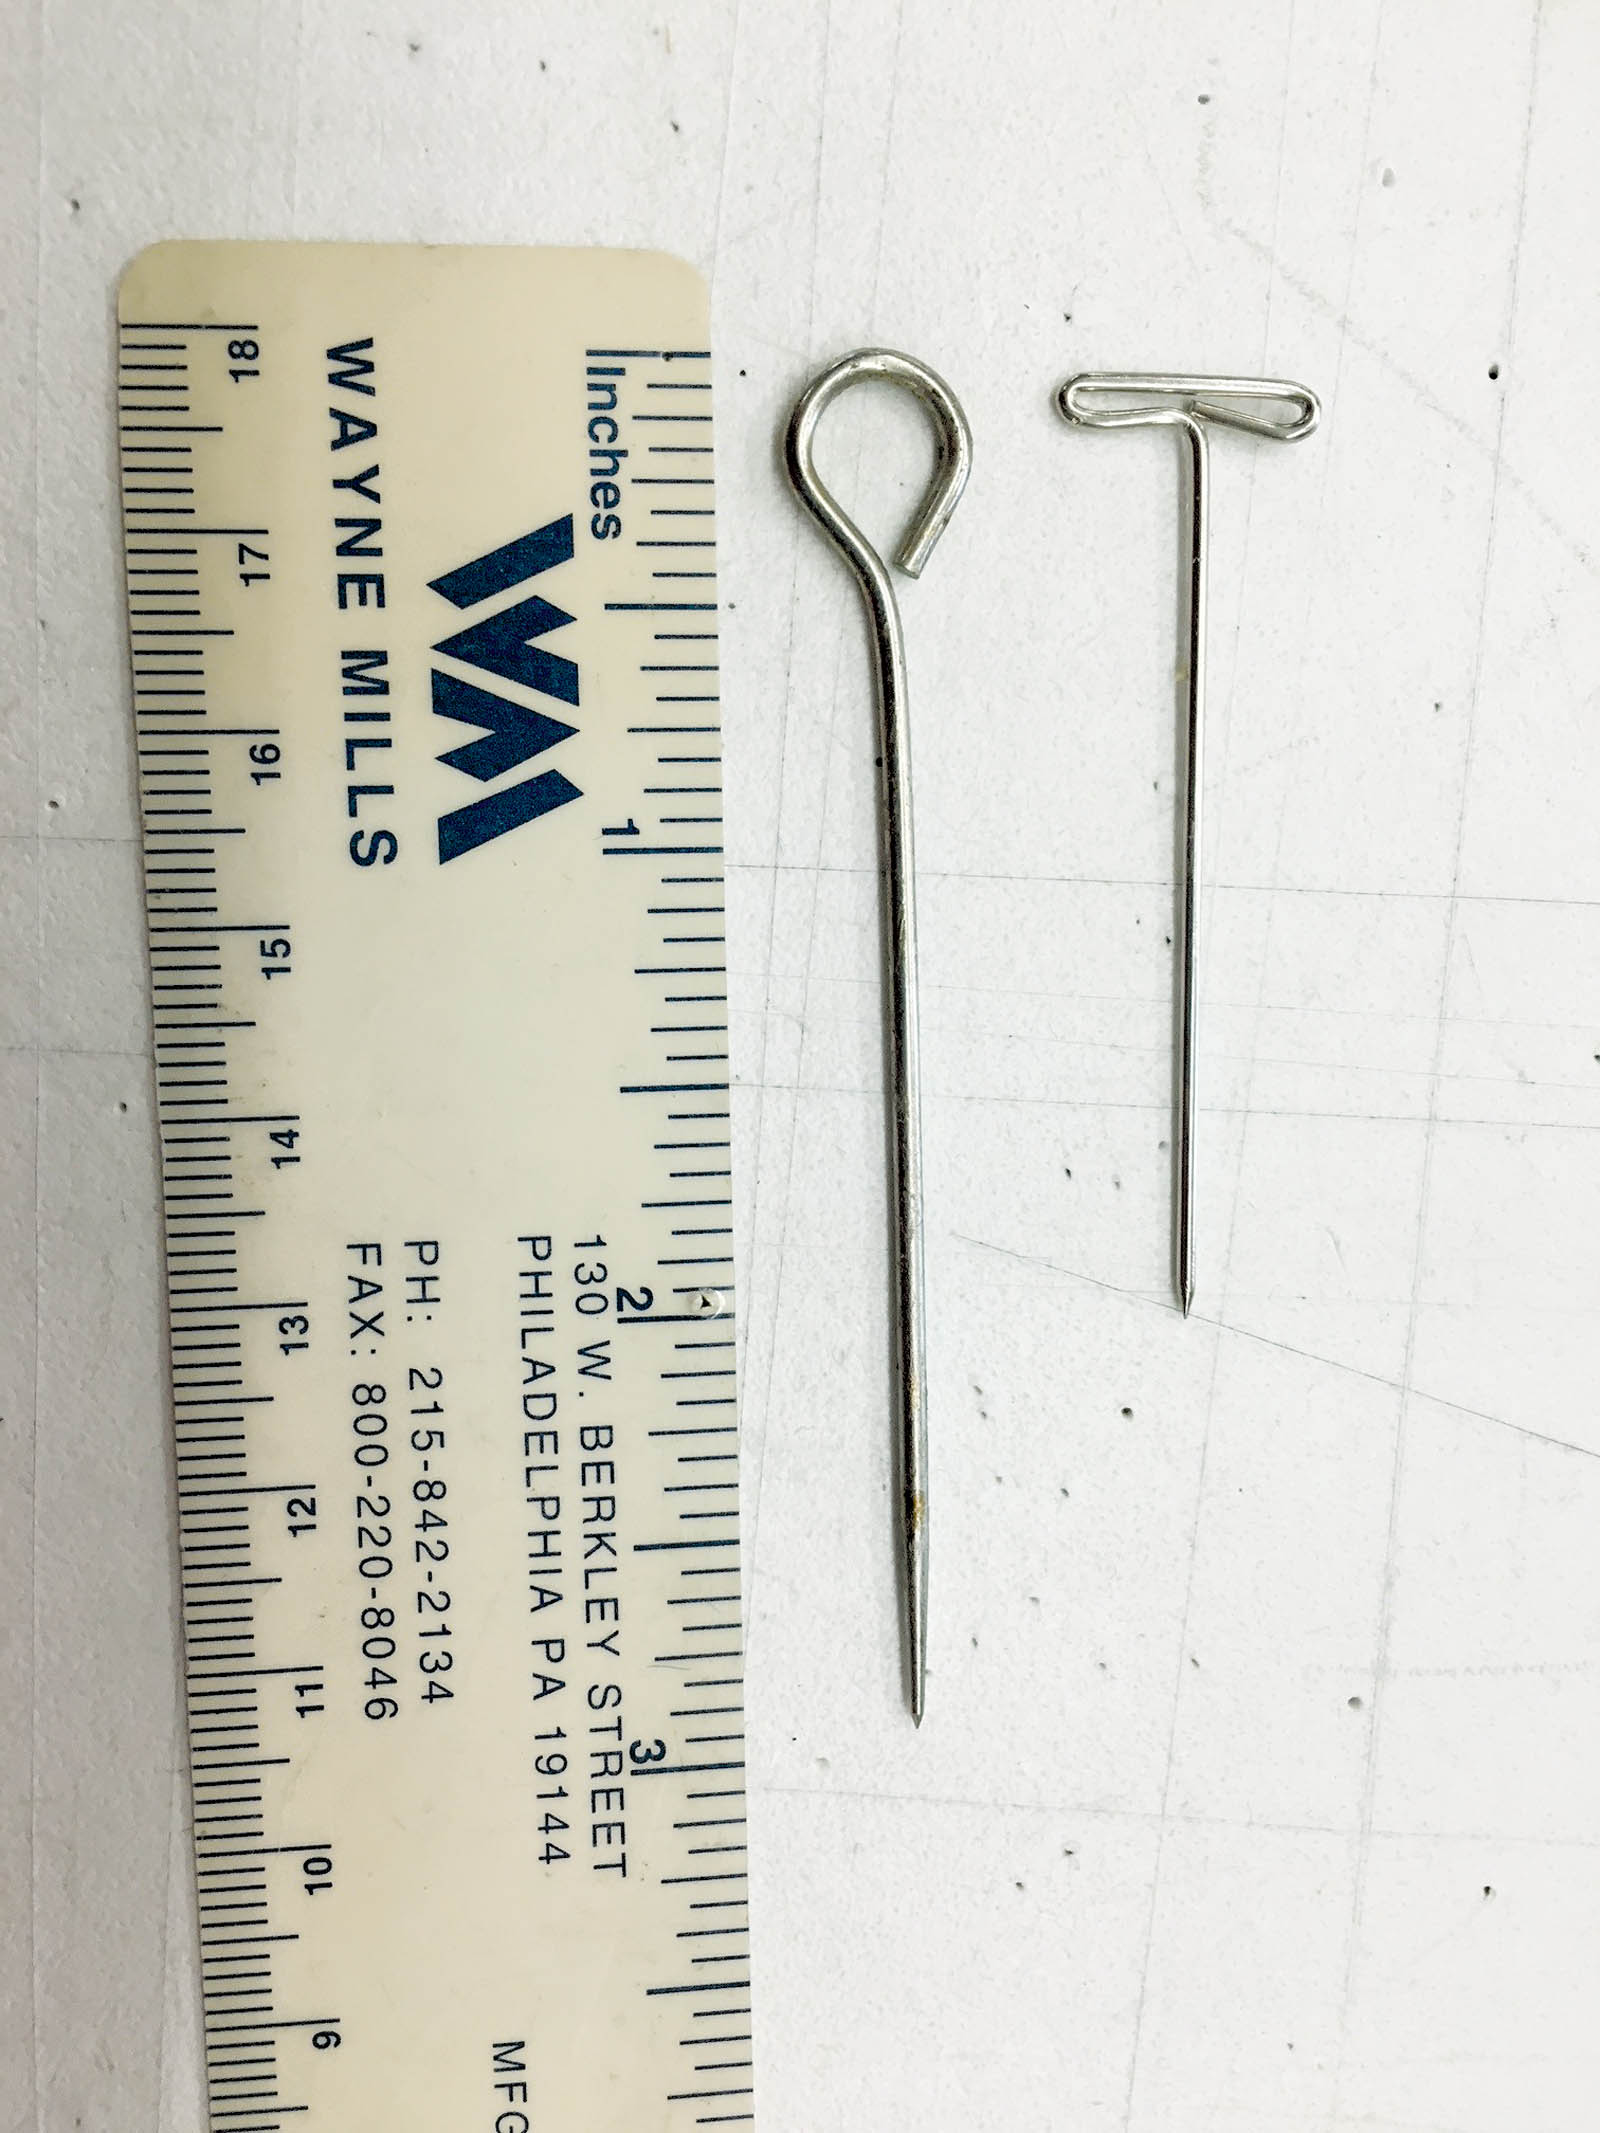
Gluing foam for knee rises is best done working in stages. Glue pins (Photo 9) hold the edge of the knee rise piece in place while it dries thoroughly before wrapping around the front of the cushion. If you try to wrap before it dries, the edge of the foam will pull away from the substrate.
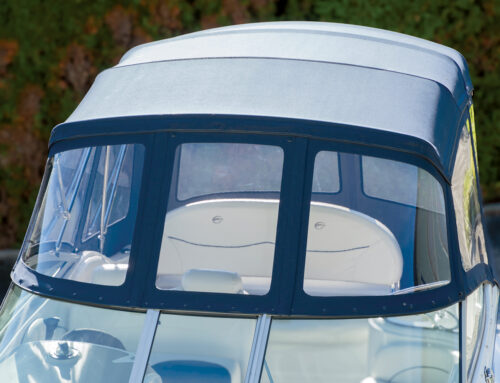
Curved backrest tips
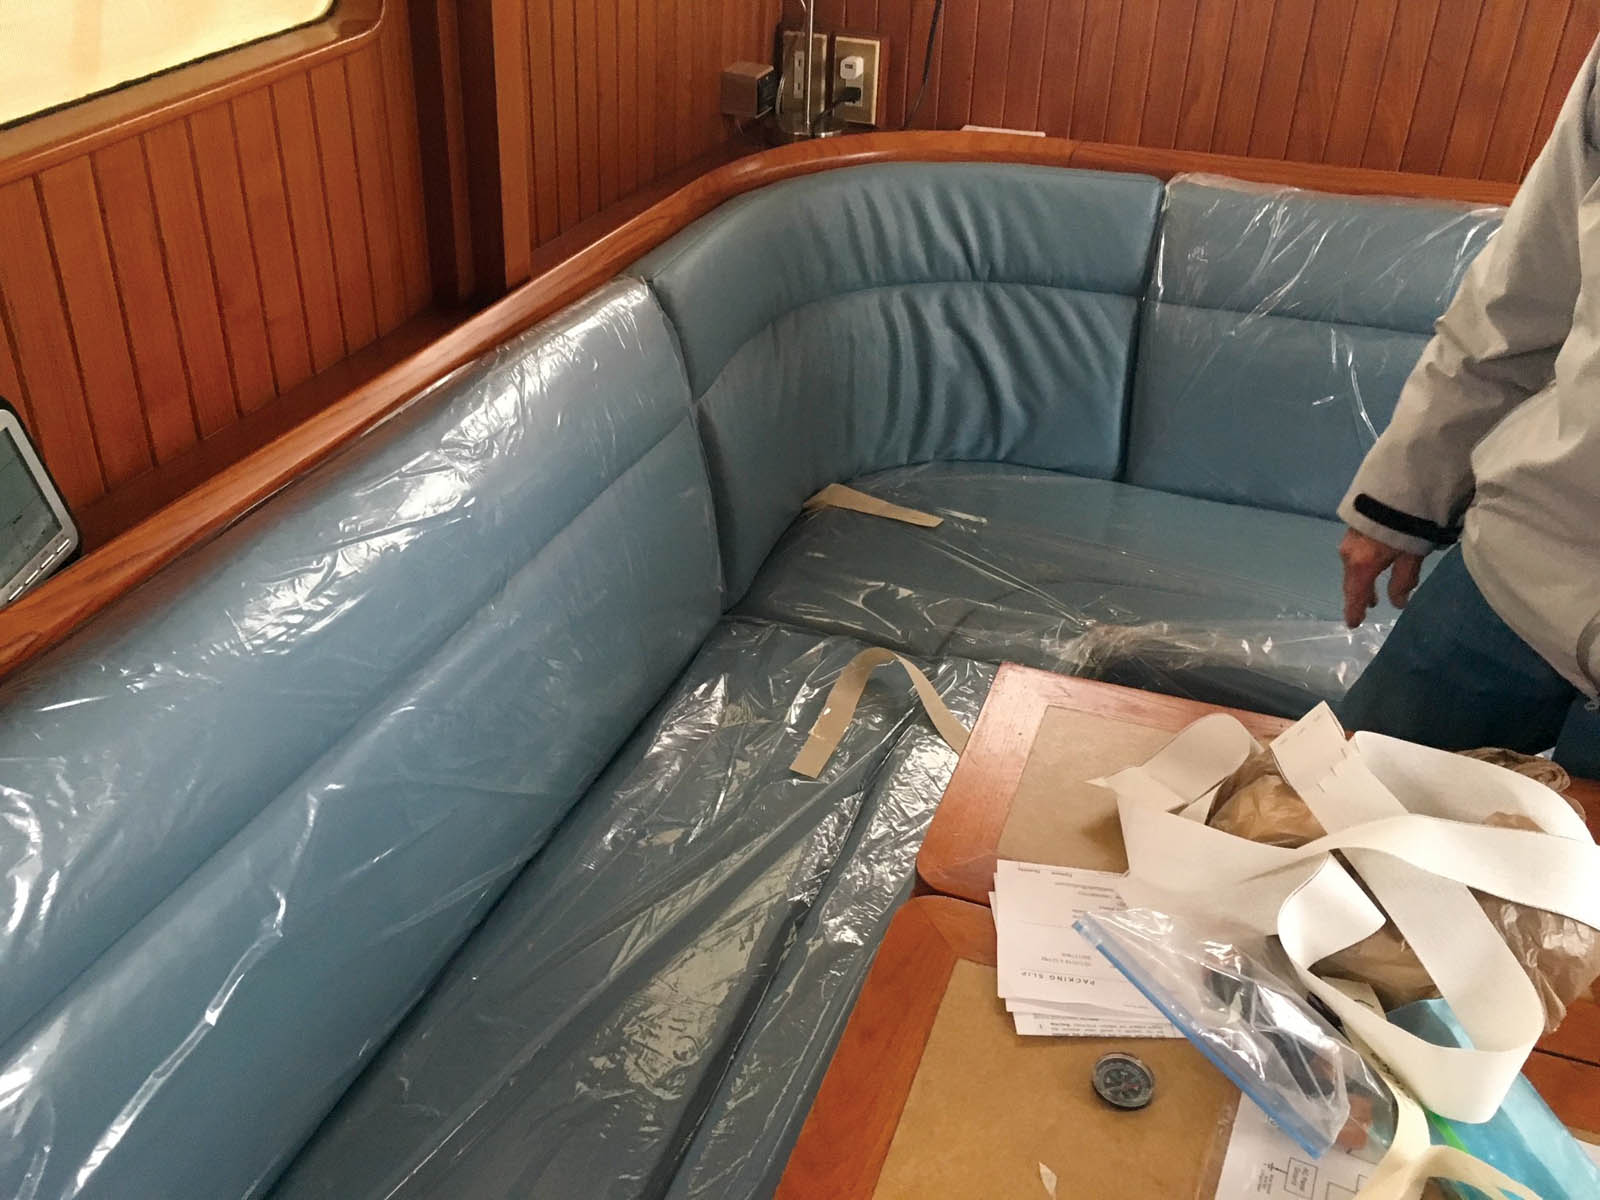
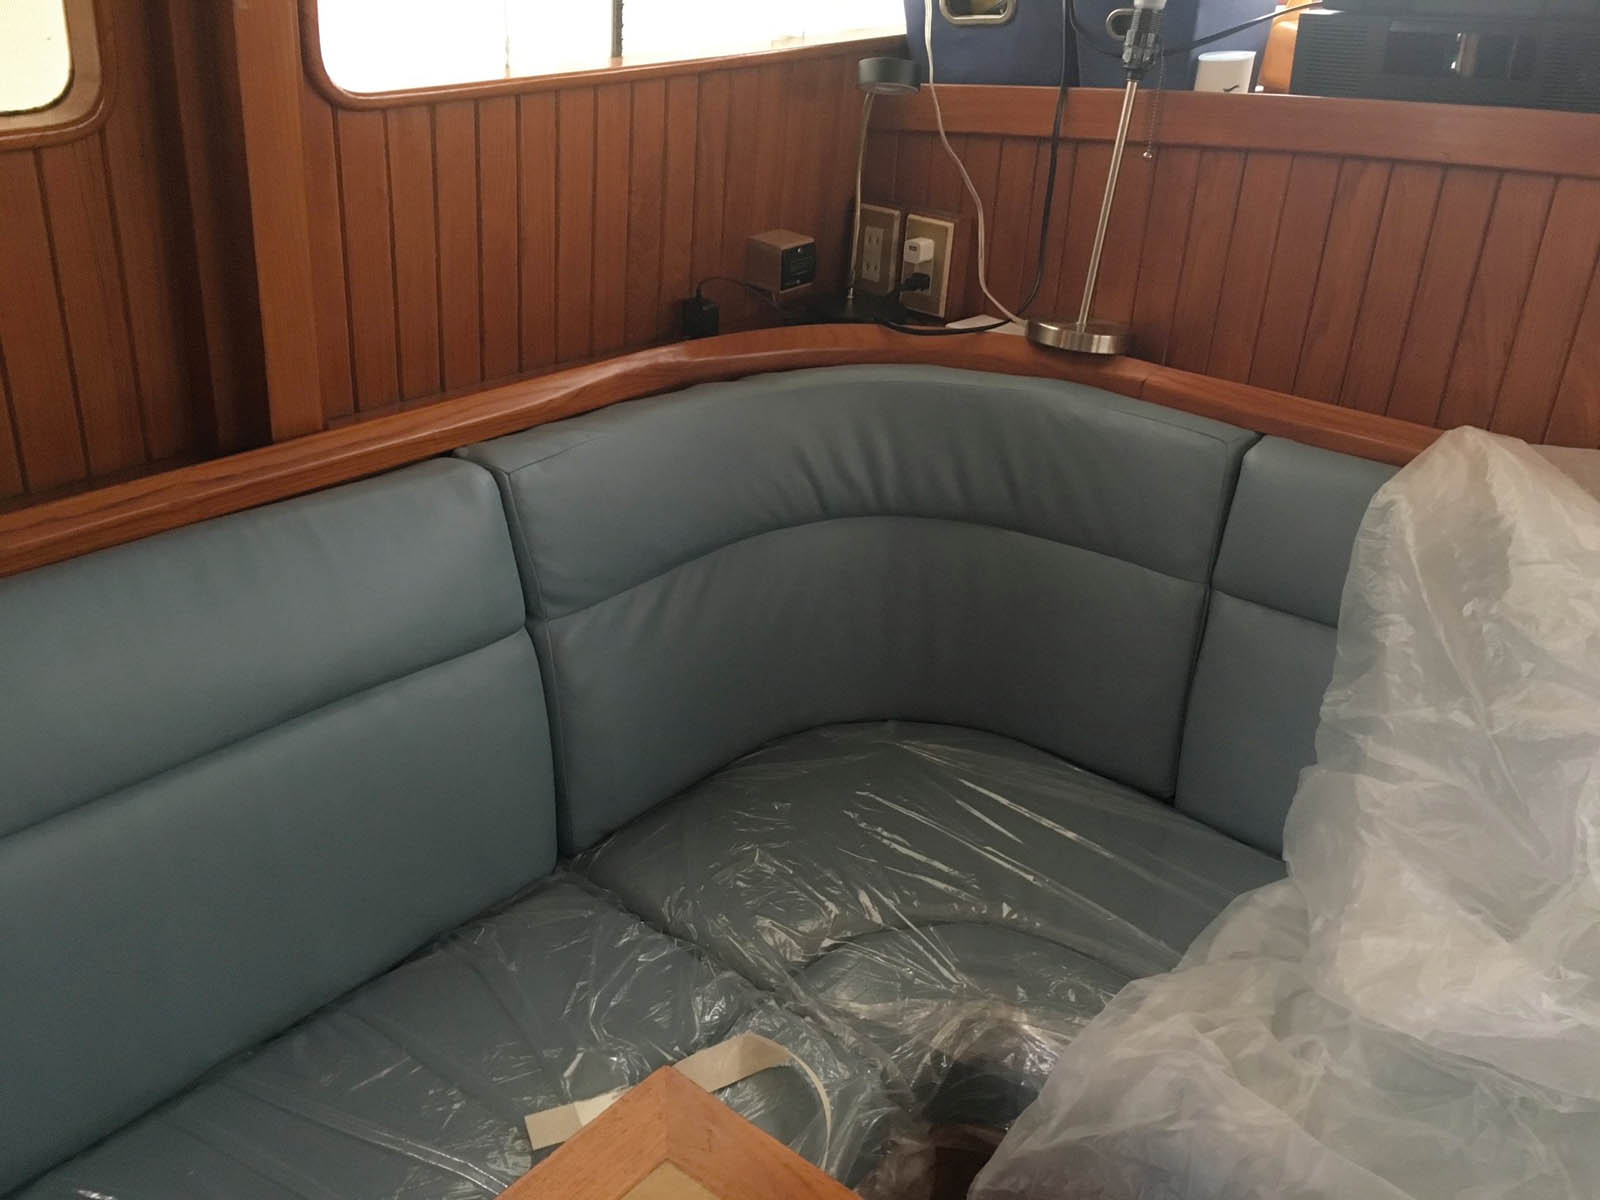
Curved backrests were a challenge one season, but we learned as we went. On one job, the backrest looked great in the shop but when we put it in the boat, it squished into a bunch of wrinkles even though we had shaped it in the shop to match the template (“Before” photo).

On the next job, we encountered a cobbled together delaminating plywood backrest support structure with the structural integrity of a lasagna noodle. We epoxied it in place in the boat and made sure it was still removable to do the upholstery. Then we cut the foam to fit and patterned the foam in place. It came out great (Photos 5 and 6).

So, we went back to the wrinkled cushion, pulled the foam out of the cover, patterned that foam in place and recut the cover to fit. The results were much better (“After” photo).
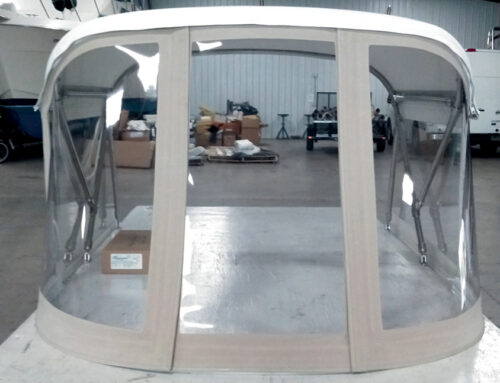
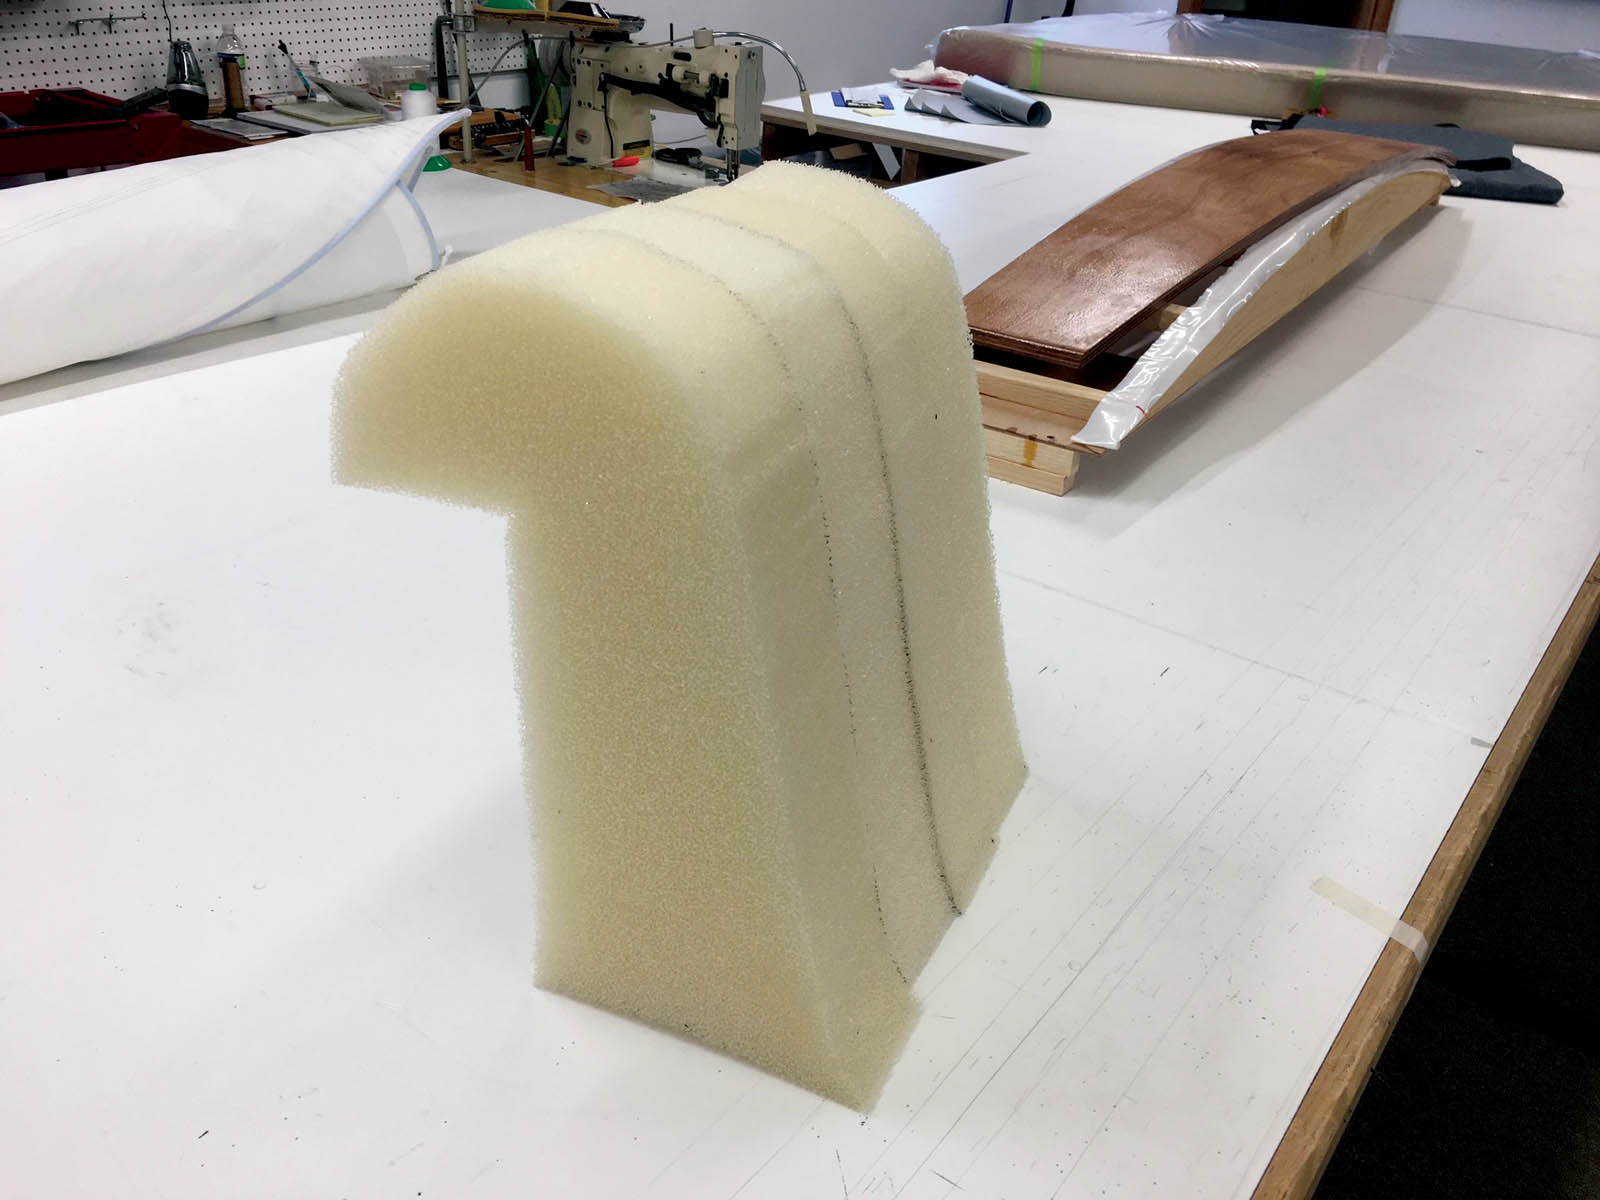
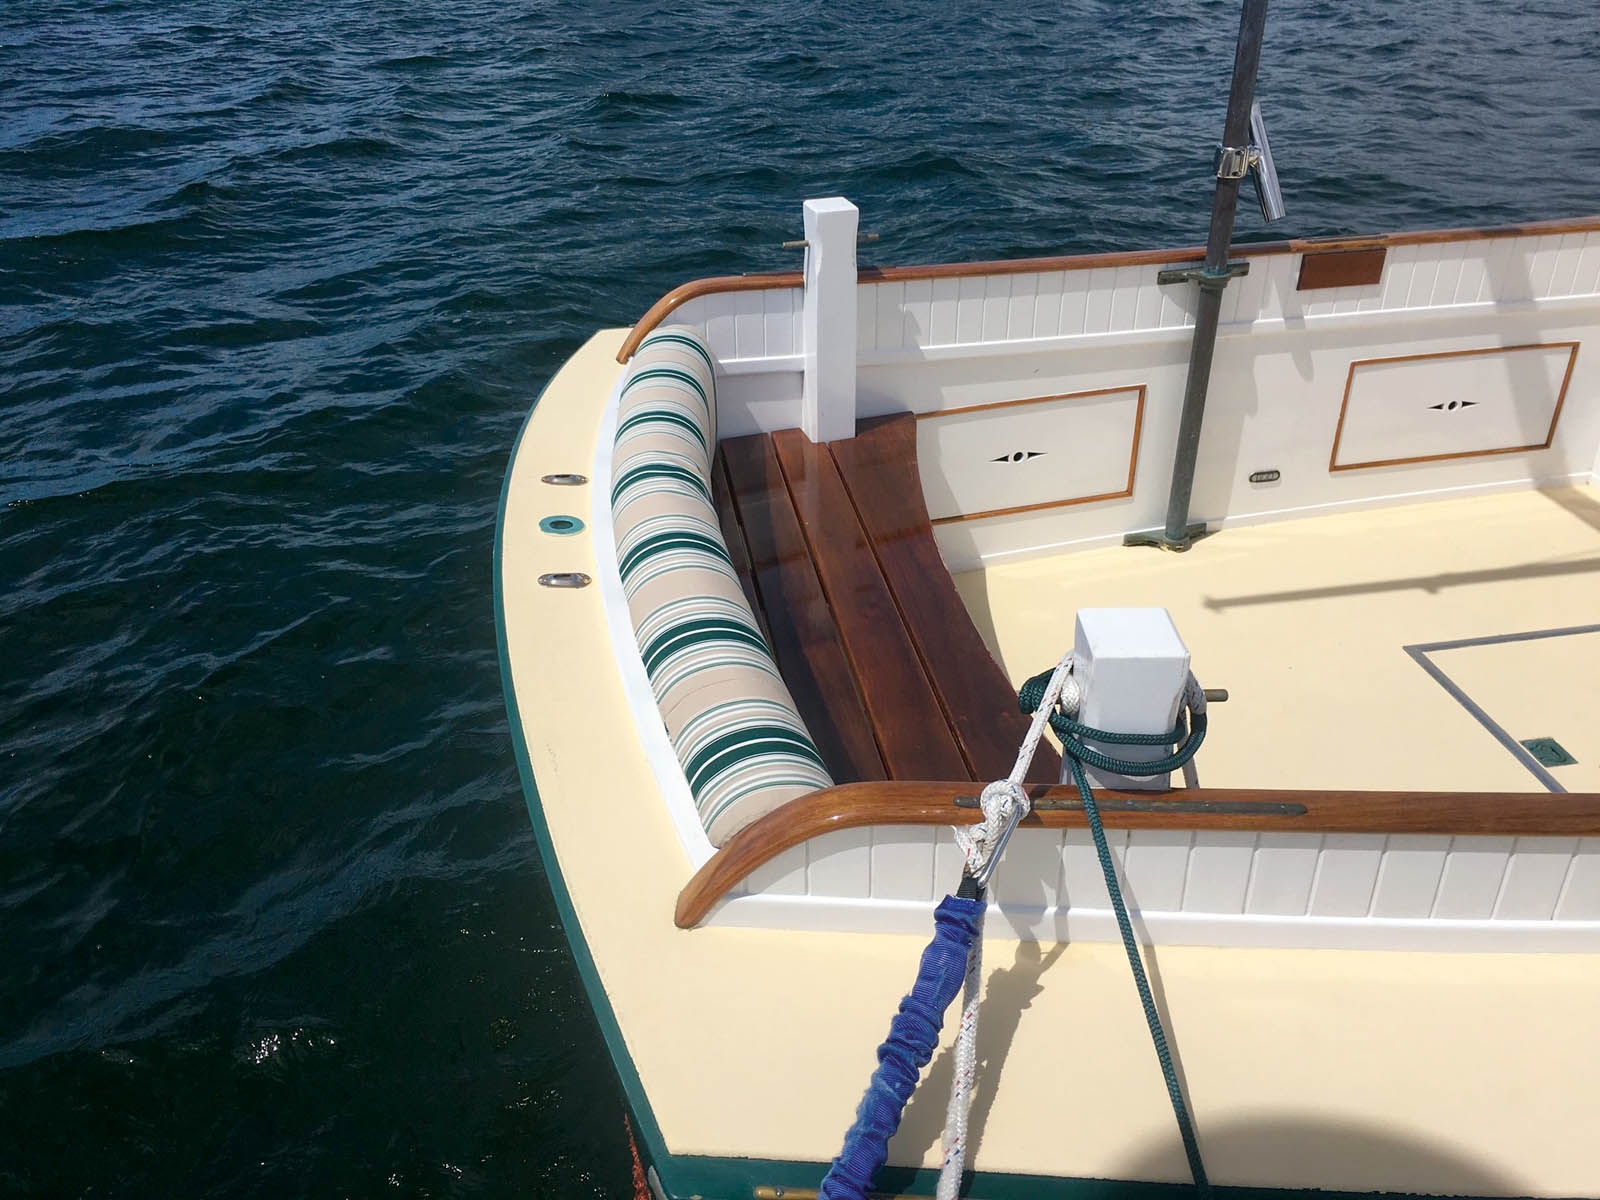
Here’s one last example: The owners wanted a rich upholstered look. To get the desired shape with the tools we have, we cut a series of candy cane shapes and glued them together (Photo 7). Look at the board to the right of the foam. We were able to have the shaped board in the shop to build to. We shaped the curve of the back in the seams of the 46-inch-wide striped fabric (Photo 8).
Custom labels
To improve our products, we have custom fabric labels made for fitted sheets and cushions by the Dutch Label Shop (dutchlabelshop.com). We sew them into the fitted sheets to help our customers make their beds (Photo 10). Picture getting to the boat late on a Friday night after a hard week at work and the kids are tired and cranky. You’re running your hands around the elastic border trying to figure out the shape of the cushion this sheet goes on! These labels really help. Another tip for your customers is to get different colored sheets for different staterooms for ease of identification.

We have also used these labels on some exterior products, like handrail covers. They add a touch of refinement.
I hope some of these tips help with your craft. I love how this industry shares found knowledge with enthusiasm! Have a great season.
Katie Bradford, MFC, IFM, started Custom Marine Canvas in Noank, Conn., in 1985 in an unheated shed. Now in 3,000 square feet of heated (and cooled!) space, she and her six staff members produce award-winning work for boats and homes around the world. She joined the MFA board in 1993, eventually serving as chair. She has served four terms on the ATA (formerly IFAI) board and was chair from 2015 to 2017.